An automatic water shutoff valve is designed to monitor the water flow in the pipe to turn on or off the water supply to the taps.
It not only helps prevent water leaks but also saves water for the world. Aiga has a smart gas water shutoff valve available that’s designed with Z-WAVE plus technology.
The shutoff valve can be controlled with the help of Z-WAVE as well as the Aiga app – you can set the timer or turn on/off the tap remotely.
Since it’s a smart valve, it can automatically detect water leaks in the system to shut off the water supply. In addition, there is a gas sensor available that switches off the gas supply when gas is leaking.
It’s integrated with a touch panel for easier user control, and there are double brackets available to ensure secure installation.
However, you must know about common Aiga smart gas/water auto-shutoff valve problems troubleshooting, as it makes it convenient to fix the functionality errors!
Common Aiga Smart Gas Water Auto-Shutoff Valve Problems Troubleshooting Steps
- Not Shutting Off
The auto-shutoff valve is not meant to work continuously, especially when the pipes aren’t being used. However, when the valve doesn’t shut off, a minor amount of water will keep leaking.

That’s because when the valve is turned off normally, water starts finding its way out. However, if the valve isn’t turning off when the pipes are sealed or closed, it’s likely incorrect installation.
That’s because the valve’s movement and performance are impacted when it’s installed in a tight spot. So, the immediate solution is to change the installation position.
On the other hand, if you are worried about the water leaking, you have to tighten up the fittings with the help of pliers, and it will stop the leak.
In case tightening up the fitting doesn’t stop the leak, you have to purchase a new seal for the valve because it wears out with time and can be easily replaced.
- Valve Closes But Only Partially
The valve has to be fully turned to close off the water and gas supply. However, if the valve is closing but only partially, it’s likely that the valve seat is damaged.
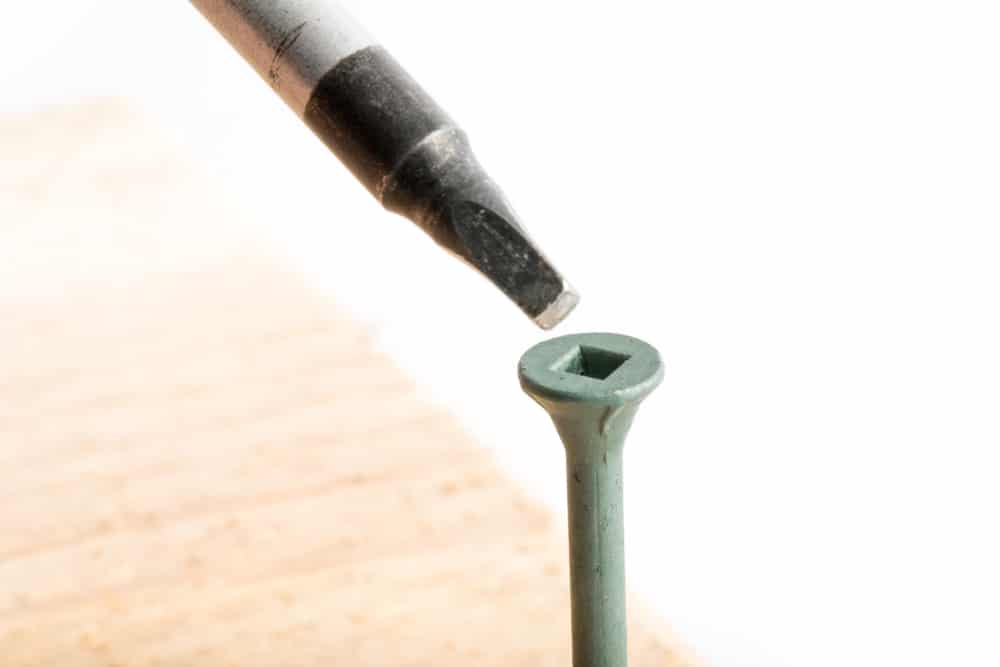
The valve seats aren’t meant to be removed unless there is a specific bore. Fortunately, the valve seat of the Aiga valve can be removed because the body has a square screwdriver or bore slot.
If you don’t know how to remove the valve seat, we are sharing the instructions;
- Turn off the water supply and cut the pipe
- Use the hacksaw blade to remove the previous valve
- Merge the new section of the pipe to the previous pipe from where you removed the valve
- Now, just secure the valve into the pipe properly
- Then, turn on the supply to identify the loose connections or leaks
- The Valve Is Stuck
The auto-shutoff valve is used for the main water and gas supply lines. This is because it’s designed to work as an off/on switch.
This means that the valve must be open to ensure full water and gas flow while the off position stops the flow. So, if the valve is stuck, it can cause issues with water and gas flow.

For this reason, we recommend that you loosen up the valve with pliers. There are two methods to loosen up the stuck valve, such as;
Manual Method
In the manual method, you should turn off the main gas and water supply and loosen the valve by closing and opening it multiple times.
In addition, we recommend that you hammer the body of the body to make sure the obstructing particles (they get trapped between the body and pipe) are loosened up and removed.
However, you shouldn’t hammer the pipe too much because it can crack when it’s stressed. Also, it’s recommended that you wiggle the valve gently to remove the obstructions.
Using A Lubricant
Another solution is to use lubricant, especially WD-40. WD-40 is one of the best lubricants because it can reach the challenging and hidden joints of the valve.
The lubricant can help remove the corrosive metals as well as rust without damaging the pipe and threads.

This lubricant has petroleum-based oil, which works fine with metal as well as plastic.
We recommend that you spray the lubricant on the valve, particularly at the handle area, and let it sit for twenty minutes. Then, try loosening up the valve, and you can also hammer it gently to accelerate the process.
- Whirring Noise
In case the valve is turned on and working, but there is low whirring noise coming from the valve, it’s likely that there is dirt and sediment buildup.
The buildup is pretty common because the valve works with water, and water has minerals and other impurities that build up.
So, to get rid of the whirring noise, you have to disassemble the valve and clean the clogging. If the buildup is stuck, you can apply the lubricant to loosen it up and remove it.
On the other hand, if the whirring noise doesn’t go away even after cleaning the buildup, it’s likely that the valve stem is damaged.

The valve stem can wear out with time as the fluid is constantly being pushed around the valve. So, make sure you check the valve stem and replace it if there are scratches or other structural damage.
- Overheating
If you touch the valve and it’s overheated, it’s likely that the actuator has an issue. This smart shutoff valve is designed with an actuator that helps control the water/gas flow through the valve.
However, if the voltage supplied to the valve is too much, it can result in overheating.
For this reason, you must check the voltage supplied to the valve and hire an electrician if the voltages fluctuate.
- Water Dripping
If the valve is turned on, but the water is dripping, it’s likely that you kept the valve turned off for a long time. To fix this issue, you should tighten up the packing nut and turn off the valve.
When the valve is turned off, turn it back on a few times to eliminate the chances of water dripping.
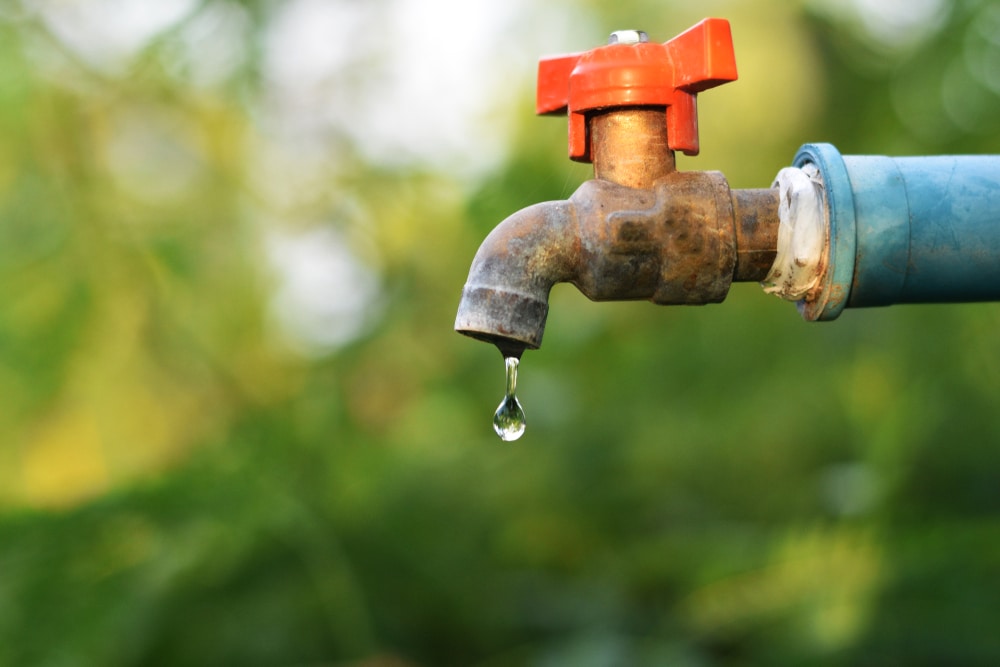
However, if tightening the packing nut doesn’t work, you should replace the entire valve.
If your valve is old, the damages are pretty common but make sure you turn off the pipe’s connection before you replace the valve.
- Not Communicating To The App
We have already mentioned that this auto-shutoff valve is a smart unit and can be controlled with the help of a smartphone app.
However, if you have connected the valve to its app but the commands aren’t going through, it indicates a communication issue. To resolve this issue, follow the below-mentioned steps;
Reboot
The first step is to reboot the valve because it might have a power connectivity error that’s causing communication errors.
For this reason, we recommend that you cut off the power connection of the valve for two minutes.

Once the two minutes are over, reconnect the valve to its power source and connect it to the app again.
In most cases, the valve starts responding to the app’s commands after a reboot.
Remove From The Network
Usually, rebooting the valve’s power connection will help you resolve the communication error. However, if it doesn’t work, you’ve to remove the valve from the network and reconnect it.
So, open the settings and remove the valve from your Wi-Fi network. Once done, follow the below-mentioned steps to re-add the valve to the network;
- Put the valve’s controller into the “add” mode
- Press the Wi-Fi button on the controller’s side, and the network light will start flashing
- When it locates the controller, the valve will be added to the network automatically, and the LED indicator will become solid
Network Discovery

If the two previous solutions don’t work, we recommend that you install the Z-WAVE repeater and start the network discovery process to make sure the valve is connected to the app without any errors.
- LED Indicator Light Is Flashing
When the valve is connected and properly working, the LED indicator must remain solid. However, if it’s flashing, it indicates a performance error or hardware failure.
If the indicator is flashing two times, it means that the high-flow sensor is damaged and needs a replacement.
On the other hand, three flashes indicate the failure of the low-flow sensor.
Lastly, if the LED indicator is flashing four times, it means that the actuator is malfunctioning and must be replaced as soon as possible.
Many people try repairing the actuator and sensors, but the process is too complicated, and not many technicians can do it sensitively. For this reason, you should get these components replaced.

- Actuator Moves, But Commands Aren’t Sent To The Valve
The commands have to be sent to the valve to make sure it detects the leaks and works on time. However, if the actuator is moving but the valve is not receiving the commands, it indicates hardware damage.
We recommend that you check the valve for melted parts or other structural damage because it can impact the command’s communication. If that’s the case, the valve must be replaced.