The Blink Floodlight can only be used with the Blink Outdoor camera as an attachment. The Floodlight doesn’t work with any other Blink outdoor cameras (XT or XT2).
It is meant to be used outside and should be put on the house’s outside walls. To fix the Floodlight not turning on with motion, check the following things:
Why Is Blink Floodlight Not Turning On With Motion?
Things to Check
- Is your Blink app up-to-date?
You’ll need the most current version of the Blink app before utilizing your Blink Floodlight with your Outdoor camera.
Did you remove the battery pull tabs before installing the batteries?
Once the batteries have been properly installed, you must close the chamber and reattach the rear cover. The Floodlight’s LEDs should only flash once if everything is set up correctly.
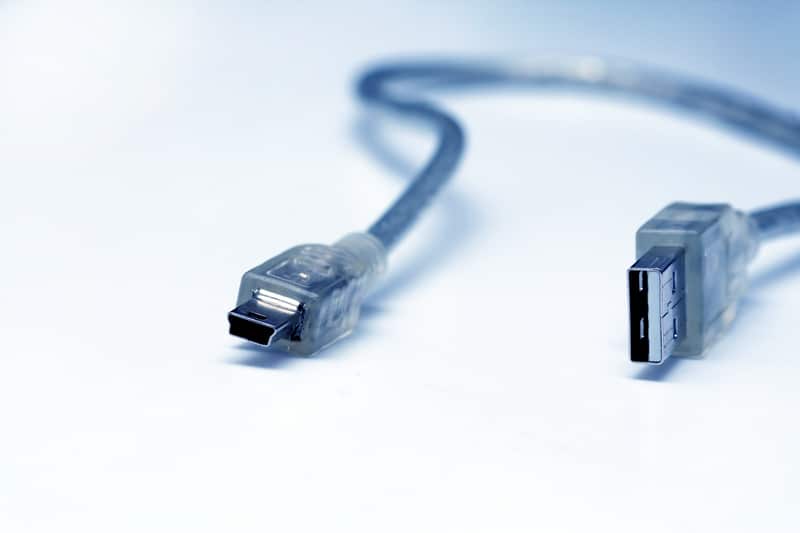
- Do you have the micro-USB cord inserted incorrectly?
Before attaching the micro-USB cord to your Blink Outdoor camera, remove the rear and USB port covers. Your Blink Outdoor camera’s back cover may be reattached once the USB port cover has been removed.
Then, using your external camera’s micro-USB port, connect Floodlight’s micro-USB connection to the camera.
- Is the camera you’re using compatible?
In order to use a Blink Floodlight with a Blink Outdoor camera, you must first have a Blink account with an outside camera.
- Ensure that your Blink Outdoor camera is up to date with the latest firmware.
The Blink Floodlight requires a Blink Outdoor camera with a firmware version of 10.47 (or above) to perform successfully.
To check the firmware version of your Blink Outdoor camera, go to the home screen and choose the settings slider icon located above the right upper corner of the outdoor camera. Then, scroll down to view your current firmware version. ‘
How to Solve This Problem?
There are a variety of approaches that may be used to make your blink floodlight not turn on with motion work.
1. Wi-Fi connectivity
 The blink floodlight must be brought closer to the sync module in order to ensure that the Wi-Fi network is linked correctly. To see how strong the camera’s Wi-Fi signal is, check the camera’s Wi-Fi settings.
There must always be three bars of the indications on the system for it to work correctly. If it is lower than three bars, the network is insufficient, which may cause a delay in connection.
Camera to Sync Module” is also malfunctioning, making the motion detection system more challenging to use.
2. Restore modem
 Turn on the modem’s power source again. The problem with the system can be caused by a sudden loss of power or a connection problem.
You can reset the modem to get it back to how it usually works. Pull the plug out of the device’s power cord, and then turn it off. Wait the whole five minutes. By putting the power cable back together, you can turn the power back on.
The recovery process may take a while, but when it’s done, the problem with the software not working right or freezing should be fixed.
3. Check batteries
 Always double-check the battery. Batteries are the sole source of power for this gadget, the same as the camera. Using the batteries, do the procedures outlined in the preceding section. You’ll need to remove the battery from the gadget to do this.
It’s only there for 30 seconds, so don’t waste it. In order to ensure that the camera is functioning correctly, it is recommended that you recharge the batteries and do another set of tests.
4. USB Cable
 It is also possible to access the camera’s power supply through the micro-USB cable. Take it for granted that the power supply isn’t functioning correctly. Therefore, the camera may not be able to get the proper amount of charge from the batteries or power cord.
Ports for charging and transferring data are situated on the camera’s rear. To get your camera and USB cable to operate together, all you need to do is plug them in. Remove the batteries from the camera and then follow the procedures listed below.
After connecting the camera to the computer through USB, it is critical that you test it to ensure that nothing goes wrong.
5. Check The Auto-Shutoff Timing
 The auto-shutoff timings can also be at fault here. This feature will cut off the operations to conserve the battery on your cameras. So, depending upon the model you’ve installed, try to remove these features.
If you’re not that sold on removing these features, at least extend the timing by a small margin. You can access the camera settings directly through the application. Just make sure that the Auto-shutoff features are managed accordingly to avoid further complications.
6. Make Sure Motion Sensitivity Is Optimal
The motion sensitivity features might also be to blame here. If you’re not sure about why the lights won’t engage, the sensitivity might be set too low. Even small changes in the sensitivity configurations can make a huge difference.
So, increase the sensitivity by a small margin and then check the response. Make sure to only increase the sensitivity by a small margin.
Otherwise, you will have to deal with a ton of situations where the unit will present false alerts. So, it all comes down to finding the perfect balance. Hopefully, you won’t have to struggle much here, and a bit of trial and error will do the trick.
7. Check For Obstructions
 There might be something ahead of the camera that might be blocking the target region. An overgrown branch can be pretty annoying in these situations. So, if you’ve not checked on the camera, now might be a good time to do so.
Similarly, if the weather has been a bit rough, there might be some gunk on the lens. Your main focus should be on cleaning the unit and clearing up the view. Ideally, that will help you engage the smart system.
8. Target A New Region
 To further isolate this issue, you need to target a new region. This will give you more understanding of the issue. If the floodlights do work with the new region, then you’ll be sure that the camera angle is to blame here.
However, if you’re not getting any response even after changing the camera location, then your unit might be damaged. So, make sure to target a new region and check your floodlights one more time.
9. Remove Reflective Surfaces
Sometimes, the issue can be hard to find with the camera angle. If there are too many reflective surfaces ahead of the camera, then the glare might blind your unit.
You won’t get any notifications or motion alerts, and the only thing you can do here is to remove these surfaces. Trying to put a layer of opaque paint on some of the items will also do the job.
This is especially true for users that have too many decoration pieces on their porches. So, keep that in mind if you get the motion detection features to work every now and then.
10. Inspect For Hardware Issues
 If the problem is not fixed at this stage, then there is a good chance that either the camera or your floodlights are damaged. The only solution here is to get the unit replaced immediately. You need to reach out to the experts and get a new one.
The warranty policy on this unit is pretty decent. Even if you purchased the unit a few months ago, now might be a good time to get it replaced. So, follow through with the instructions provided by the dealer, and he will help you secure a fresh piece.
11. Get Help From Official Support
 Even if the warranty has expired, there is no harm in asking the customer care team for help. This brand prioritizes the customer experience and maintains a complete panel of experts. So, you can inquire about any and all issues with the device.
So, you can ask them why your floodlights are not turning on, and they will guide you accordingly. Hopefully, you won’t have to wait long to get a response from these experts. You can further call the company number during working days for a quicker response.
Wrapping Up
There are a ton of factors that can play into why the Blink floodlight is not turning on with motion. Usually, the problem is fixed by checking for compatibility issues and refreshing the device connected to the camera.
However, you will need to get a replacement if the device is damaged. From the network connection to the battery status, you should carefully check the response from your device.
If the unit has been installed for a long time, there is no harm in purchasing a new battery pack. That will serve you with consistent performance and a better response to the motion direction.
These instructions are all well and good for a wireless Blink Floodlight Camera but what about a wired one?
The camera is triggering just fine. The floodlights do not trigger.
Everything on my camera works but the flood lights will not come