B Hyve is a smart water sprinkler timer app that helps you control the sprinkler timing while you are not around. It is a better way to manage your water supply to the plants and keep them healthy.
Using the smart sprinkler will help you minimize the wastage of water.
With that said, users often tend to complain about “B Hyve not connecting to Wi-Fi.” If you are also facing such an issue, then here is everything you need to know to solve your query. So, let’s get into it.
How To Fix B Hyve Not Connecting To Wi-Fi?
- Check The Router
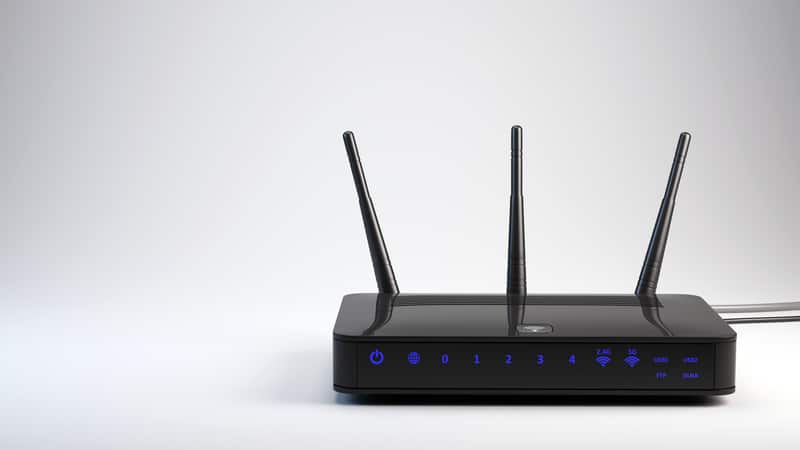
The first thing that you need to do is check your router. Make sure that the router is working perfectly fine. To do so, observe the router. Ensure that the power is turned on. Also, check if the Wi-Fi is working fine.
You can do this by observing the Wi-Fi light on the router. Another method can be to observe the Wi-Fi bars on your mobile phone or any smart device connected to that Wi-Fi. If the router is working properly, then try the next method.
- Check Phone Connection To Wi-Fi
It is possible that the mobile phone is not connected to Wi-Fi. Therefore, ensure the proper connection of the Wi-Fi with the mobile phone.
For this purpose, go to the Wi-Fi settings and check if the internet is turned on or not. If not, then simply turn the Wi-Fi on.
Another thing that needs to be kept in mind is that your B Hyve smart sprinkler will not connect to the Wi-Fi if the signals are weak. In such cases, change the position of the router.
If you are still facing the issue, then it is suggested to contact the customer support service of the router’s company.
- Power Cycle The Timer
If the internet is working properly, then the problem can be caused by the B Hyve timer. You can try solving the problem by power cycling the timer. To do this,
- Unplug the timer unit mounted on the wall.
- Let it rest for a few seconds.
- Plug the unit back on and wait for a few seconds again.
Finally, try to reconnect the timer with the Wi-Fi via smartphone. It is suggested to restart your smartphone as well as the router in the process.
- Free Wi-Fi traffic While Connecting To B Hyve
If some other devices are using the Wi-Fi during the time of connectivity, then it can cause the timer to not connect to the Wi-Fi.
Therefore, make sure that no device is using the internet while you are connecting your timer to the Wi-Fi. Also, it is suggested to make sure that the Wi-Fi is discoverable.
- Use A 2.4 GHz Network
It should be noted that the B Hyve prefers a Wi-Fi frequency of about 2.4GHz. It means that in case you are using a different frequency of Wi-Fi, then the timer will not be able to connect to the internet.
Therefore, check the frequency of your internet. If the frequency of Wi-Fi is not 2.4GHz, then it is suggested to change the frequency according to the requirement.
- Put Your Timer Into Pairing Mode
The timer will not connect to the internet if it is not in pairing mode. Therefore, make sure to put your timer into pairing mode before connecting it to the Wi-Fi.
Start with pressing the B Hyve button about five times rapidly or hold the reset button of the timer. Next, connect the timer to the internet. Here is how you can connect the timer with the internet efficiently:
- Go to the B Hyve app.
- In the app, type “My B Hyve.”
- Click on devices.
- Scroll down and click on “Connect to Network.”
- Next, enter the password of the Wi-Fi.
- Then click on the connect option.
Wait a few seconds, and your timer will be connected to the Wi-Fi, and you will be able to control it through the smartphone.
- Try Updating Wi-Fi Credentials
If you’re still stuck in the same situation and the B Hyve system is not connecting to Wi-Fi, just update the username and password.
While having special characters in the Wi-Fi password does make the password more secure, some smart devices like B Hyve run into connectivity issues because of these characters.
The only fix here is to remove all the special characters like dollar signs or hashtags from the Wi-Fi credentials and then check the response from the unit one more time. That should be it when it comes to errors related to the Wi-Fi network.
You need to also make sure that you’re using the right credentials as it is not too rare for users to complain about connectivity errors after using the wrong credentials every time.
- Limit Range Between Devices
The range between the smart devices might also be to blame here. You need to make sure that the max distance between the router and the B Hyve system is less than 20 ft.
If the walls are especially thick in your house, then placing the router in a direct line of sight of the B Hyve system will fix these issues.
Even if your router is from a decent brand, there is no need to test its limits. Minimizing interferences and improving signal strength will do you good, and hopefully, you won’t have to bother with any errors related to the router connection.
- Use A Different Network
Sometimes, you’ll have to try and connect the B Hyve system to a different router to isolate the issue. If you’re sure that the device is in good shape and there is nothing wrong with the router either, just try a different router.
This will give you more perspective on the issue, and if the B Hyve system does work with a different router, then you’ll be sure that the unit is not to blame here. Your router is at fault here, and a quick reset might set everything in order.
Similarly, you can try out a hotspot network from a different mobile device and then test out the B Hyve system. That should be enough to help you with this experiment.
- Remove VPN & Proxy Configurations
The presence of a VPN or custom proxy configuration through the router can also lead you to connection errors. First, you need to remove all VPN-related apps from your mobile device and then reset the router to bring back the default settings.
Even if you’re relying on established services like NORD and ExpressVPN, there is no point in using these network masks to connect to your smart devices. So, limit their activity and then check the response from your smart unit.
- Reset Your Router
While resetting the router is not always the best option, you’re not left with many options at this stage. Resetting the router will wipe away all the existing configurations, and you’ll have to go through the setup from scratch.
This process will also remove all other smart devices from your network. So, keep that in mind as you will have to spare a few hours to get through the whole setup.
- It’s Time To Factory Reset Your Unit
You can also choose to simply reset the B Hyve system if you believe that the error is not with the router.
There is always a possibility that your B Hyve system is to blame here, and you can easily narrow down the problem by resetting the device to factory settings.
Resetting the B Hyve system won’t come with many consequences as it is pretty easy to set up this system. So, go ahead with the reset routine mentioned in the owner’s manual for your respective model, and that might be it when it comes to connection errors.
- Try Reaching Out To Official Support
The official support might be able to help you narrow down the problem quickly. There is no harm in reaching out to these professionals if you wish to save time.
It will only take a second for these professionals to respond, and you can get through their detailed guides to fix the error.
Even if your device is defective, these experts will help you secure a replacement. However, you will need a valid warranty on this unit.
Otherwise, you will have to pay for the new unit if the issue is not genuine and you accidentally broke the device while setting it up.
To Conclude
Overall, connection-related errors are usually not that serious and only related to the router side of things. Simply power cycling the router and changing the credentials should address the majority of errors with this system.
However, if you’re unable to get through the problem even after going through all of these fixes, you will have to grab a replacement. There is no point in sticking with a defective device, and claiming the warranty will help you get a free replacement.


