Can’t seem to spare time to clean your apartment? Need a convenient solution? Well, try buying a cleaning robot.
Yes, these robots will be a bit more expensive than your traditional mops. However, you can’t really put a price on all those saved hours.
The only input requirements on your end is to spend a bit of time in the basic maintenance. After the mapping routine and initial configurations, the robot should work perfectly.
Just keep the connectors, the dock, and the brushes in good shape.
Similarly, try to clean out the dustbin every now and then. A quick peek at the cleaning robot everyday will take less than five minutes.
This five-minute adjustment will save you from hours of hassle. So, invest into some decent brands like Roomba.
Roomba is a robotic vacuum cleaner that can be used to clean your house. The device offers a great and interactive way of cleaning your house as all you have to do is to place your cleaner and it will do the job for you!
How to Fix Roomba Not Docking Correctly?
We have been receiving different complaints from users that whenever their Roomba completes its cycle, it won’t return to its base. In simpler words, what these users mean to say is that their Roomba is not docking correctly.
As a result, all these users are now left confused about what they can do about it. This is why today; we will be listing different ways on how you can fix the issue. So, without wasting any more time, let’s get right into it!
- Checking the Base
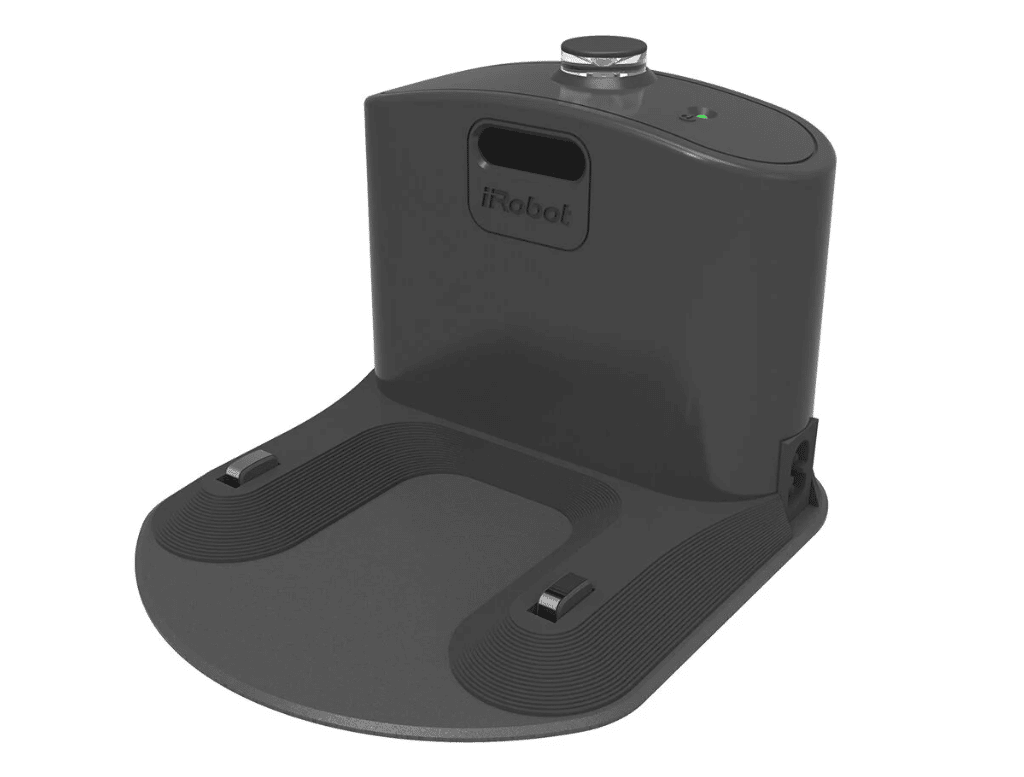
In case you notice Roomba not dock properly, then one of the first things that you will need to check is the base. Ensure that during the cleaning cycle, the base does not get rotated, moved, or unplugged in any way.
If that happens, then your Roomba might face difficulties during the docking process.
- Clear up The Surroundings
The next thing that you should try out is cleaning the surroundings.
You will have to clean out the sides, make sure that there is nothing wrong with the dock and the regions on both slides are clear. Even if there is a small decoration piece that is blocking the dock, the Roomba will not dock properly.
So, instead of blaming the robot, you should consider the placement of the dock. Make sure that there is at least two feet of space on both sides.
This simple adjustment should be enough to have you sorted out. From there, you can adjust the positioning and location of the robot.
After the surroundings are clear, you can engage the cleaning cycle on Roomba one more time.
From there, give the command to dock the robot or wait for the cleaning cycle to end. Ideally, this time around, the robot will dock on the station properly.
Sometimes, you will also have to give it a bit of nudge and try manually putting the robot on the charging base.
From there, you can engage the cleaning cycle and then disengage the cleaning cycle one time. Hopefully, that will be enough to help you out with the errors.
- Try A New Spot
At this point, you should test out a new spot. There is no point in sticking to the same spot when the robot won’t dock properly. It is entirely possible that the issue is more with the location of the docking station.
You won’t obtain the expected results if the floor is uneven or if there are problems with the docking station’s hardware.
Something becoming caught beneath the robot falls into this category as well. Consequently, clear up the robot’s base so it won’t get caught on the docking station.

Any tier may be relied on for assistance in troubleshooting. You need to go to a level area since even a little incline in the floor will make it challenging to work in.
Verify that the new location is flat. You’re out of luck if you don’t want to go through the bother of moving stuff around to locate a new location.
Your only way is to go through with this hassle. So, test out a few spots and then check the performance from the robot. Hopefully, it will not take you that much time to get ahead of these errors.
- There Might Be Hardware Issues
While most owners don’t consider the possibility of hardware damages to their unit, there is a very real chance for hardware issues to present themselves.
If you’ve not been mindful of the maintenance and have been ignoring the maintenance for a couple of weeks, then you might be in the same boat.
You can’t put the responsibility on the robot here, since there isn’t a smart unit on the market that will last you a long time if you keep ignoring the maintenance.
Consequently, if you find yourself in this situation, you should prioritize maintenance.
You may still be at a loss as to how to fix the hardware issues even with this knowledge in hand. The simple answer here is “no” (well, at least not yourself). However, the dealer should be contacted if help is required.
The dealer will help you out by giving you a replacement if any minor problems arise or if any of the hardware fails. You’re pinning your hopes on the warranty, but he can’t perform a miracle without one.
It is common knowledge that refurbished and repaired systems don’t give you any performance. So, there is no point in risking the hardware if you can spare a few minutes out of your day.
- Try Using Some Cardboard
One good method of helping you fix imbalances is to rely on some cardboard. If you’re not sold on the hassle of finding a new spot, you can just use some cardboard to adjust everything.
There is no need to risk your sanctity or comfort when moving the docking station from one place to another.
Instead, you can just get some small strips of cardboard and stick those under the dock. This should elevate one side of the situation. From there, you can go about addressing the minor errors by adjusting the positioning.
Yes, it is a pretty nifty trick! However, your docking station will look horrendous with cardboard sticking out of different edges.
You can try to trim away these edges, but you’re not left with many options when it comes to developing a cleaner system.
- Checking the Charging Contacts
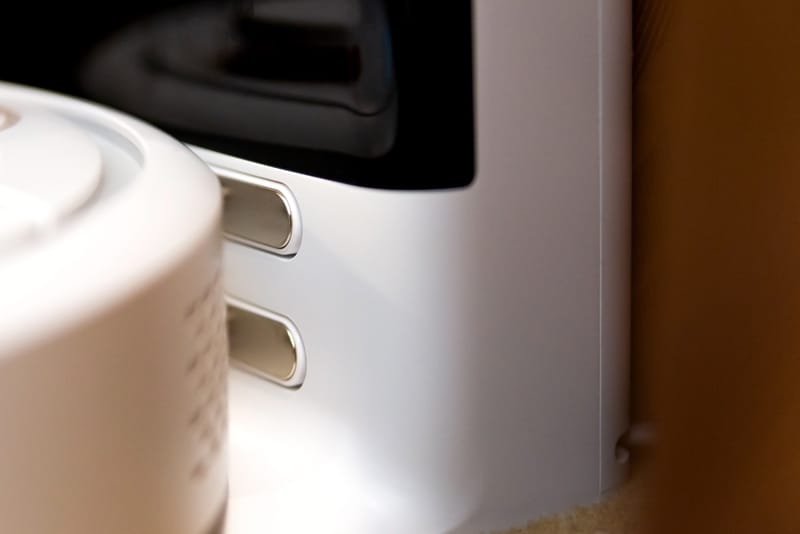
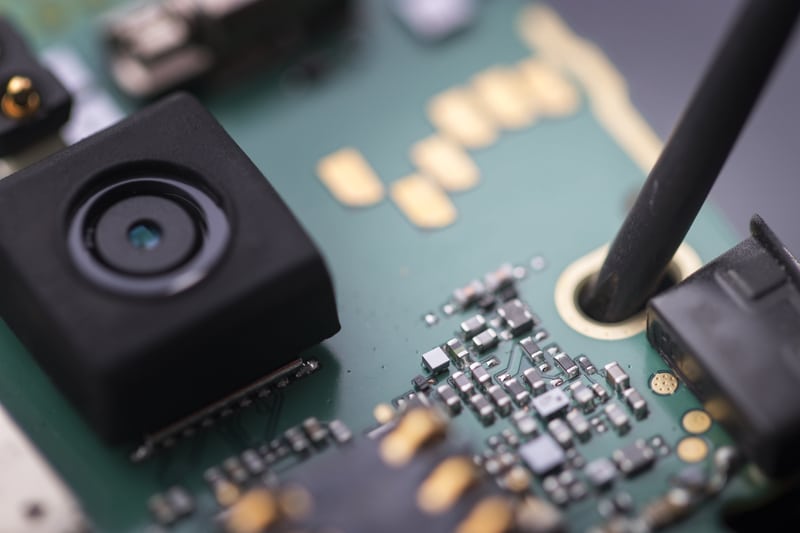
Another thing that will definitely need to be checked is the charging contacts on both the Roomba as well as the base.
You should make sure that there isn’t any kind of debris or piece of dirt on the charging ports. If there is, then you will face issues while the Roomba tries to dock itself.
You can use a melamine foam (dampened), i.e., magic eraser in order to remove any kind of debris that might have developed. When your device is charging, it should start illuminating.
- Ensure that the Base Has a Clear Path
It could be that the path between your Roomba and base is not a clear one. For instance, it could be that your base is near stairs which could prevent the Roomba from docking properly.
You will have to clear any kind of hurdle on the path. There should be no obstacle near the starting point on the home base.
The Bottom Line
These are the different ways on how you can fix Roomba not docking correctly. Ensure that you read through the article so that you don’t omit anything important!
Yes, it can be a hassle to go through all of these steps, but you’re not left with many options.
The only thing that you can do to avoid these complications is to be more mindful of the maintenance.
A bit of time in trying to clean the robot and keeping the base in good condition will be enough. All you need to do is to develop a bit of consistency.
It won’t be simple, and you’ll miss a few days. You’ll be all set, however, if you clean the robot at least five times every week. Nothing has to be too difficult. Clear the pathway to the dock, clean up the base, and get rid of the debris.
I’ve been reading many DIY’s on why my Roomba S9 will not dock. It would drive up to the docking station and crawl halfway onto the station, but would not complete the dock. I also noticed the corner brush acted strangely, spinning one way, then the other. The problem turned out it had worn the tires down to slicks. I changed the tires and that extra 2mm of rubber was all that was needed to get everything working correctly.