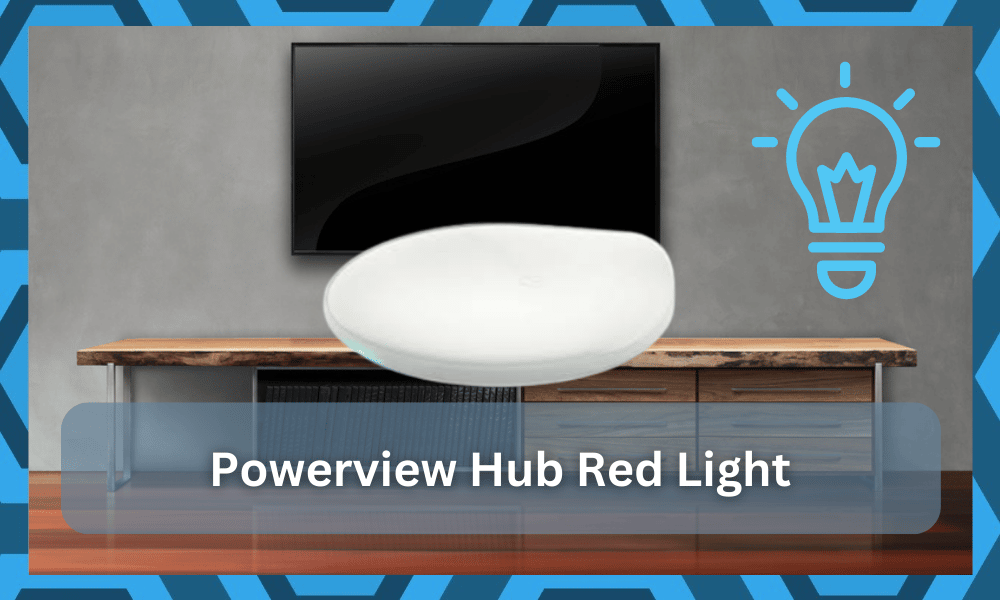
The PowerView Hub is a great device through which users can connect and communicate with their Hunter Douglas window coverings.
Through this hub, users can set up different scenes and schedules according to their liking, which can give an enhanced view of the room.
It might not be as popular as some of the other brands on the market, but if you provide it with a stable network connection, you will never have to worry about reliability.
This device might just be the perfect unit on the market, and you will enjoy amazing value from this brand.
However, there are times when you may need to suddenly troubleshoot a particular problem with the device.
Regarding this, a common complaint that we have heard most users make is about their PowerView hub giving a red light.
This issue is not that rare and can be linked to the connectivity status of the unit.
So, you will also run into this issue at some point in time. If you have also ended up with the same issue, then here is what you can do:
Fixing PowerView Hub Red Light
- Checking the Connection
A solid red light on the hub device means that the device is unable to receive an IP address from your router.
This means that the red-light error denotes a problem with the network. As a result, the first thing that you should check on your end is whether the connection is secure.
Start with making sure that your hub is connected to your home network. At the same time, we recommend that you check if your internet is in fully working condition.
If you do notice any problems with the network, then make sure that you refer to your ISP.
- Relocating the Hub/Router
There’s a possibility that the issue might be caused because of weak signals. This usually happens when you have placed the hub too far away from the router.
Most routers require your devices to be under a certain range limit before they start giving weak signals.
Ideally, you would want to keep your device somewhat closer to the router, where you are getting at least 3 Wi-Fi signal bars.
So, you should relocate either your router or the hub itself to a place where you will get better signals.
- Checking Network Bandwidth Channel
Once you have made sure that your network is fully working and your hub is in a good spot, then the next thing that you should check is your network bandwidth channel.
Even though the latest technology now supports a 5GHz Wi-Fi band channel, we have still seen cases where smart devices and hubs struggle with such connections.
So, you should access your router settings page and check your Wi-Fi router settings.
You can change the network band to 2.4GHz. Ensure that you save changes after making the change and restarting your router.
- Restarting All Devices
Oftentimes, connection issues are a result of a common bug that you might be facing. In cases like these, the best course of action is to restart or power cycle all of your devices.
In case you aren’t aware of what a power cycle is, you will simply need to turn off your devices for around 30-60 seconds by completely unplugging them from the power source.
As soon as you are done, you can start your devices again.
Furthermore, if this does not seem to work or do anything for you, then you can try resetting your hub instead.
Though keep in mind that resetting the device will make you go through the whole setup process again.
- Check For Interferences
At this point, you need to check the system for interference.
There is a good chance that you’re running into a ton of issues with the interferences from other devices, and it can sometimes be difficult to isolate these issues. So, you will need to check for interference.
The best thing that you can do here is to temporarily turn off all of the extra devices and then check up on the smart unit one more time. This will be more than enough to give you a better perspective on the issue.
If you find that the problem is fixed after removing all of these extra units, then you need to either install a router extension for these units or remove them entirely.
Sometimes, upgrading to better accessories with a comprehensive set of features is better than having induvial smart units for every task.
Similarly, you can also choose to move these extra devices to a different room, and that will be enough to help you with the router connection.
Ideally, you will not have to deal with more complications down the road after following these fixes to limit the interferences.
Next, if the issue is not with the interface and you’re still stuck in the same errors after removing the extra wireless units, then you need to take a peek at the router configurations.
- Check Credentials
The only thing that you’re aiming for here is changing the credentials for the 2.4 GHz and the 5.0 GHz bands.
Most of the newer models bring a dual-band system that doesn’t only support 2.4 GHz but also casts a 5.0 GHz channel at the same time.
There is no doubt that these units are superior to your traditional single-band routers.
However, you will run into a ton of issues with the router configurations when the system doesn’t respond to any input from the users. So, you’ll have to go about fixing the issue accordingly.
All that you need to do here is to change the credentials for the 5.0 GHz network.
This will remove the router from all of the units connected to the 5.0 GHz network, and you will have to connect them again. However, you’re not left with many options at this point.
Next, you can try to pair up the router with the smart unit one more time.
This time around, you will not have to worry about the router trying to establish the connection with the 5.0 GHz network, as the credentials will be different.
One more thing that you need to keep in mind is that the credentials shouldn’t have any special characters or signs in them.
So, you need to stay clear of any symbol that might interfere with the situation here.
- A Reset Might Be In Order
At this point, you should just call it a day and proceed with a quick reset. It might be a bit extensive for some owners, but you’re not left with many choices here.
So, be sure to reset the unit and then go about configurations one more time. That will be enough to address all the minor errors.
Most of the time, a quick reset will help you fix all the programming-related issues.
However, it does wipe all of the configurations along with fixing the issue. So, you need to be mindful of that as well and try out all of the other fixes before trying this one.
Next, if you’re still not able to get through the configurations and the red light is blinking continuously, then the issue might not be with the programming.
You will have to check the unit for cracks and damaged sections to see if the hardware is in good shape or not.
- Getting in Touch With Support
If you haven’t had any luck even after you have followed every instruction above, then it is probably time that you reach out to the professionals.
After contacting the support team and mentioning your issue in detail, they should be able to suggest further solutions.
Following them should help you learn why you were facing the issue in the first place and how you can fix them.
The Bottom Line:
Getting a red light on your PowerView hub? The red light indicates that it is struggling to get any IP address from the network, which is mostly the result of a connection problem.
Hence, we advise that you start by checking your network and making sure there is nothing wrong with the connection.
Once you have made sure of this, you can try getting your issue resolved by following the other steps mentioned above.
It will be pretty easy to get ahead of this issue if you’re sure about the hardware status of the unit. There is no harm in checking the unit for cracks and other issues.
All you’re trying to do here is to limit the issues to the programming side of things.
Otherwise, you will have to engage the dealer and get a new one. There are no quick methods when it comes to fixing a damaged device, and you should always claim the warranty.
Claiming the warranty might be a hassle, but you will be able to save a ton of money that way. So, if you’re not sure about the hardware, don’t waste more of your time and just proceed with a warranty claim.
Hopefully, you will be able to secure a new piece within the same week.


