Whether you have been using smart home appliances for a long time now, or if you’re relatively new to it, you will no doubt be famous with Nest.
Nest, a line of smart home products by Google, has established a name for itself as one of the most reliable and intricate options on the market.
Of course, some of their popularity as a line has to be attributed to the fact that they are made by a tech giant and household name.
But, we also have to consider that Google have a lofty reputation that they want to protect, so they are never going to release a device unless it is absolutely guaranteed to be market ready.
In this way, no matter what Nest equipment you have bought, you know that you have probably made a safe enough decision.
That being said, you wouldn’t be here reading this if everything worked the way it was supposed to all of the time.
And, having trawled the net looking for the types of issues that users are suffering through, one problem with the Nest Thermostat kept rearing its head.
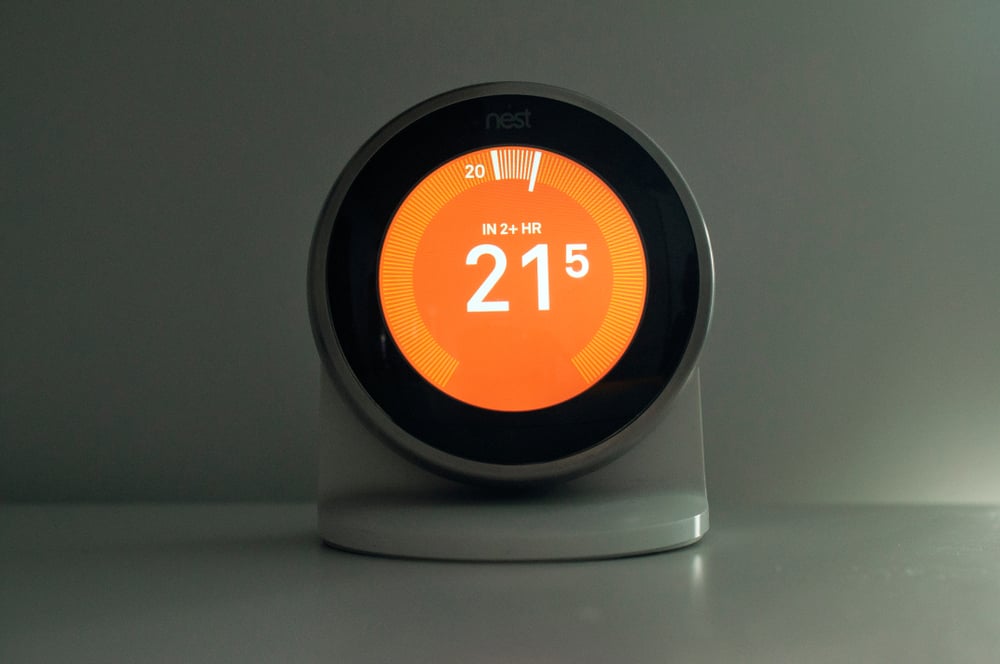
Now, the whole purpose of this device is to act as both a smart and a regular thermostat. The key feature is that you are supposed to be able to operate it remotely, 100% of the time.
If you play your cards right, you can also save a huge amount on your energy bill with it. But, if none of this is happening in reality, it can kind of seem like the whole thing was a huge waste of time, effort, and money.
And that’s why we are going to help you fix it.
Diagnosing the Error E195 Code with Nest
There are a huge amount of you out there who are getting the error E195 code when you try to integrate your Nest Thermometer with your other smart home equipment.
Luckily, diagnosing such issues with Nest is quite easy. Because they supply you with a definite error code, it is relatively simple to then look up the error code and figure out the cause.
Of course, there’s no need for you to go and do that now – we have done it all for you! So, below is what we found out on how to fix the problem.
Though there aren’t too many avenues available to you, many users have reported success using these methods.
Before we begin, it is important to note that you don’t need to be all that techy to do these fixes from the comfort of your own home.
Because we don’t know your level of experience, we can’t advise any fixes that require you to take anything apart or risk compromising the integrity of your device in any way. With that, it’s time to get stuck into it.
1. The R Wire isn’t Detectable
When you get to the meaning of the error code, all that it means is that there is a problem detecting the R Wire. Unfortunately, this can happen for a whole plethora of reasons, so we can’t really narrow it down any further.
However, what we can do is teach you what to do to get it all linked up again. The most common reason for this problem is simply that the R wire is disconnected.
Or, it is also possible that the power could actually be turned off at the breaker. In any event, here are a few things to try to get everything back up and running again.
The first thing you will need to do is switch off the power at the breaker. Next up, you will need to remove the R wire. After this, you will need to straighten out the wire and re-strip it, making sure that you leave about 1cm of wire exposed.
Once you have done this, the next step is to out the wire into the R connector, making sure that the button stays pressed down when you let go.
And that’s it. Switch the power back on and have a quick check to make sure that everything is up and running again.
Having looked into this extensively, there are also quite a few stories out there where users using a transformer have discovered that there was a blue wire that was left disconnected, causing the whole problem!
Naturally, the problem magically disappeared when the blue wire was hooked up to the transformer, which was then hooked up to the chassis of another appliance, like the furnace.
2. Get in Touch with Customer Support

Unfortunately, seeing as this problem can be pretty awkward to fix, there isn’t much more we can recommend other than the steps above. Though there are other fixes out there, they require a high level of technical skill.
Therefore, we really can’t recommend that you take this on, as you may end up damaging your equipment irreparably. So, all that remains is to get in touch with customer support and get them to take care of it.
While you are on the line to them, make sure to tell them that you have already tried the above fix. This will help them to identify the root cause of the issue much quicker.
The Last Word
With a bit of luck, the above tip have helped you to get everything back as it should be again. The Nest error E195 code can be a tricky one to get around at the best of times.
Seeing as we’re always on the lookout for new and innovative fixes, it is possible that we have missed something.
So, if you are reading this and managed to find a new way around the issue, please share your story with us in the comments. That way, we can check whether the fix works and then share the word with our readers. Thanks!
You missed an easy fix to my E195 error – vacuum to drain line… the float switch had been activated by condensate water build-up…
I’ve got a heating only system with 3 wires (White, Red and Green)
Red is power
White is heat
Green is for (fan only)
I started getting the E195 error after several years of use. I was able to temporarily fix the problem by pulling off the faceplate and recharging the unit and reconnecting the wires. It worked for a bit then E195 again. The problem seems to be that as the unit and battery age, it gets tougher to steal power from the wires consistently to keep battery charged.
Because I never use my fan only, I moved the green wire to the C terminal on both the furnace and the nest base. This gives me continuous power through the ‘C’ommon wire. For now, it seems to have solved my problem. I just lose the fan only capability on my furnace. no big deal for me
These three excellent replies should be incorporated in the body of the article. If your system shuts down due to E195 the electronics in the Nest E lead you to believe that a (red) wire is disconnected. Nowhere does is indicate that the problem may 1. be with the drain pan float switch 2. the line from the drain pan may be obstructed causing the float switch to shut down the unit. Use a shop vac or similar to vacuum the drain line (usually outside the home). If that solves the problem you will save having a service call
You are oh so right… good call…
Thank you John. The 1st and easiest solution worked for me. I noticed some water in the drain pan in the corner where the float bulb sits. When I wiped it away the AC clicked on. It wasn’t much water at all – a paper towel got it all.
Other reason is the float bulb cut the power because the overflow pan is not draining and you have a bunch of water sitting there.
TYVM!!! The cheapo plastic float valve was stuck. Appreciate you!