Integrating your smart units with the LG ThinQ will help you maintain the system with more accuracy.
Its innovative features make it effortless for users to stick to a strict schedule through frequent updates and effective scheduling.
So, if you’re thinking of upgrading the unit, then going through the compatibility list for the LG ThinQ will help you find the perfect fit for your home.
Just make sure to seek guidance from a local contractor or any other professional when you’re trying to adjust the system.
The installation and management of the smart controls will be much easier that way.
It is true that you’ll have to spend a bit of cash to hire an expert, but that is worthwhile when you are not willing to spend any time trying to go through the minor issues with the smart system.
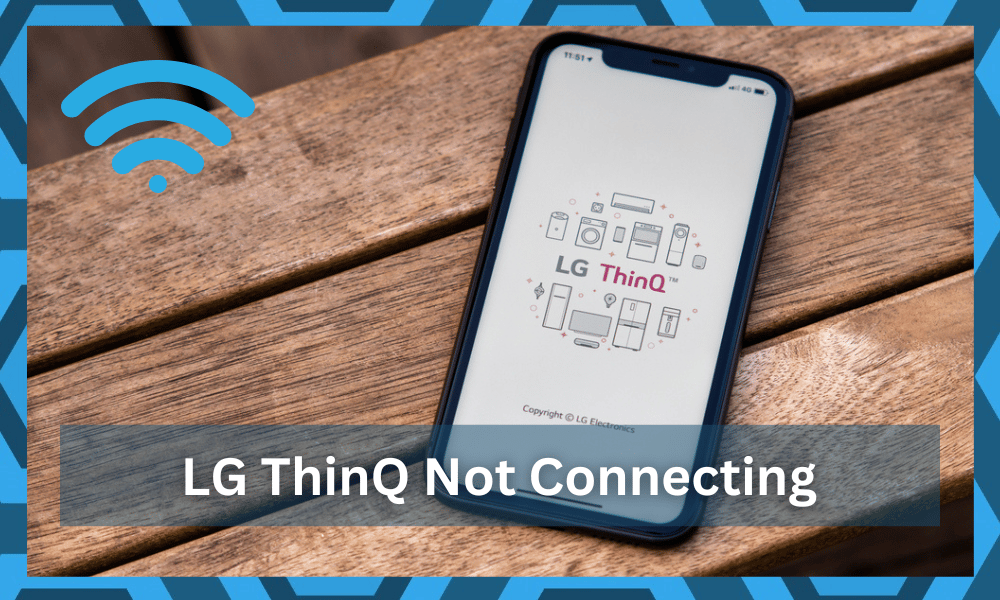
With that said, there are still a few issues that you might have to deal with from time to time. Some users have pointed out problems with the LG ThinQ not connecting.
If you’re also struggling with this issue and the system won’t work, then these solutions should help.
How To Fix LG ThinQ Not Connecting?
1. Check Bandwidth
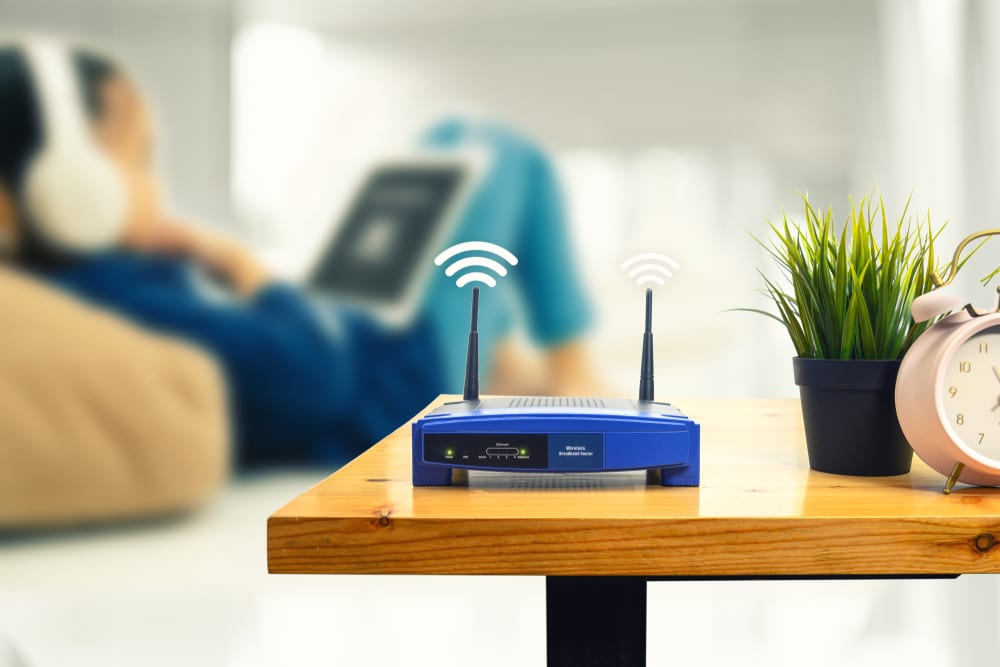
In most cases, the connection issues with the LG ThinQ can be traced back to bad configurations. So, there is a good chance that you’re trying to connect the system with a 5GHz network that is not supported by the ThinQ application.
To get ahead of this problem, you will need to open up the router settings and then switch the channel bandwidth from 5GHz to 2.4GHz, and then access the application again.
In some situations, moving the router closer to the smart devices can also help increase signal strength. The drops in connection usually occur because of weak signal strength, and there is a good chance you’re running into the same issue.
So, make sure to check the signal strength and move the devices closer to the router to eliminate these issues.
All in all, you’re trying to limit connection problems by removing interference problems and bandwidth issues.
Following this step should fix most of the connection problems with your unit. So, make sure to go through these basic troubleshooting steps to fix the network connection to your ThinQ application.
Similarly, if you’re using a dual-band router, the issue might be more with the credentials being the same for the 5.0 GHz and then the 2.4 GHz band.
So, if you are in the same situation, and didn’t bother changing the credentials, now is a good time to do so.
Make sure to update the credentials for either the 5.0 GHz network or the 2.4 GHz network, and then reconnect the system.

This will remove all of the smart devices that are paired up with the network. However, you’re not left with many options up to this point.
So, be sure to isolate the issue to the channel band and then use credentials that don’t contain any special characters or signs. That will be enough to help you get through the majority of errors with the smart system.
2. Limit Range
The range between your smart devices might also be to blame here. Ideally, most routers will only perform well within the range of 20 ft.
Any longer than that, and you will struggle to secure any response from the unit. So, if you’re in the same boat, be sure to reduce the distance between the devices.
On top of that, you need to make sure that the router and the smart system are well within the line of sight. Otherwise, the connection errors will keep presenting themselves as the signals won’t be able to penetrate through thick walls in your house.
Lastly, you need to also check the configurations. If you messed with the proxy configurations then that might be creating this issue with the ThinQ not connecting. So, you need to make sure that there is nothing wrong with the configurations.
Hopefully, that will be it when you’re dealing with the majority of router-related errors.
3. Remove Interferences
The interferences from other devices are also to blame when you can’t secure any response from the smart unit.
It will take a while to get through the issue, but you’re not left with many other choices here. So, to isolate the problem, turn off all of the other accessories that are installed in the room.
If that does fix your issue, then you’ll know for sure that the interferences are to blame here.
In that situation, you need to remove these interferences by installing a router extension in a different room. It is never a good idea to have a clutter of devices all installed within the same network.
![]()
So, keep that in mind as you try to adjust the situation with the smart system not connecting to the Wi-Fi. Ideally, the problem should be fixed at this point if there are no hardware issues.
4. Check For Hardware Issues
On the other hand, if you’re not too sure about the hardware, then checking for rough sections and broken pieces is a good idea.
You can’t expect a ThinQ device to connect when it is damaged. So, if you got a damaged unit out of the delivery box, then you need to claim the warranty.
You’re not liable for any delivery issues and can call the dealer for a fresh replacement. So, be sure to reach out to the dealer and have him provide you with a new unit.
From there, it won’t be that hard to secure a consistent response from your smart devices.
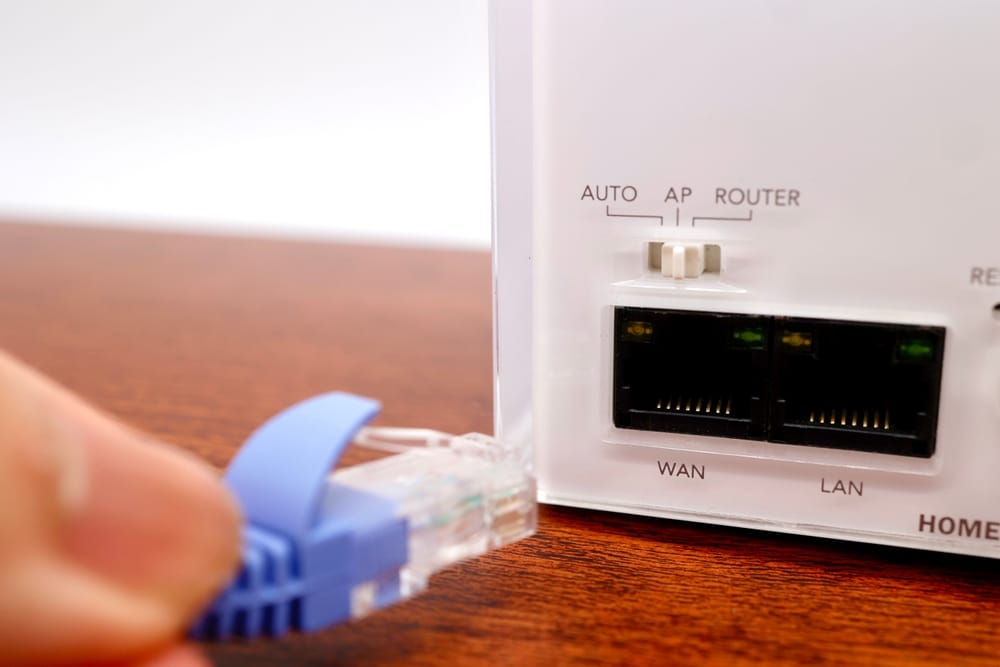
5. Reset Router
If the problem is still there after changing the channel bandwidth and improving the signal strength, then you will need to reset the router.

It can take a while to reconnect all the devices back to the Wi-Fi router, but if you’re sure that there is nothing wrong with the smart device, then it is your only option.
The reset procedure can vary depending on the service provider you’re using. So, refer to the owner’s manual or look up an online guide to reset your router.
Once the router has reset, you need to link it up with the smart devices and the ThinQ application to check the connection.
Most often than not, the issue will be fixed at this stage, and you will be able to access the system without further problems. However, if the issue persists, then there is a good chance that your smart device or the ThinQ application is malfunctioning.
In this situation, try first to remove all application data from your mobile device and then log into your application again.
That should fix the majority of issues with your application, so make sure to access the mobile settings and remove all application data. Hopefully, the connection issues will be fixed at this point.
6. Power Cycle Device
If you’re sure that the issue is not with the network and the application is not connecting even after clearing all data from the phone, then your best bet is to power cycle the device and try to connect it with the application again.
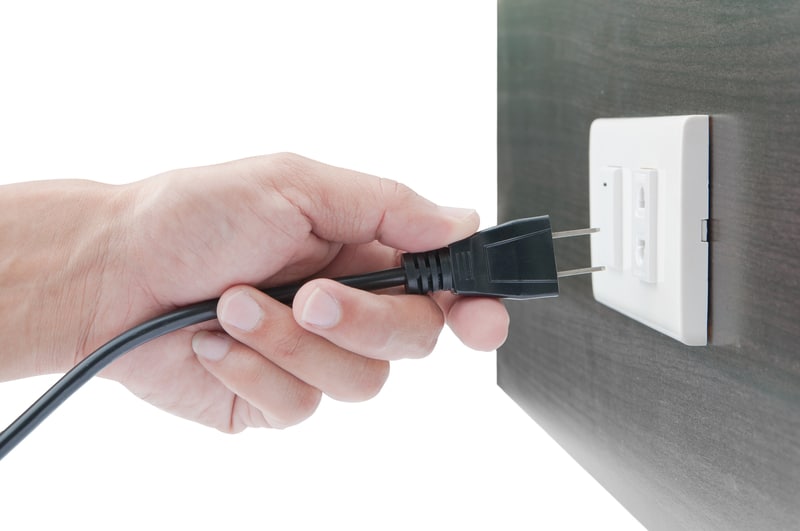
The issue is likely with your smart device, and removing the power connection for 20 seconds should be enough to get ahead of this issue. So, make sure to unplug the unit and plug it in after 20 seconds to get the system working again.
Similarly, reaching out to customer support regarding this error will help you with a better perspective on the issue. So, if you have a valid warranty, just ask the experts, and they will help you get ahead of this problem with your unit.
All in all, these are a few things you need to keep in mind if the LG ThinQ is not connecting. In most situations, resetting the router should be enough to eliminate connection issues.
However, if there is something wrong with your smart device, it is best to reach out to customer support and have them help you with the error.
ThinQ is useless. What would be better if you could just connect your phone directly to the appliance without a network.
It’s just LG keeping tabs on their appliances at your expense. The only time you will need it is when there is a fault, besides that just leave the damn thing alone!