The iRobot BRAAVA jet 240 is a robotic mop designed to clean your floors for you. It’s portable and can easily maneuver around your home, and it comes with a detachable water tank that can store 20 ounces of water. The BRAAVA jet 240 has two cleaning modes: dry and wet mopping. Dry mopping is best for daily cleaning, while wet mopping is ideal for deeper cleanings.
The BRAAVA jet 240 is compatible with iRobot’s Braava mop pads, available in three colours: white, blue, and green. It is an amazing product; however, at times, a few minor issues have been reported by users. Common issues reported with the iRobot BRAAVA jet 240 include problems with the device not charging, the device not vibrating, and water leakage. If you’re experiencing a similar issue, here are a few tips to try:
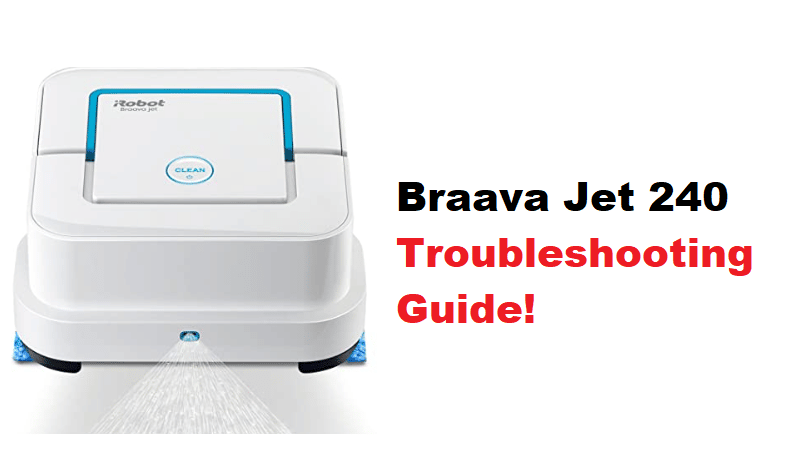
iRobot Braava jet 240 Troubleshooting
- Check Battery
Before troubleshooting your Braava jet:
- Make sure that it is properly powered.
- Assess the battery level indicator on the top of your Braava jet. If the indicator shows that the battery is low, recharge your Braava jet.
- If you are using the AC adapter to power your Braava jet, ensure that the adapter is plugged in and that the power indicator on the top of your Braava jet is lit. If your Braava jet still does not work after checking the battery, please try the following troubleshooting tips.
- Make sure that your Braava jet is turned on.
The power button is located near the bottom of the Braava jet’s back side. The unit must be properly connected to the charging dock. The charging dock has two metal contacts that must touch the corresponding contacts on the bottom of your Braava jet for it to charge properly.
- Check Adapter
If you use the AC adapter to power your Braava jet, ensure it is plugged in and the power indicator on the top of the jet is lit. In case of a faulty adapter, we recommend that you purchase a new one from the iRobot online store.
- Check Cleaning Head
If your Braava jet is not cleaning properly, ensure the cleaning head is properly installed. The cleaning head should snap into place easily and be level with your Braava jet’s top. If the cleaning head is not level, the Braava jet will not clean properly.
- Check Virtual Wall
If you are using a virtual wall to keep your Braava jet in a certain area, make sure that the virtual wall is properly turned on and placed in the correct position. The virtual wall should be placed so that the infrared beam points across the entrance to the area where you want to keep your Braava jet.
- Check for Obstructions
Make sure that there are no obstructions in front of or underneath your Braava jet. If there is an obstruction, the Braava jet will stop and try to clean around it.
- Reset Your Braava jet
If none of the above troubleshooting tips works, you may need to reset your Braava jet. Keep Pressing the power button for more than a few seconds. This will turn off your Braava jet. Once turned off, hold the power button for about 2 seconds to turn it back on.
- Clean Wheels
If your Braava jet is not moving, the wheels may be dirty. To clean the wheels, use a dry cloth to wipe away any dirt or debris. If the wheels are still not working properly, contact iRobot customer care for further assistance.
- Prevent Leaking
If the Braava jet leaks water while cleaning, it is likely, that the mopping pads are not installed correctly. Ensure the mopping pads are properly secured to the bottom of your Braava jet. If you are using damp mopping pads, make sure that they are not over-saturated with water. You should only use enough water to dampen the pad, not soak it.
If you use wet mopping pads, ensure they are not too wet. It would help if you wrung the pads, so they are only damp, not dripping wet. If you followed these tips and your Braava jet still leaks water, don’t hesitate to contact iRobot customer care for further assistance. They’ll help provide additional suggestions regarding how to fix the issue.