A doorbell chime is one of the crucial things that you will need in your smart house. But just like any other smart device, you can often face problems with your doorbell chime. Speaking of which, we have noticed plenty of users have questions about how to fix a doorbell chime box.
To help such users learn all about how they can troubleshoot, our article will be focused on listing some of the most effective steps. So, if you are also struggling with the same issue, then here is what you will need to know:
How to Fix Doorbell Chime Box? (Explained)
- Checking the Fuse
If you notice your doorbell chime to not give any response, then you should start by checking both the fuse and the circuit breaker. It could be that you have a tripped circuit breaker which is why the doorbell chime isn’t working.
However, if there’s nothing wrong with the fuse, then it is likely that you are dealing with some sort of technical problem inside the doorbell. For this purpose, move on to the next step.
- Removing the Doorbell Cover
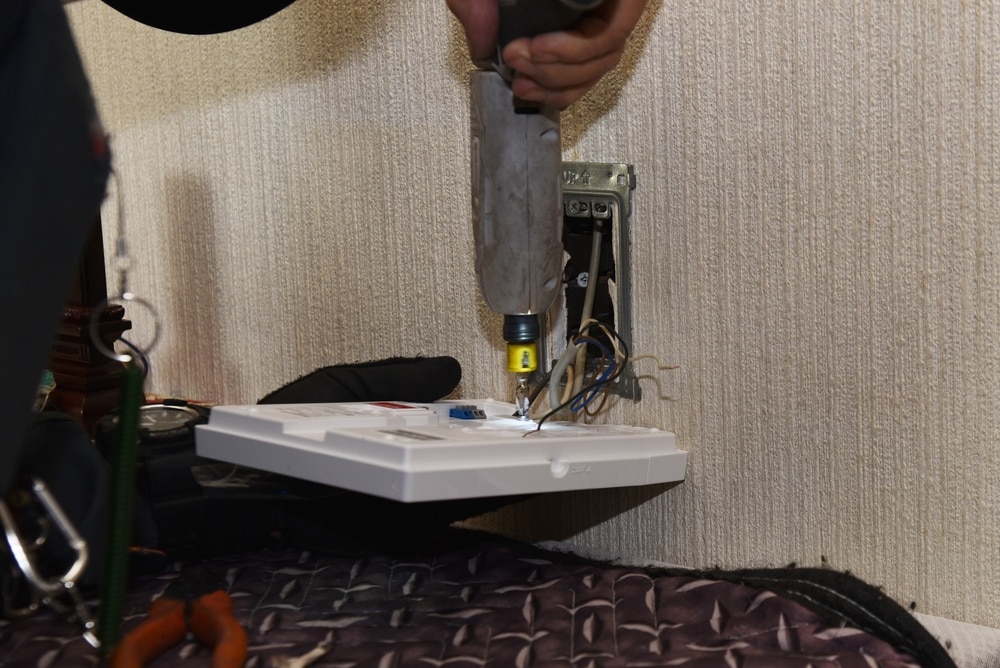
Now that you have eliminated the possibility of a power source problem, the next thing you will need is to remove the cover of your doorbell. To do this, unscrew all the buttons from your wall and ensure that you can see the wires touching.
Keep in mind that you might have to pry off the cover plate before you can successfully see what’s happening inside.
- Checking the Wires
After the cover’s fully removed, you will have to inspect all the wires to make sure there is nothing wrong. Ensure that all the wires are connected to their terminal. Before dealing with any wire, we recommend cutting off the power just in case as a safety precaution.
To rule out a faulty button, you will need to turn the power back on and disconnect the wires from the terminal. Once you do this, try touching the wires together while you are holding them by their insulation. If the bell manages to ring, then you have a defective button.
- Cleaning the Terminals
Considering how you have already opened and disconnected the wires from their terminal, we recommend that you perform cleaning at the contacts where the wires directly connect. You can either use sandpaper or a similar component for cleaning.
After you have thoroughly cleaned everything, try reconnecting the wires.
- Removing Debris Inside Chime Box
Apart from cleaning the terminals, you will also have to manually clean all the components inside the chime box. For this purpose, you can use a Q-tip that is slightly soaked in alcohol. Using this, you can try removing any dirt or grease that you can find inside. Ensure that you clean all components including the hammer, chime as well as contacts.
While you are doing this, we recommend making sure that you don’t have any kind of loose wiring or parts inside the chime box.
- Inspecting the Doorbell Transformer
The last thing that you will need to check is the doorbell transformer. First, ensure that all the wires inside the transformer are tightly secured in their place. Here, you can also make use of a device like a voltmeter or a multimeter through which you can test out the voltage.
However, if you are still struggling with figuring out what could be wrong, then your only other option would be to call in a professional in the field. Let him have a look at the issue that you are facing as he should have a better idea of how to troubleshoot.
The Bottom Line:
Wondering how to fix a doorbell chime box? We have listed step-by-step processes telling exactly how you can troubleshoot your doorbell chime box. Still, if you are having a hard time following the whole process, you should feel free to contact a professional at any time. This way, you should be able to get your issue fixed.