LED light strips are a great way of illuminating your house in a different and exciting way. While ordinary bulbs are used to illuminate the whole room from a single source, light strips are usually spread throughout the room.
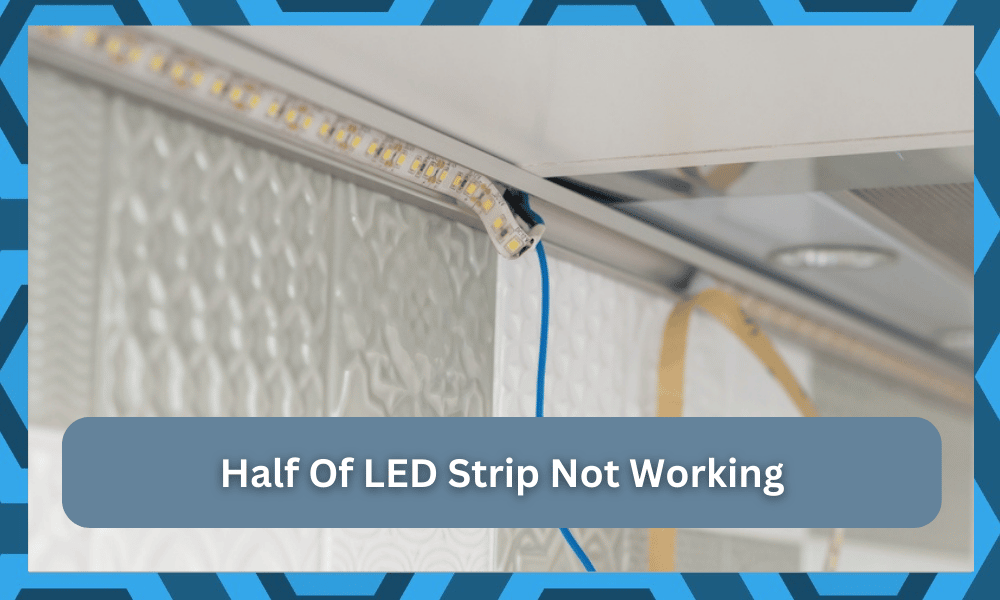
How to Fix Half of the LED Strip Not Working?
There are a number of people who have been complaining about their light strips not working as intended.
According to these users, half of their LED strips are working just fine, while the other half is not working at all. As a result, they are confused about what exactly is happening.
This is why today, we will be taking a look at the issue and telling you how you can fix the issue. We will be listing a number of steps that should all contribute to troubleshooting the issue. Here are all of them mentioned down below:
1. Checking the Unlit Part of LED
In case you are facing this type of issue, then the very first thing that you can do in order to fix the issue is to check the unlit part of the LED.
We recommend that you check the voltage of the unlit part of the LED, as it could be that there is something wrong with that specific part of the LED.
Start with the part where your LED is unlit and keep on checking the voltage of the strip until you find something unusual with that LED. Once you find the faulty part of the LED strip, you can start troubleshooting it.
2. Check for Metal Fatigue Due to Heat
Another possible reason for the error to occur is that you have some heat sinking or radiating that is insufficient to dissipate the LED heat. As a result, the weakest point in the LED strip will stress some cracks causing such issues to occur.
The issue could possibly be fixed if the copper tracks are thin enough. However, if they aren’t, then you may have faced damage that cannot be fixed easily.
3. Check The Power Status
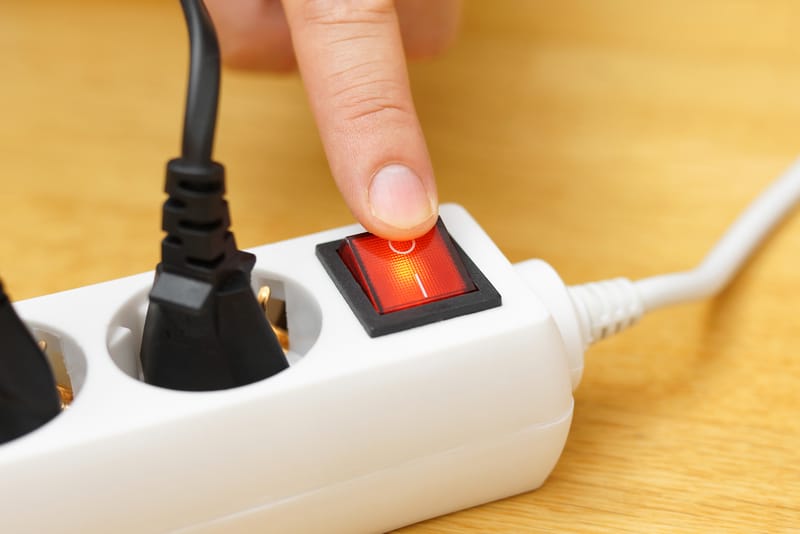
At this point, you need to check the power status of the unit. Over ninety percent of the issues with the LED strip not working properly can be linked to power issues, and there is a good chance that you’re in the same boat.
So, to avoid more issues down the road, you need to check the power status.
The first thing that you need to check here is the unit status as well as the hardware problems with the device. If there are no visible issues with the unit itself, then you need to check on the power output from the source.
Depending upon the type of LED strips installed in your house, you need to match the output from the source to the power requirements of the unit. It can be a good option to rely on a multimeter here.
So, if you’re stuck in the same issues, be sure to make use of a multimeter or any voltage-measuring device.
If you do find that the power output from the source is not optimum, then you need to try out a different source.
Some owners like to rely on backup battery packs, while others switch to different outlets together. So, you have some options on how to fix these errors.
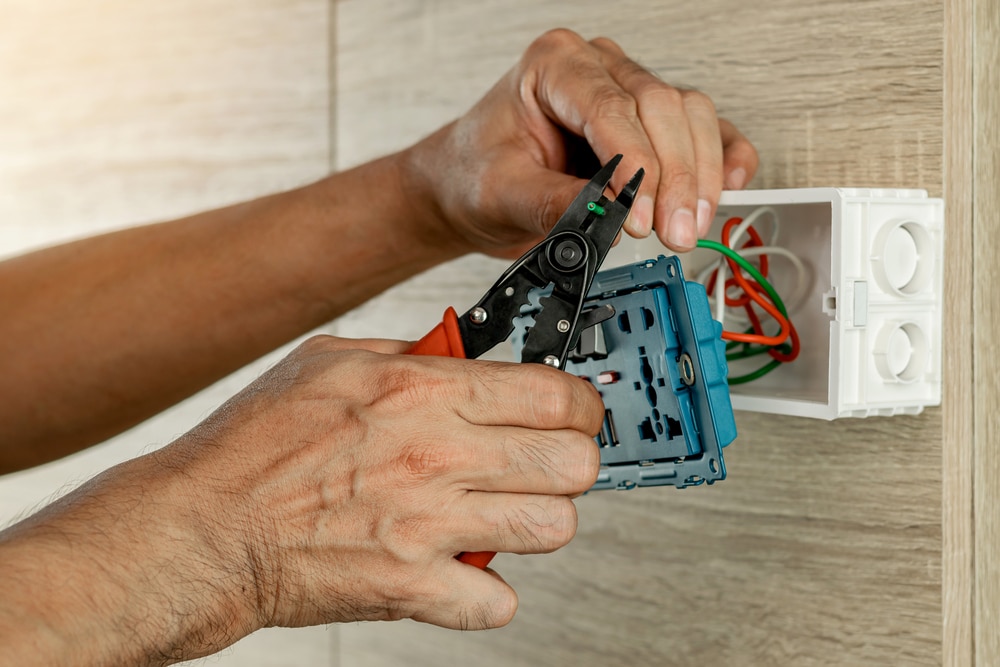
All that you need to fox on here is make sure that the unit is in good shape and that there are no issues with the power. Similarly, if the outlet is indeed damaged, you will have to call in an electrician.
Having a defective outlet in your house is never good, as it can lead to fire hazards.
So, be sure to hire an expert and don’t delay this issue. You will only run into more problems down the road if you’re not exactly sure about the wiring conditions inside your house.
Hiring an electrician will be a bit heavy on your budget, but you’ll save yourself from a massive loss in the long run.
4. Adjust Connectors
One of the main factors behind the flexibility of the LED lights can be linked with the connectors, and you can rely on these connectors to manage the different units.
It can be incredibly hard to get through the setup without adjusting the connectors first.

So, if you’re not getting any response from the lights, then the connectors might be to blame. You need to make sure that you’re pairing up the lights correctly and that there are no damaged pins.
Otherwise, you will only create more problems for the lighting system.
The best fix for broken connectors is to get a new one, and you can’t rely on any quick fixes here. Luckily, getting new connectors will come easy to you, and you can reach out to the dealer.
He might even send you the replacement for free, and you won’t have to worry about the same errors again.
So, be sure to check up on the connectors when you are sure that the light itself is not to blame here. From there, installing the new connectors and patching up the connection is not that hard.
Hopefully, that will be it, as you’re trying to adjust the situation with the LED strip not working.
5. Check For Adapter Issues

Next, the adapter might also be at fault here. These devices can often get damaged during delivery.
While some service providers do focus on the excessive use of bubble wrap, others ignore this requirement. So, if you’re in the same boat, there might be issues with the adapter.
If there are rough patches on the adapter and you’re not too sure about the issue, it might be a good idea to call the dealer for a new one. You’re not liable for any delivery issues.
So, be sure to demand a replacement, and the dealer will provide you with a fresh piece.
It will take a few days at max to verify the claim. Most of the work will be done by the dealer, and you won’t have to go through the verification routine yourself. So, be sure to keep that in mind as you try to adjust the system.
6. Check the Length Of The Strip
The length of the strip can also be linked to the issues with the light not working. Most of the time, the power supply with the LED light will come with a recommended operating range.
You should never go above the recommended limit and make sure that the length is managed properly.
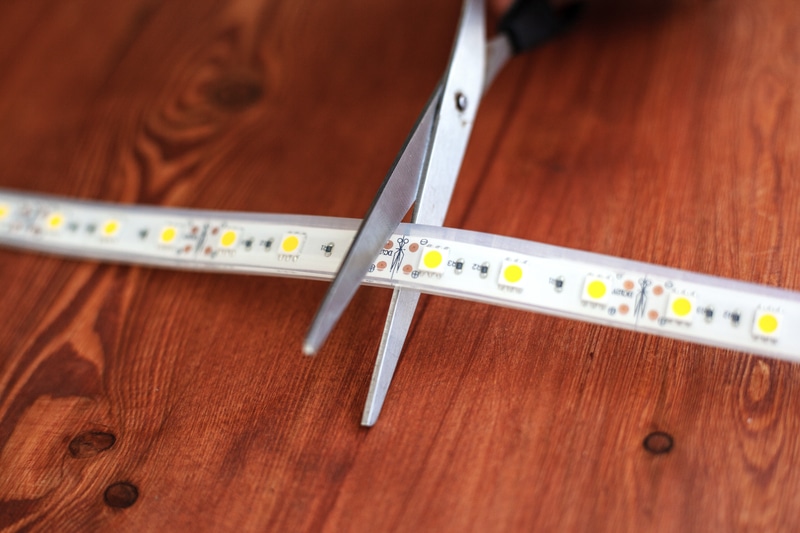
Going above this range will cause the lights to flicker and run into all sorts of issues. So, if you believe that the length of the strip is a bit too much, try splitting it up into smaller sections.
From there, you can test out the lights one more time. More often than not, you will be able to address all of these errors.
However, if the issue persists, then there is a chance that you’re dealing with a defective system. You can’t really fix a defective unit on your end and will have to call the dealer for a new one.
The warranty policies on smart lighting solutions is mostly good, and it won’t be that hard to get a new device.
7. Get the Strip Replaced
If you have tried all the above-mentioned instructions and still can’t get it to work as intended, then it is possible that there really isn’t anything you can do about it. You can still try getting it repaired.
However, if that also does not work, then you will have to get it replaced.
This means that you might have to buy a new strip in order to replace the older one.
The Bottom Line
These are the different ways you can try in order to fix half of the LED strip not working. Ensure that you follow all these instructions for a quick and easy fix to the issue.