
From the various options that you can choose from when selecting a good security camera brand, Geeni is undeniably the most popular one that you can get.
The company offers a whole range of security solutions that are all aimed at helping you feel secure in the comfort of your own house.
The best thing here is that you will not have to spend a massive budget to make use of these units.
All of these devices are incredibly affordable and will not cost you tons of cash just to make use of this system. So, even if you’re on a shorter budget, going with the Geeni system is not a bad idea.
While the cameras offered by Geeni are known to work exceptionally well, these products can still run into issues every now and then.
At times like these, it is important that you know how to troubleshoot these problems.
This is why today, we will be focusing on telling you how you can resolve the Geeni SD card not found. So, without any further ado, let’s get started!
Fixing Geeni SD Card Not Found
- Checking the Size of the SD Card
A common reason why your smart camera might not be able to detect your SD card could be that these cameras only support limited storage.
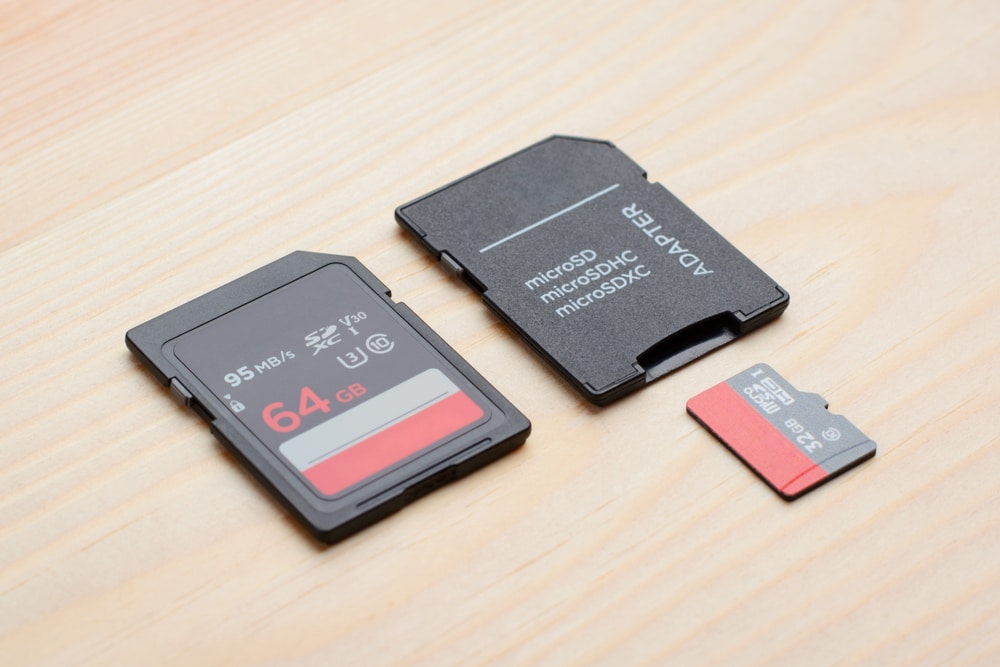
To be more specific, it is possible that you are using an SD card with a storage size of more than 32GB.
If that is the case, then you will have to downgrade your SD card.
As most of these cameras only support storage sizes up to 32GB, you will have to make sure that you insert an SD card with a maximum storage of 32GB.
- Try Reinserting SD Card
Sometimes, reinserting the SD card is all that you need to do to get ahead of these errors.
Most of the time, the issue is not even that serious, and you can get a better grasp of the situation by simply reinserting the SD card.
So, if you believe that there is nothing wrong with the memory unit and it is working perfectly up to this point, just take it out, keep it removed for 5 minutes, and put it back in.
It would also help if you could get a can of compressed air and pressure out the debris stuck in the port.
All that you’re trying to do here is establish a stable connection, and that won’t be too hard to do when the port is clean.
So, just remove the SD card and put it back inside the camera. Hopefully, that will be all that you need to do to figure out this error.
- Power Cycle The Camera
Power cycling the camera is another great method that can help you through these issues.
It might seem like a basic fix, but all that you need to do is to remove the power from the camera and then keep it removed for 20 seconds.
From there, you can turn the power back on and then check for the SD card errors. In most situations, the error will be fixed as soon as you go through this step.
It is a pretty great method for fixing minor programming errors, and power cycling the camera will come easily to you.
If you’re successful at this stage, you will also save yourself from a reset, and going through the configurations will be much easier from this point forward.
On the other hand, you need to also take a glance at the SD card port to further improve your perspective of the issue.
- Check SD Card Port
Port damage might not be that common, but these issues can present themselves from time to time.
This is especially true if your camera was stored away for a few months and you’ve just started using it again.
Most of the time, all you’ll need to do is to clean up the system and then blast some compressed air inside the unit to get rid of lodged debris.
That will be more than enough to help you get rid of the interferences, and you will be able to get a better response from the device.
However, if you find that the port is damaged or something is stuck deep in the unit, then you will have to leave it to the professionals.
You might end up damaging the unit further if you’re not that sure about how to manage the port. So, be sure to check up on the hardware issues.
If you’re lucky, you won’t have to worry about anything past a simple cleaning cycle.
However, if you’re not that sure about the unit, you will have to get to a local repair center to get help on this system.
- A Reset Might Be In Order
If you’re sure that the issue is not related to the hardware, then a reset might be the only thing that can help you here.
The reset routine is an incredible method of helping owners get through minor errors. It takes a few seconds, and the only drawback is that you’ll lose all configurations.
So, if you’re in the same boat, going through with the reset routine will serve you well.

Once the reset is complete, you can go about pairing the camera one more time and defining the personalized configurations.
From there, you can test out the response from the SD card, and it will work properly.
On the other hand, this routine will also give you more perspective on the issue.
If you’re not able to get any response from the device even after the reset, then you’ll be sure that the SD card is to blame here and that there is nothing wrong with the camera itself.
So, you need to shift your focus towards checking the compatibility status as well as the formatting status of the SD card.
There are no other ways around it, and you will have to spend the time here to manage all of these pointers.
- Formatting the SD Card
Oftentimes, SD cards can run into bugs which can cause issues like them not being detected by devices.
In such cases, a format helps restore the SD card to its previous working condition.

However, while formatting can help fix these bugs, it will wipe out any data that you might have stored inside the SD card.
So, be sure that your SD card does not have any valuable data before you decide to fully reset the card.
To format, you will simply have to access the camera through the Geeni app installed on your phone. There should be an option to format under the camera settings tab.
Another thing worth mentioning is the format type on the card. At the time of formatting, you will be prompted to choose the format type, for which we strongly advise that you select the FAT32 system.
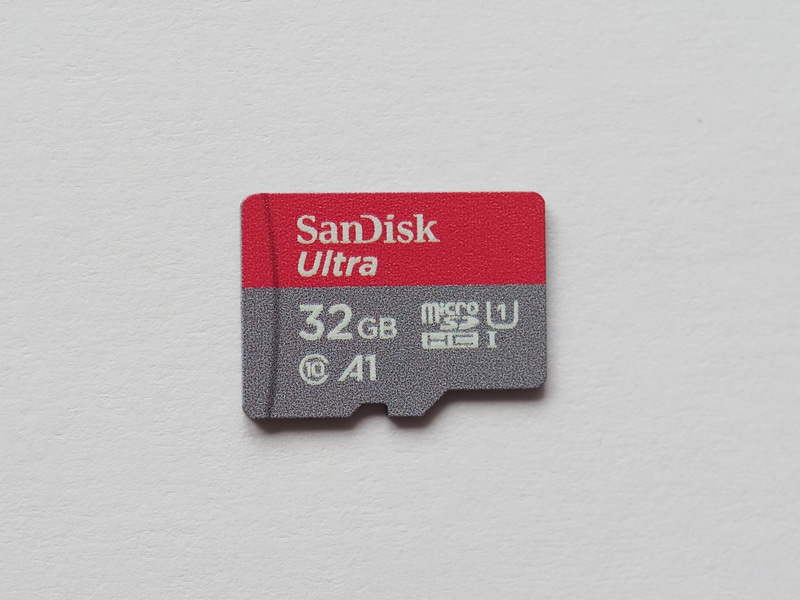
- Getting A New SD Card
If you are still having issues with your SD card not being able to get detected, then the only other thing you can do is to get a brand-new SD card.
It could be that the one you are currently using is a faulty one. Make sure to only rely on established brands and don’t try to go cheap.
Saving a few bucks now will only create more problems down the road. So, saving the budget shouldn’t be your only concern.

Instead, you should focus more on getting a fresh piece that will serve you well for years to come.
It can be quite annoying to have your SD card not detected on your Geeni smart camera. Most usually, these types of issues occur because of the SD card bugging out.
If you are sure that you are using an SD card that is compatible with your camera, then you can try formatting the card to remove any such bugs.
Wrapping Up
The Geeni Camera brings incredible value to homeowners, and you will be able to make use of its smart features without having to spend much budget here.
However, that doesn’t mean that it is all sunshine and rainbows with this system.
You might run into a few errors here and there, and fixing the unit can sometimes be challenging.
So, you will have to figure out the situation by going through some of the troubleshooting steps mentioned above. This is especially true if you’re struggling with the Geeni SD card not found error.
If you’re lucky, the fixes will be as simple as formatting the card or reinserting the memory unit back into the camera.
However, if you’re out of luck, you will have to make the purchase on a new SD card to avoid these issues down the road.
With that said, there can also be other possibilities, like the camera being damaged and there being debris in the port.
So, you will have to do a fair bit of troubleshooting to figure out and address the situation. Furthermore, you can also ask the official support team to guide you through these errors.