Frame Rate Calculator
Convert frame rate into frame time, shutter-angle exposure, motion sampling, dropped-frame cadence, display cadence, and bandwidth multiplier for smart cameras, displays, capture cards, streams, and video workflows.
🎯Real frame-rate presets
Presets fill editable values for common camera and display workflows. Use exact project settings when checking cadence, exposure, and bandwidth headroom.
⚙Frame-rate inputs
📺Camera / display spec comparison grid
📊Frame-rate reference tables
Common FPS and frame time
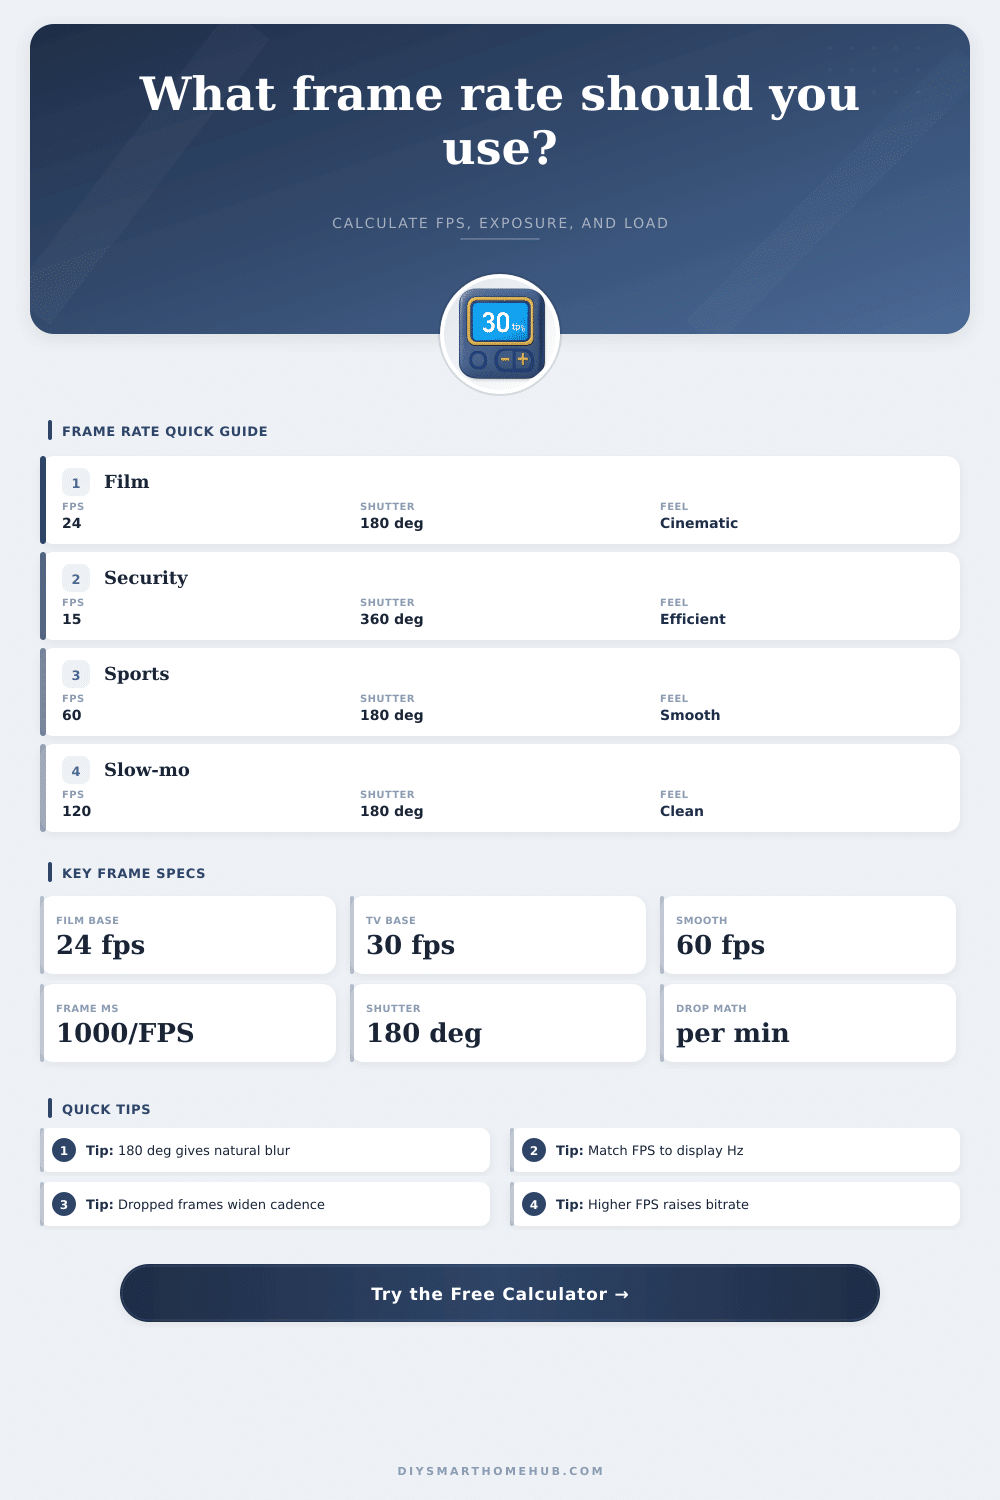
| FPS | Frame time | 180 deg exposure | Typical use |
|---|---|---|---|
| 1 fps | 1000.00 ms | 500.00 ms | Time-lapse capture |
| 15 fps | 66.67 ms | 33.33 ms | Efficient smart camera |
| 23.976 fps | 41.71 ms | 20.85 ms | Cinema delivery |
| 30 fps | 33.33 ms | 16.67 ms | Home video and TV |
| 60 fps | 16.67 ms | 8.33 ms | Smooth video |
| 120 fps | 8.33 ms | 4.17 ms | Slow motion or gaming |
Shutter angle exposure table
| Angle | Formula | At 24 fps | Motion look |
|---|---|---|---|
| 45 deg | Frame x 0.125 | 5.21 ms | Sharp, staccato |
| 90 deg | Frame x 0.25 | 10.42 ms | Crisp action |
| 144 deg | Frame x 0.40 | 16.67 ms | Controlled blur |
| 180 deg | Frame x 0.50 | 20.83 ms | Natural blur |
| 270 deg | Frame x 0.75 | 31.25 ms | Heavy blur |
| 360 deg | Frame x 1.00 | 41.67 ms | Max exposure |
Display cadence fit
| Source | Display | Cadence | Planning note |
|---|---|---|---|
| 24 fps | 24 Hz | 1:1 | Clean cinema playback |
| 24 fps | 60 Hz | 2.5x | Needs pulldown or VRR |
| 30 fps | 60 Hz | 2:1 | Even repeat cadence |
| 60 fps | 120 Hz | 2:1 | Even high refresh |
| 90 fps | 90 Hz | 1:1 | VR target cadence |
| 120 fps | 60 Hz | 0.5x | Good for slow motion |
Bandwidth multiplier formulas
| Factor | Formula | Reference | Why it matters |
|---|---|---|---|
| FPS | (FPS / 30)^0.92 | 30 fps | Codec reuse softens scaling |
| Pixel rate | Pixels / 1080p | 2.07 MP | More pixels need more bits |
| Dropped frames | Drops / (FPS x 60) | Per min | Shows cadence reliability |
| Motion samples | Speed / FPS | px/frame | Lower is smoother tracking |
| Exposure | Frame ms x angle / 360 | ms | Sets blur per sample |
| Effective FPS | FPS - drops / 60 | fps | Actual delivered cadence |
💡Frame-rate calculation tips
Frame rate is the number of frames that appear on a screen every second. The frame rate for a project determine how the motion within the project will appear to the viewer. A project can have many different frame rates depending on the display used to view that project.
For instance, a project that is set to 24 frames per second will behave differently on a display that refreshes 60 times per second (Hz) than it will on a display that refreshes 24 Hz. The exposure time that is selected during capture can also affect the motion blur that the viewer see within the project. These different variable can be entered into the calculator in order to determine whether or not the project will work correctly when played back on the intended display.
Frame Rate: How It Affects Motion, Blur and File Size
Each frame within a project represent a certain amount of time. The length of that time can change based off the frame rate that is set for the project. For instance, a project that utilizes frames per second (fps) of 24 will have an interval between each frame of 41.7 milliseconds, but a project that uses 60 fps will have intervals of 16.7 milliseconds between each frame.
During those intervals, all moving object within the frame will travel a distance. The shutter angle for the project will determine the length of time in which the sensor gathers light during those intervals. A commonly used shutter angle is 180 degrees.
Using a shutter angle of 180 degrees will cause the exposure time for each frame to be half of the length of the interval between frames. This shutter angle create motion blur that appears naturaly to the human eye. Using a shutter angle of 90 degrees will halve the length of time during which the sensor gathers light.
This will make the motion within a project appear as if it is happening in sharper increments, but may make fast-moving subjects appear as though their motion are staccato. Shutter angle is one way in which exposure can be controlled for a project. Many camera also allow for the exposure time to be manually selected.
The calculator also allows for switching between using the shutter angle to control exposure and manually entering an exposure time ceiling. This can be beneficial for projects in which avoiding motion smear is important, such as in scenes with many moving element and in low light. Shorter exposure times will reduce motion blur in the project.
However, shorter exposure times require that more light fall onto the sensor and that the camera utilize more gain to amplify the signal from the sensor. The calculator also takes into account the complexity of the scenes that will be captured in the bandwidth calculation, as each codec processes fast motion differently than it do static images. Another factor to consider in relation to frame rates is the potential for mistake related to display cadence.
Display cadence is the relationship between the frame rate of the project’s source files and the frame rate at which the files are displayed. For instance, a file that features frames at the rate of 30 fps will display cleanly on a screen that refreshes 60 times per second, as 60 is divisible by 30. However, a 24 fps source will not display cleanly on a 60 Hz screen.
The calculator displays this information for the editor to determine whether or not pulldown artifacts will be noticeable on the display, and also whether or not the editing software require support for variable refresh rates. The reverse of this is also true; a project that features 120 fps footage will be edited at 24 fps to create slow-motion footage. The slow-motion footage will stretch each second by a factor of five; however, while the high frame rate footage may work during the editing process, the project will still require high bandwidth to support the high frame rate and storage for the data of the footage during the capture of that project.
Another consideration of frame rates is the potential for dropped frame. When frames are dropped from a project, the frame rate calculations for that project can become difficult. If even a small percentage of the frames in a project are dropped by the player or editing software, the playback of the project will appear unevenly.
The calculator calculates the dropped frames per minute as a percentage and an effective frame rate so that the editor can determine whether or not the remaining frames in the project are frequent enough to correctly and easily track the movement of the subject within the project. For security cameras, for instance, the number of dropped frames will determine whether the footage from those cameras is admissible in court. In sports editing, the number of dropped frames will determine whether or not the play can be fully legible after the video footage is edited.
Bandwidth for a project and the cost of that project are directly related to the frame rate for that project. Bandwidth is the amount of data that is required to process the project. In the calculator, a multiplier is provided for each set of project settings in relation to the bandwidth of a project with standard settings (1080p30 H.264).
For example, a project that is set to export at 4K frames at the rate of 60 fps and features sports action will require four to six times the amount of data to process the footage relative to the standard project settings. The calculator can help editors to determine whether or not their networks and data storage can handle the amount of data that will be required for the project. If the amount of data (bandwidth) required for a project is too high, then the editor can choose to reduce the resolution of the project or edit the project to use more compression of the video files.
Many editors and cinematographers believes that higher frame rates are always better for the project. While this is true to a certain extent (as higher frame rates will exhibit smoother motion), they come at a cost. Higher frame rates require shorter exposure windows for the sensor, more available light within the subject, and more processing power from the camera to process the frames at that rate.
The calculator helps provide editors with a view of these trade-offs. For example, if the pixel step between each motion sample in a project is too high, it will be impossible for software to correctly track the movement of the subject. Additionally, if the length of blur between each frame is more than twenty pixels, the editor will lose the ability to see fine details in the project.
These measurements are not absolute, but are indications of editor of whether or not a certain frame rate is appropriate for the project. The same logic can be used to determine the settings for time-lapse projects and projects that utilize variable intervals for exposure of specific portions of a scene. For instance, if a project with one frame per second is played at a rate of 30 fps, the time in the project will be compressed dramatically.
However, the length of time for which each frame is exposed might be long enough to make the clouds within the project appear to be moving. The calculator can show the editor the length of each exposure so that a decision can be made in advance of whether an ND filter will be required or whether the exposure will need to be manually set for the project. Finally, many projects will use a variety of frame rates throughout the editing process.
For instance, a project may be recorded at 60 fps, but edited at 24 fps. Thus, each time that a project is converted from one frame rate to another, another question of cadence must be asked of the editor. While the calculator will not replace the editing experience, it can help editors to focus upon the motion within the project rather than the calculations involved in creating the project.