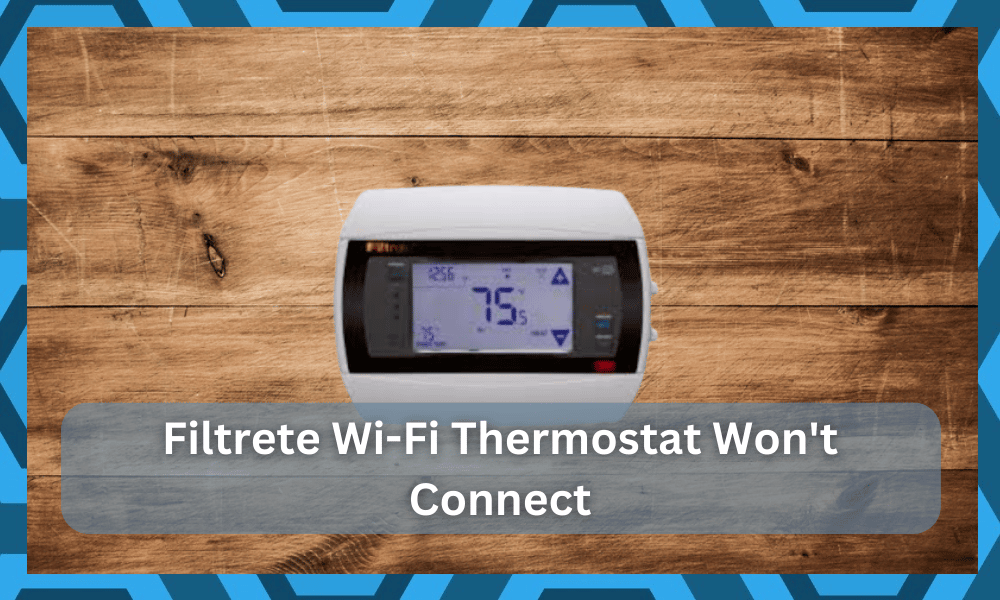
Filtrete is a famous brand known for its home filtration products. They have a wide range of products that are oriented towards your house’s comfort. They offer a cheap alternative to smart thermostats as well.
The thermostat that they provide has all the features that make up a good thermostat.
However, unlike other smart thermostats, this one does not come with advanced smart features like smart monitoring sensors and more.
But, for someone looking for a budget thermostat, a Filtrete Wi-Fi thermostat could still be a pretty solid choice.
It should be enough for average use. So, if you’re short on budget and need to make a reasonable purchase, going with this option might not be that bad of an idea.
How to Fix Filtrete Wi-Fi Thermostat Won’t Connect?
Quite a few users are having trouble using their Wi-Fi thermostats. They can’t connect the thermostat to Wi-Fi after they have installed the thermostat.
Due to this, they are left frustrated or confused. If you are one of these users and are in need of a desperate fix, then we will help give it to you.
Through this article, we will be mentioning a few ways how you can fix the Filtrete Wi-Fi thermostat that won’t connect. Here are all of them listed in an orderly fashion.
- Make Sure You Have Provisioned the Thermostat
One of the first things that you can do in order to fix the issue is to make sure you provision the thermostat.
The term provisioning means to identify and connect your thermostat to your home network.
Before you try this, reset your thermostat. There should be a dedicated reset button on the thermostat that should be held down for a few seconds in order to reset.
You will need to use either your phone or computer to search for all the available networks.
Once you choose the network address, you may have to insert your router username and password, along with the thermostat pin (that can be found on the thermostat or its user manual).
Afterward, it should attempt to connect to the Wi-Fi.
- Use a 2.4GHz Network

Another quick and easy fix to this problem is to simply use a 2.4GHz Wi-Fi network instead of a 5GHz network.
Most devices don’t really work well with a 5GHz network. As a result, you should make sure that you are not using it.
Simply access your router settings. Under the Wi-Fi tab, you should be able to change your network band to 2.4GHz. Once you make that, attempt to connect to your Wi-Fi again.
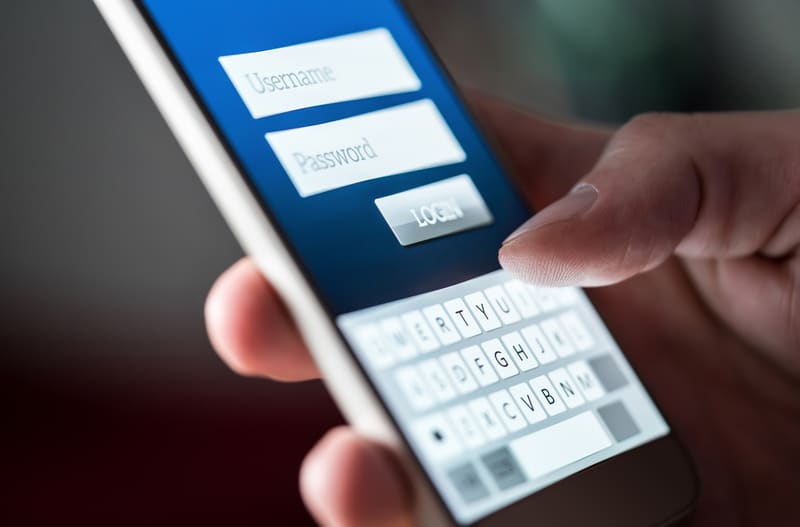
- Change Credentials
At this point, you need to shift your focus toward changing the credentials. If you’re not sorted at this stage, then the issue might just be with the credentials, and you need to manage them accordingly.
This is especially true for owners that are working with a dual-band router.
While there is no debate that having a dual-band router is great, it can lead to a few issues here and there with the system.
It is not uncommon for owners to forget to update the credentials as they are trying to set up the unit.
Having the same credentials for 2.4 GHz and the 5.0 GHz network makes the connection harder, and you will not be able to secure any long-term response from the unit.
So, you have to either switch up the credentials for the 2.4 GHz network or switch them up for the 5.0 GHz channel.
Either way, you have to make sure that the user name and the passwords are different for both units. That will mostly be enough to help you through the majority of these errors.
However, if you’re still stuck even after going through these pointers, then there is one more thing that you need to check.
You have to make sure that there are no special characters in the username or password of the router that you’re trying to connect.
This means that you have to remove all of the cool signs, like a hashtag or a dollar sign, from the credentials and then go through the pairing routine one more time.
That will usually be enough to have you sorted through these errors.
- Check Interferences
Next, you have to also shift your focus towards the environment and make sure that it is not cluttered with extra smart units or wireless accessories that can complicate the setup.
This means that you need to limit the number of smart units in your house and then proceed with the setup from scratch.
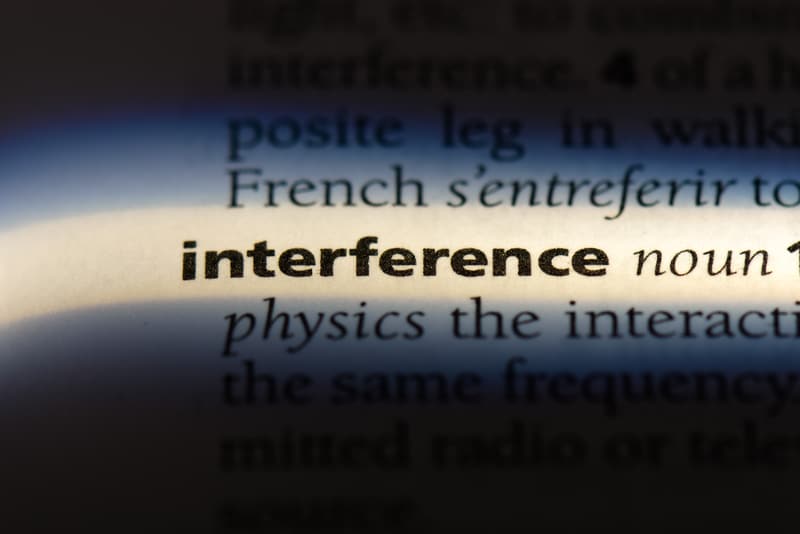
To confirm, you can simply turn off the extra units and then check up on the response from the smart device.
It should connect without further complications, and you will be sorted with the issue. From there, you have two choices with the extra units.
Either you can introduce a smart hub into play and connect these devices with the smart hub or completely remove them from the system.
That way, you will not have to worry about interference, and the signal strength will improve by a decent margin.
It all comes down to how you’re planning on tackling the issue, and these pointers will help you a ton in the long run. Hopefully, you will not have to worry about or deal with more complications.
- Try Power Cycling The Unit
Sometimes, all it takes on your end is to power cycle both units. There is a chance that you’re just dealing with minor programming bugs, and you can’t ever root out this possibility.
So, if you’re still stuck, just go through a quick power cycling routine.
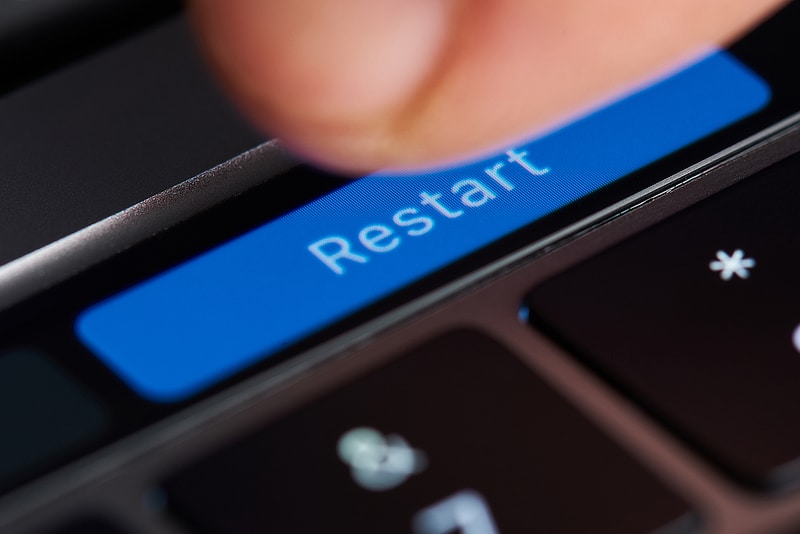
All that you have to do here is to remove all power from the unit and then keep it removed for about 50 seconds.
From there, you can power up the router first and then power up the thermostat. It will take a few seconds for the unit to turn on and establish a connection.
At this point, you can proceed with the setup routine to try and connect the unit to the router.
If you’re lucky, it will not be that complicated to address the situation at this point and you will be sorted in no time.
- Limit Range
Limiting the range between the router and the smart device is also a good idea. It all comes down to how you’re planning on making it easier for the device to connect to the home network.
So, if there are thick walls or the distance is too much, try to address that accordingly.
In most cases, the router is only effective for about 20 ft of range. This is especially true if you’re using an off-brand option that is not established in the market.

So, be sure to limit the range accordingly when you can’t seem to fix the issue on your end.
From there, you can also make sure that the router is in direct line of sight from the unit.
It will take a few seconds to address those issues, but you’re not left with many options here. Ideally, that will be more than enough to help you get the connection back.
However, if you’re still not able to get a desirable response from the unit, then the possibility that you’re dealing with a defective unit increases by a good margin.
Sadly, there is not much that you can do about this possibility except to demand a new unit by reaching out to the official support team.
- Contact Support Team
The last thing that could potentially help you reconnect the thermostat to your Wi-Fi is contacting support.
The support team should know exactly what’s wrong with your thermostat and why it is acting in such a way. In case it’s broken, they should help you get it replaced, granted it’s still under warranty.
The Bottom Line
Filtrete Wi-Fi thermostat won’t connect to the internet? We strongly suggest you act on the instructions that have been written in this article.
Most of the time, you will have an effortless experience with the unit. However, if you do run into some snags, you can always reach out to official support.
It all comes down to how you’re planning on addressing the situation, and reaching out to the experts is never a bad option.
These professionals bring years, if not decades, of professional experience to the table and will have you sorted in the long run.
However, if you’re not that sold on reaching out to the experts, spending a bit of time trying to adjust the router will also do you well.
All that you will need to do is quickly power cycle both of the devices and then go through the configurations one time.
Ideally, the errors will be addressed as soon as you manage the configurations. You just have to make sure that the channel band is set to 2.4 GHz and that there are minimal interferences in the region.
From there, you can also check up on credentials before trying out the connection again.