We can all agree on how Deebot is a solid choice for customers looking for a good vacuum robot.
These devices come equipped with features that are all oriented toward giving you a great experience.
So, it can be pretty easy for owners to set up this smart system in their houses.
If you’re in the same boat and can’t seem to find the right fit, we suggest that you try out the Deebot unit.
It will be one of the best purchases you will ever make, and you won’t have to switch to any other brand.
Though there can be times when you will suddenly end up getting an error when using these devices.
How to Fix Deebot N79 Anti Drop Sensor Malfunction?
Speaking of which, a lot of users have been complaining about getting a particular anti-drop sensor malfunction error on their Deebot N79.
In case you seem to be one of them as well, then here is what you can do to get it fixed:
- Cleaning the Sensor
If you are getting any issues related to the anti-drop sensor, then the first thing that you will need to do is to give your robot a good clean.
As these sensors can get dirty over time, you will have to wipe off any dust that may have accumulated near the sensors.
Similarly, there are plenty of cleaning tools that are readily available which can be used to effectively clean such sensors.
However, if you don’t have access to any such tools, then you can simply make use of a clean cloth instead. Just make sure that you aren’t too rough during the cleaning process.
- Checking the Driving Wheels

Once you have successfully cleaned the sensors, then the next thing that you will have to do is to perform a quick inspection of the driving wheels.
There can be times when particles can get stuck on your driving wheels, with hair being one of the most common ones.
Likewise, you can use the tools that come with your Deebot N79 in order to clean the wheels.
Ensure that you remove/cut out any hair or debris that might be tangling around your robot’s wheels.
- No Harm In Power Cycling The System
Power cycling the unit is a great idea as long as you’re sure that the sensors are in good shape and the unit is cleaned properly.

You can’t expect any performance from a damaged unit and will have to switch things up eventually.
So, if you’re on the luckier end, just remove the unit from the dock and then proceed to disconnect the battery from this device.
Once that is done, you can leave the unit isolated for a few hours. Make sure that it is kept in a dry box with optimal temperatures.
Otherwise, moisture can damage the smart system without giving you a chance to get through these issues.
After that is done, you can next check the situation with the unit one more time once the batteries are reconnected.
This time around, you won’t have to bother as much with the controls, and the unit will start working with the existing smart system.
It all comes down to eliminating minor programming bugs when the hardware is in good shape.
- A Quick Reset Might Be In Order
Next, you need to check the condition of the Deebot to further isolate the situation. If you’ve yet to narrow down the errors, be sure to go through a quick reset.

This includes resetting everything to factory default and going through the setup again.
This process can be very extensive, especially when you have to go through the mapping routine again.
However, you’re not left with many options here. So, just follow through with the reset routine mentioned in the manual.
Once that is done, you can try engaging the Smart system one more time. That will be enough to help you secure a response from the device.
Ideally, you won’t have to bother with anything after that, and the unit will work perfectly with your system.
- Leave The Unit To Charge
Sometimes, you will have to leave the unit out to charge for a few hours. Depending upon the battery status, you will run into similar errors down the road.
So, if you’ve been using the Deebot for a few months now, just let it charge for a few more hours.
Once that is done, you can try engaging the smart cleaning robot again when it is fully charged.
If you’re lucky, the response here will be optimal, and the unit will go through the whole setup routine without any errors.
On the other hand, if you’re not getting the optimal response from the battery, it might be time to get a new unit. It all comes down to how you’re planning on maneuvering through the issue.
- Try Using The Deebot On An Even Floor
While the working conditions can vary from unit to unit, using the Deebot on an even floor will help you avoid the majority of setbacks.
Making use of this system on a rough patch will not only damage the base but will also interfere with the sensors.
You need to pick up the unit and then place it on hardwood floors to confirm this suspicion.
If the issue is addressed as soon as you make this small change, then you will know for sure that the working conditions are to blame here.
Sadly, you can’t do much here, and you need to only use the robot on the more even sections.
That will be more than enough as you’re trying to fix the issue with the Deebot anti-drop sensors malfunctioning.
- Inspecting the Bumper Rail
The next thing that you will have to check is the bumper rails of your robot. What usually happens is that your bumper might have gotten stuck because of some reason.
In such cases, you will have to press each side of your bumper rail.
Once you do, it should be able to rebound on its own. Do make sure that you don’t put too much force on the bumper rail as you will have to simply press the sides using just a bit of force.
- Hardware Fault
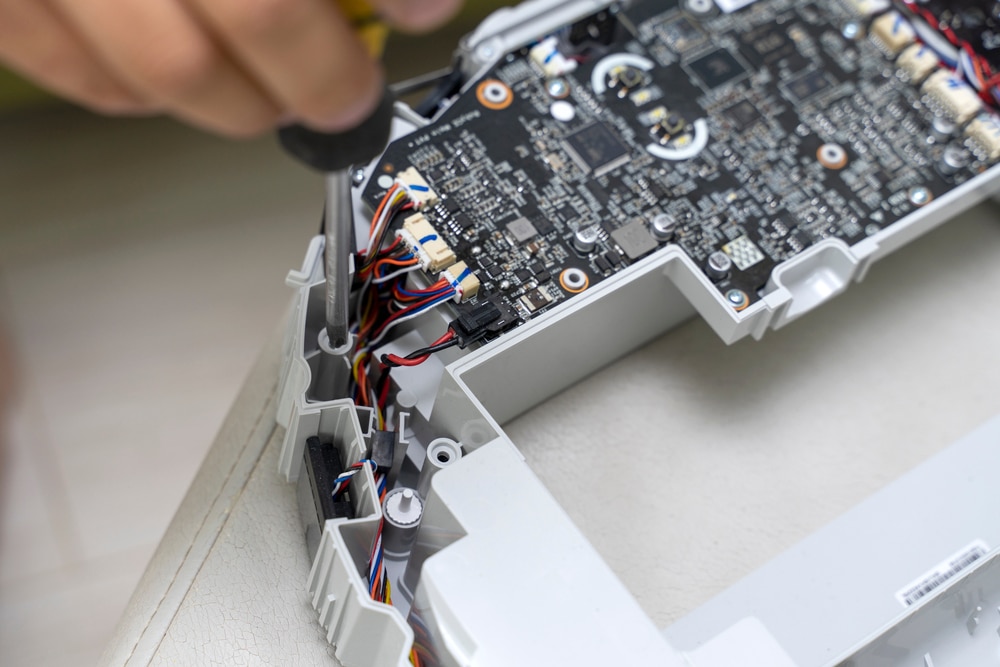
If none of the above-mentioned solutions have worked so far, then chances are that you might have a hardware-related issue with your Deebot.
If that really is the case, then there isn’t anything that you can do about it on your own.
Instead, you will have to get in touch with a professional who can thoroughly inspect your Deebot.
Just take your device to any local repair shop or have a technical call at your home, both of which should increase your chances of getting the robot working again.
- Contacting Support

While it is most likely that you have a hardware fault, you may be able to get your device repaired or replaced without any added cost if it’s still under warranty.
Even if it isn’t, you should try getting in touch with the ECOVACS support team.
Let them know how your device has been acting up. After listening to your query, they should be able to suggest further solutions or recommendations, which should lead to getting your issue resolved.
If the issue still seems to persist, then we’re afraid the only other option would be to get the whole device replaced with another working model.
The Bottom Line:
Annoyed with your Deebot N79 Anti Drop sensor malfunction error? It seems that this issue usually occurs when your robot’s sensors are compromised by any sort of dirt or debris.
Luckily, this only requires you to clean your robot and remove any such particles that may have been near the sensor or the driving wheels.
If you wish to learn more about the issue, then be sure to refer to the article above! Most of the time, maintenance is enough, but you can’t do much if the hardware is damaged.
Sometimes, it can get damaged during delivery, other times, it can get damaged during usage.
Either way, the warranty is good for a few months and you can claim a replacement in no time. All you have to do is to show a valid proof of purchase, and the dealer will take it from there.
Hopefully, you won’t have to bother with more errors down the road as you try to adjust the smart system.
I have cleaned my deebot as instructed. It will not run more than a few minutes before shutting off. Any other suggestions? Annoyed
I’m in the same boat, I just got mine too, and the house isn’t dusty at all. :-/ don’t know what to do.
Check battery and replace if needed.