Arc Flash Suit Calculator
Estimate adjusted incident energy, required suit rating in cal/cm2, rating margin, hood, glove, and face protection compatibility, category recommendation, and task heat burden for arc-rated suit selection.
📌Arc flash suit selection presets
⚙Incident energy and suit inputs
Arc flash suit result
Results compare adjusted incident energy with the selected arc-rated suit system.
🧰Selected suit kit spec grid
📊Arc flash suit category table
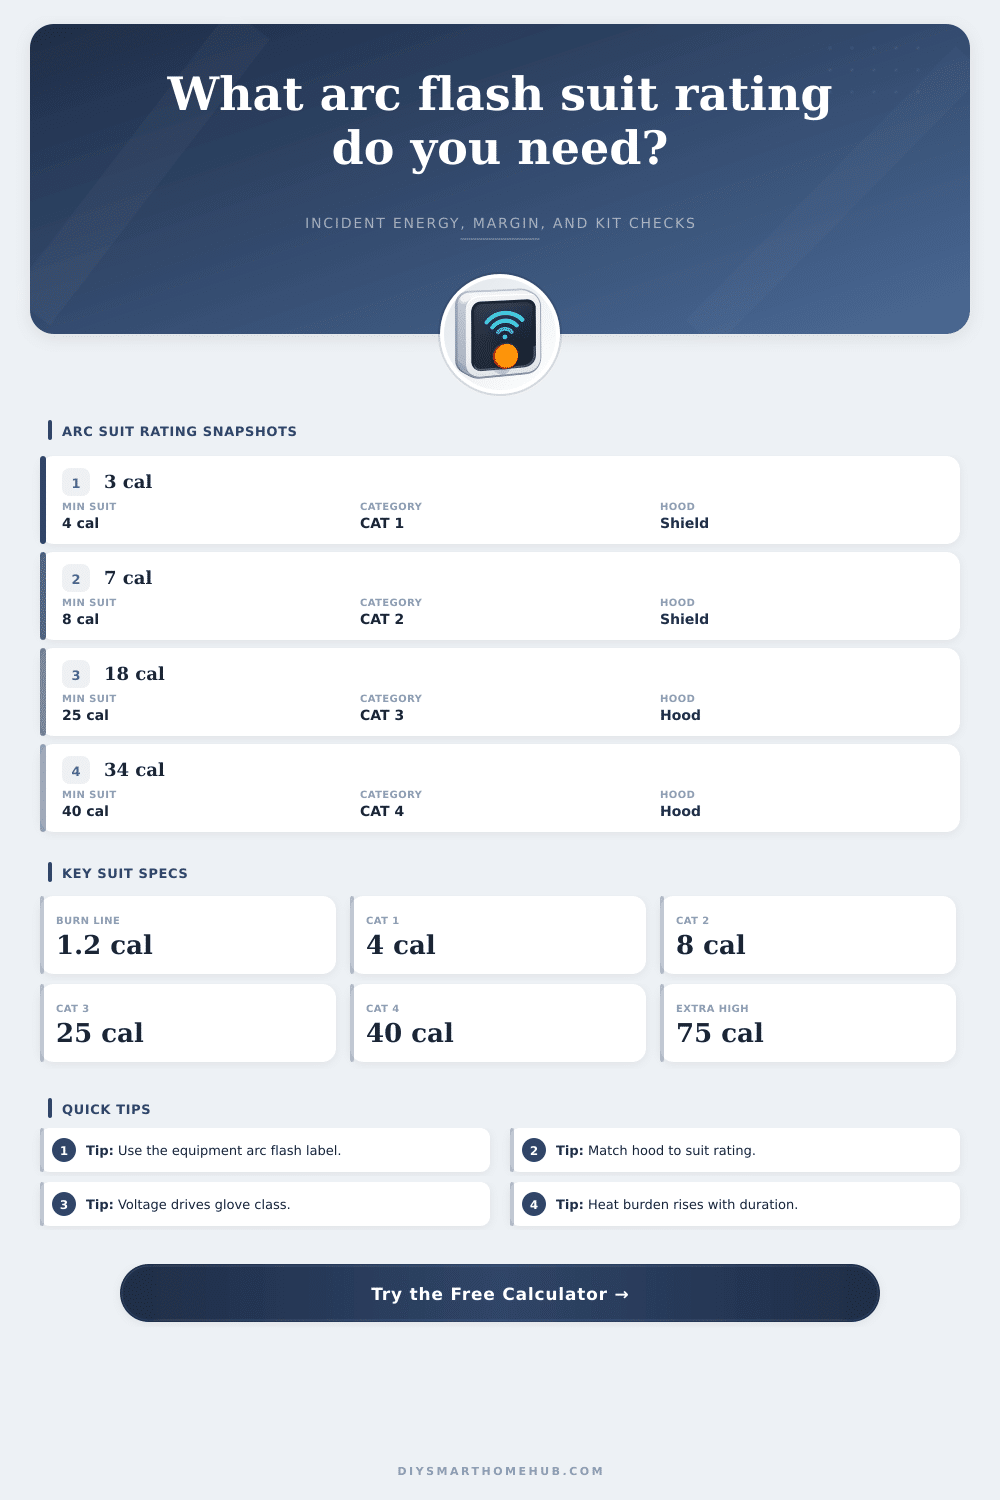
| Adjusted incident energy | Minimum arc rating | Category signal | Head protection signal |
|---|---|---|---|
| At or below 1.2 cal/cm2 | Arc-rated system may not be required by energy alone | Below arc flash burn threshold | Use site rule and shock PPE |
| Over 1.2 to 4 cal/cm2 | 4 cal/cm2 or higher | CAT 1 planning band | Arc-rated face shield or hood |
| Over 4 to 8 cal/cm2 | 8 cal/cm2 or higher | CAT 2 planning band | Face shield plus balaclava or hood |
| Over 8 to 25 cal/cm2 | 25 cal/cm2 or higher | CAT 3 planning band | Arc flash suit hood |
| Over 25 to 40 cal/cm2 | 40 cal/cm2 or higher | CAT 4 planning band | Arc flash suit hood |
| Over 40 cal/cm2 | Special review before energized work | Above common CAT 4 table band | Remote work or engineering controls |
🎭Hood, face shield, and glove compatibility
| Kit item | Calculator compatibility check | Pass signal | Review signal |
|---|---|---|---|
| Arc-rated face shield only | Usually limited to lower energy tasks | CAT 1 with adequate rating | CAT 2+ normally needs balaclava or hood |
| Face shield plus balaclava | Compared to CAT 2 head protection need | Up to 8 cal/cm2 planning band | Use hood above CAT 2 band |
| Arc flash suit hood | Hood rating must meet or exceed adjusted energy | Hood rating greater than exposure | Hood rating below suit or exposure |
| Rubber insulating gloves | Class voltage rating compared with nominal voltage | Class rating exceeds voltage | Leather-only selected for energized contact |
| Leather protectors | Assumed when rubber class is selected | Rubber class plus protectors | Confirm condition and test date |
🌡Task heat burden factor table
| Factor | Calculator input | Formula effect | Planning interpretation |
|---|---|---|---|
| Suit insulation | Selected suit rating | Higher rated kits add heat score | Layered 40+ cal kits burden work faster |
| Task duration | Minutes in suit | Duration score = minutes / 10 | Longer tasks need work/rest planning |
| Ambient heat | Ambient temperature | Temperature score rises above 70°F | Hot rooms increase heat stress risk |
| Work rate | Light to heavy work | Heat score multiplied by work factor | Racking or awkward work raises burden |
📐Formula reference table
| Result | Expression used | Input source | Purpose |
|---|---|---|---|
| Incident energy | Label energy x time ratio x distance factor x enclosure x task | Arc flash label and task fields | Screen adjusted exposure |
| Suit rating | Next standard rating at or above adjusted energy | 4, 8, 12, 20, 25, 40, 55, 75, 100 cal | Select arc-rated kit band |
| Margin percent | (selected rating - adjusted energy) / adjusted energy x 100 | Selected suit and calculated energy | Shows reserve in the selected system |
| Compatibility | Hood rating, face option, and glove voltage checks | Head protection and glove inputs | Flags mismatched suit components |
| Heat burden | (suit heat + time + ambient) x work rate | Suit, duration, temperature, task effort | Signals heat-stress planning need |
💡Calculation tips
While selecting the proper arc flash suit doesn’t require an engineer, it does require more than a wild guess. Though most electricians is aware they should of wearing something that’s rated for the task at hand, all too often people forget difference between what’s on their panel sticker and the suits in the locker room.
The calculator does the math for you. It turns a confusing label into a crystal clear choice. It bridges gap between paper instructions and real-world situation: you are standing next to live equipment.
Why You Need an Arc Flash Calculator
The one thing to know about this is that incident energy isn’t a static value. What you’re getting is a starting point (based off a certain distance, at a certain clear-time). But you don’t always have ideal conditions, which is why they are labeled as such. You might be working closer, which mean higher density energy values. Your protective device may be mis-adjusted, or it may be aged. This cause it to take more time to trip. As a result, the time increases and your thermal load goes up.
These variables are where the tool kicks-in. It doesn’t just give you a number; it adjusts that number based on your actual situation, like when you are holding a multimeter in a tight space while leaning over it.
And then there’s the actual suit rating. Arc-rated kits must be rated higher then the adjusted energy. Not equal to it or lower. For example, you may have a four-calorie suit that appears adequate for a low-energy task. But what happens if your calculated exposure equals three point eight calories because of a longer clearing time? You’re in trouble.
The margin, the buffer between what you’ve protected against and the worst case, is displayed in the calculator. That margin is your protection margin. It covers label errors, uncertainty in studies, and the reality that faults don’t behave exactly as they did in textbooks.
Don’t overlook accessories. You can have a top-rated jacket on, but nothing to protect your face except a shield that stops two calories of energy? As you climb up into higher task levels, including Category 3 and 4, make sure that what you’re protecting your noggin with isn’t rated lower than your suit.
That’s why the tool checks those compatibilities beforehand, flagging them so you don’t get all suited up until you remember: Gloves also matter, not necessarily for arc flash directly, but for shock protection at the voltage level you are working, though leather-only gloves might save your skin from heat but won’t stop current flow if you touch a live conductor by mistake.
One big hazard is heat burden. Forty calories of arc rating clothing in ninety-degree temperatures is no joke for putting someone at thermal stress. The math takes into account how long you’re doing the work, the ambient temperature and how hard you’re working. Working hard, racking breakers involves a lot of awkward posturing and heavy lifting, all of which add up to a huge increase in your heat score.
When the tool says you’ve got high heat burden, it’s no longer simply a comfort issue. It’s a physiological risk that will cause dehydration, confusion, and mistakes. And making mistakes out in these high energy environments is final.
On page, there’s also a reference table that maps bands of energy to categories and associated required headgear. Review this against your site rules; does what they say match? If you’re performing hands-in troubleshooting, then you must wear the complete hood & face system, not just a shield and a shirt.
Once you have numbers, it’s binary: either the gear protects you from the risk, or you don’t go energized. At its core it will allow you to substitute calculation for intuition. It will make you look at time, distance, your equipment’s condition, and your own body temperature all together.
Still, you need a qualified person to approve final plan. But knowing that these numbers are staring you in the face before any bad decision becomes a permanent scar is valuable. Use the label info, tweak for reality and believe in the margin.