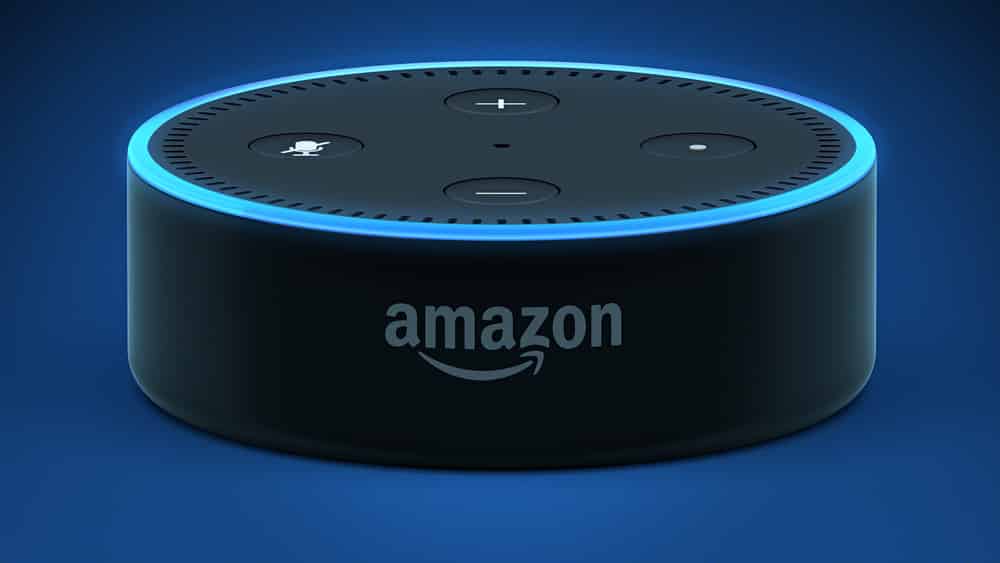
Connecting the Alexa smart assistant with the Echo device will often bring forward the error 7:1:10:12:2 to the owners. This is usually nothing serious, and you just have to narrow down the problem to connectivity problems with the system. So, there is no need to worry about defects in your speaker, and taking a look at the communication channel will help you get ahead of this problem.
The majority of owners were able to fix this issue quickly by just changing the network connection. However, if you’re not that lucky, then going through the following list of troubleshooting methods will help you fix Alexa Error 7:1:10:12:2.
Alexa Error 7:1:10:12:2
- Reboot Router
The simplest solution to this issue with your Alexa smart unit is restarting the router. There is a good possibility that you’re only dealing with this issue because of the minor bugs in your router. Luckily, restarting the router removes all of these issues, and you have a decent shot at fixing this issue. So, just reboot your router and try to connect Alexa with your smart device again.
Make sure to remove the power from the router for more than 30 seconds. Once all the indicators on the router have turned off, you can start up the system again, and that should fix this error with Alexa.
- Bring Echo Closer To Router
Another thing that you can do to improve this situation is to bring the router closer to the Echo unit. There is a chance that the signal strength of the Wi-Fi is not strong enough to reach the speakers. So, to improve the signal strength, you can bring the router closer to the smart speakers.
Once that is done, reboot the Echo speaker once and connect them with the Wi-Fi again. At this stage, you can try to connect these smart speakers with the Alexa assistant, and they will work without any issues.
- Check Channel Bandwidth
The channel bandwidth on your router can also be the reason behind this error with Alexa. So, make sure to restrict the channel bandwidth to a single band, even if you’re using a dual-band router. That will make it easier for the Echo speakers to connect to the internet, and you won’t have to deal with the same Alexa error.
Once the speakers are connected with Alexa, you can change the router configurations again to default. So, for a brief moment, only broadcast the 2.4GHz channel and turn on the 5.0GHz channel after the speakers have connected to Alexa.
- Remove Interferences
The interferences between the router and the smart speakers also play a crucial role in this error. Even when you’re sure that there are no bugs in the system and the router is only broadcasting a single band channel, interferences between the router and the speakers can create these issues.
To get around this problem, you need to remove any Wi-Fi extender and amps between the devices. Make sure that the speakers are in the middle of the room and close to the router. Now, you can try to connect the Alexa assistant again with the unit.
- Use Another Network
Switching to another network is also a solid option when you’re not getting the desired connection from the router. You can either use the cellular network or another router to connect the device with the smart assistant.
If there is nothing wrong it the Echo device, the issue with the Alexa connectivity will be fixed at this stage. Just make sure to power cycle the smartphone once to eliminate the possibility that you’re dealing with a bugged app.
- Check For Updates
You should also check for firmware updates with the Echo device if the Alexa issue is not fixed at this point. In most conditions, this issue is linked with the performance of your router. However, if you are sure that the router is working perfectly, then resetting the Echo device or checking for updates should be your next step.
Resetting the Echo device should be your last option as that can remove all the configurations from your device. So, you will have to set aside a substantial amount of time to go through all the settings again.