The smart thing application is quite easy to use, and you can manage all your devices quite easily.
The Home page consists of all of the different devices that you have linked with the SmartThings hub. You can create groups of lights and do so much more with your smart device.
If you’re planning on improving control over the smart units and you need a bit more performance out of your devices, then going with SmartThings might just be the right fit.
This application has helped countless owners get the ideal response from their devices, and you will be able to benefit as well.
From there, you can go about adding more routines and schedules to personalize the device.
Hopefully, you will not have to deal with any snags, and seeking help from an experienced user will speed up the setup for you as well.
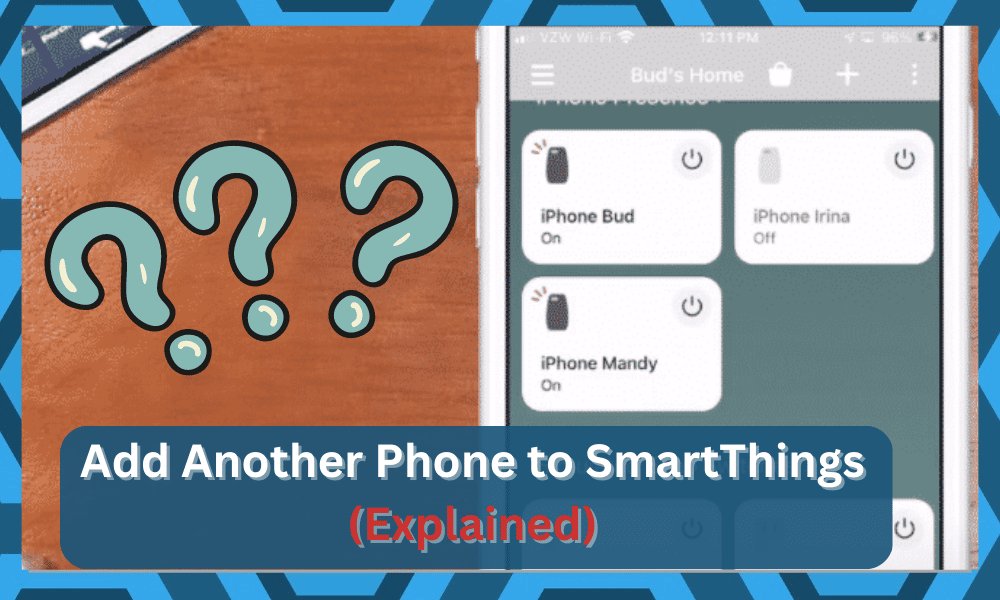
Add Another Phone to SmartThings
Initially, it will be difficult to get a general understanding of how the application is supposed to work.
Many users are looking to add multiple phones to their smart hub so that they can allow their spouse or kids to access the SmartThings hub.
Customers have options available on their SmartThings application to set up different mobile phone devices.
That way, whenever they’re in the geofence, you can get the presence sensors to activate. The procedure is quite simple, and all you need is the classic SmartThings application.
At this point, the owner should just log in to their account that is linked with the smart hub.
You need to access account settings, and you will be able to manage users. From there, you just need to invite the person using their email.

After you’re done, the person you’re trying to invite will receive an email, and they have to follow the instructions mentioned in the email to get their account linked with your smart hub.
For the presence sensor to work properly, you need the location services to be activated on both phones.
You can also use the scanning features to scan the QR code of the invitation. That will help you add new members to the application, and you will not have to go through any extensive routines.
It all comes down to how you’re planning on going about the setup.
Another thing to verify while the setup procedure is that the mobile account should be connected to the same location in the smart hub, and you’re all set.
Now, just open the application on the new phone and go into the presence sensor settings. Just follow the instructions to export settings onto your phone.
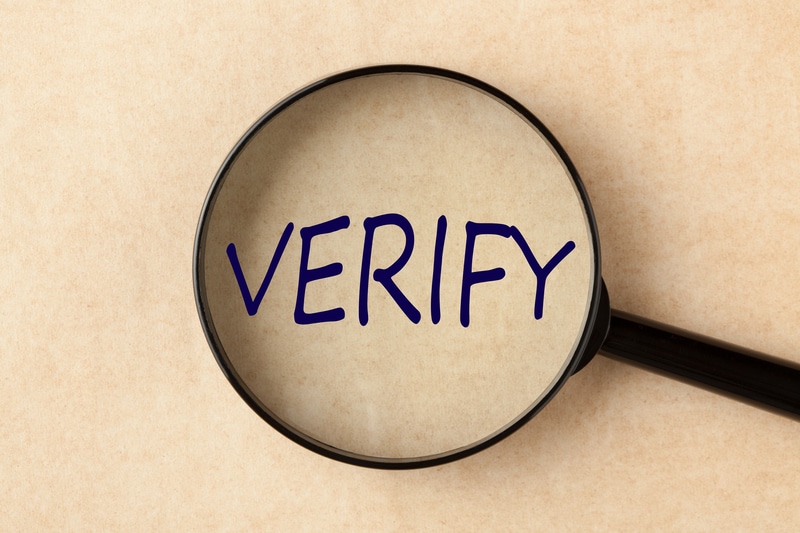
To verify whether or not the feature is working, you should move your new phone outside the geofence and back into it.
If doing that triggers the actions that you’ve predefined, then that means that you have successfully added another phone to SmartThings.
So, you can rest easy and won’t have to worry about dealing with any errors in this regard.
Now, there will be two triggers that will activate when even one of the authorized users enters the geofence.
This feature won’t be accessible unless you have an internet connection available.
That way, the SmartThings hub will get updates regarding your location, and your geofence won’t malfunction.

The good thing here is that you will maintain admin controls and can add or remove new users at will.
So, you will not have to worry about anyone messing with the smart features or the controls when setting up this unit.
Presence Sensor Not Working
If the phone is added successfully to the presence sensor, but the geofence is still not functioning properly, then you should start by resetting the radius of the geofence.
However, if that doesn’t get the sensors to start working, then you can always remove the new device and add it again to the SmartThings hub.
Ideally, that will be it, and you will not have to deal with more errors on your end.

However, there might even be issues with the hardware. You will need to thoroughly check the hardware and make sure that the sensors are not damaged.
If you’re not that sure about the hardware, then your first step should be to get a replacement.
You will not gain anything by trying to fix a damaged unit, and you will need to ask an expert to help you out.
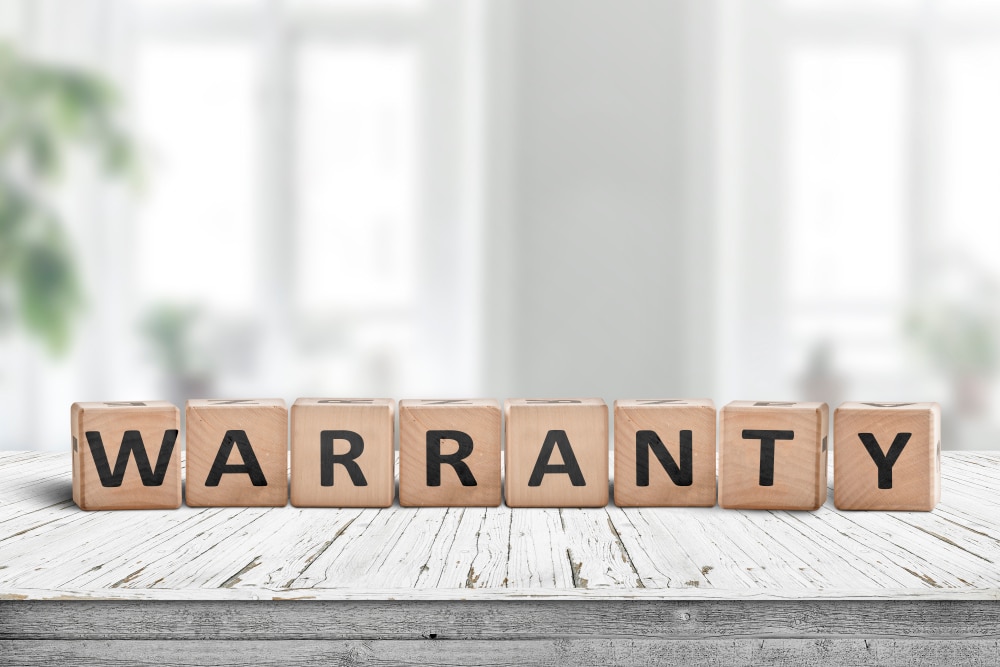
All that you need to do is to call the dealer about a replacement. He will ask for proof of purchase and you can provide him with a valid receipt.
Sometimes, the dealer will verify everything on his end so you will not have to deal with any complications.
So, instead of trying to fix the sensors, inform the dealer. He will take charge of the situation as long as you’re working with a valid warranty.
Lastly, if you’re confused about any step, then you can try asking Samsung support. It can take them a bit of time to respond.
They will help you sort out any issue that you’re facing. It will be much better than trying to figure out the situation on your own.
All you have to do is inform them about your issue, and they will list different steps that you can use to troubleshoot the given problem.
It all comes down to how you’re planning on addressing the situation and seeking help from certified professionals will always do you well.
Monitoring Location After Adding Phone To SmartThings
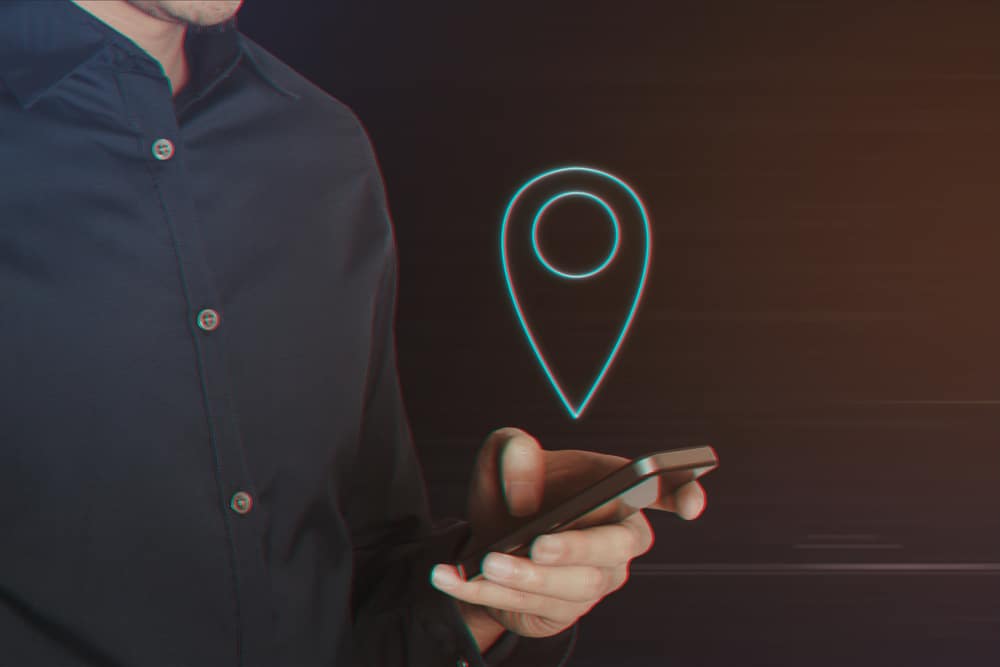
One of the most common concerns that owners often bring up when adding new phones is whether or not they can keep track of the location of these phones.
While some owners try to pursue this outcome, others fear the intrusiveness of this feature. So, you might find mixed responses to this feature.
If you’re aiming to limit the intrusiveness of the application, then you will be glad to know that the SmartThings doesn’t accurately track your location or announce it on the app.
You will just get two status points, including “Home” and “Away.” Other than that, you will not be able to access any specifics, and your location will also be secure.
So, be sure to keep that in mind when you are not that sure about adding your phone to an app that has access to your location 24/7.
The main purpose of the geofencing feature is to help you get the desired response from the smart system.
It will not invade your privacy in any dimension, and you can expect the top tier of safety and performance from this application.
On the other hand, if you’re aiming for these features to be accurate to keep an eye on your family’s safety, then we suggest that you look towards other options like Life360.
You can’t use the SmartThings application to keep track of the family members at all times.
The best you will get is the “Home” and “Away” status, which will help you figure out if someone has left the house.
Other than that, you will get no idea of their current location, and this application is not meant for security purposes.
![]()
For this reason, you will find that almost all of the owners will switch over to Life360 as they are trying to stay in touch with their family members.
This app has been dominating the market for years, and there is not a single option that will even come close in comparison.
So, instead of trying to get the security performance or similar features from the SmartThings, try switching to an application that is specifically meant for these features.
That way, you will not have to deal with any extensive errors as you’re trying to maximize your control over the security features.
Wrapping Up

These were some details on how to send invitations to add new members or phones to the SmartThings application.
Most of the time, you will have an effortless time with this app and will be able to sync up the geofencing features right away.
From there, you can go about personalizing the situation and adding more devices into the mix.
Just be sure to also get pointers from an expert, as managing this application can be hectic if you’re a beginner. So, to avoid the hassle, you can ask any expert from the official team to help you out.
The same is the case for owners that can’t seem to get any performance out of their sensors.
So, if you’re in the same boat, we would always recommend that you involve an expert.
There is simply no gain in trying to fix these errors on your own when tons of experts are willing to help you out.
All that you have to do on your end is to explain the issue and then ask for pointers. These experts will inquire more about the unit and then guide you accordingly through a fix.
Hopefully, that will be it and you will not have to deal with more errors on your own.