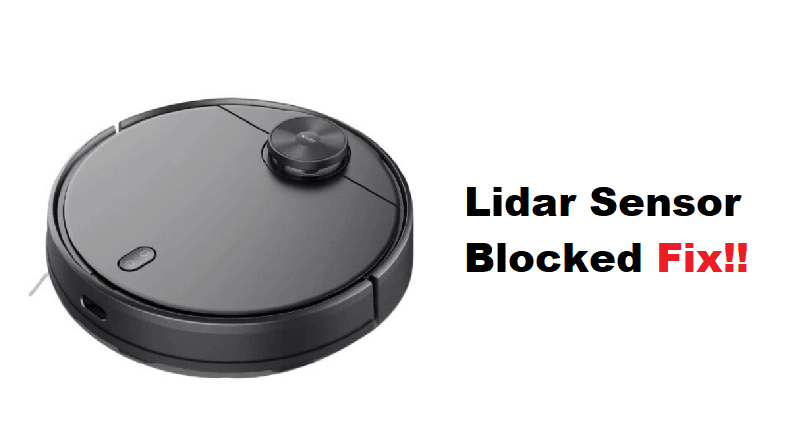
Wyze maintains a decent reputation when it comes to security systems. However, the market sentiment is not that great when you’re going through its cleaning units. While the durability of these devices is pretty great, you will have to give close attention to the vacuum maintenance. Otherwise, you will be running into errors like the Wyze Vacuum Lidar sensor being blocked.
On the other hand, if you’ve just bought the unit and it won’t work properly, then there are a few methods that you can try to fix the device. So, just follow through with some of these fixes, and your Wyze unit will be as good as new.
How to Fix Wyze Vacuum Lidar Sensor Blocked?
- Remove Plastic Packaging
If you’ve just removed the vacuum from the box, and it is presenting you with this error after you finish the setup, then the problem is likely related to the packaging of this device. You didn’t pull the plastic packaging properly, and there are still some bits and pieces left on the unit. These bits block the normal operations of the Lidar sensors, and you should completely remove the plastic cover to get optimal performance from this device.
- Check For Debris
At this point, there is no harm in checking the unit for debris. If it has been a while since the purchase of the Wyze vacuum, your first step should be to rid this device of all clogged particles.
Most of the time that is enough to help you with the errors related to the blocked sensors. So, grab a clean cloth and then wipe away all the debris from your device. Make sure to keep it clean, and giving a few minutes every day to its maintenance will be enough for the ideal performance.
- Use An Air Blower
Sometimes, the debris particles are clogged up in the sensors, and you can’t really use a cloth to get rid of all the particles. In this situation, it is best to get an air blower and try to use compressed air to clean the debris from the sensors. You don’t have to worry about the pressure damaging the sensors, and a few seconds of use should be enough to rid the unit of all the clogged particles. From there, you can go through the setup one more time.
- Reboot Your Cleaning Robot
If the issue is not fixed at this stage, it might be a good idea to reboot the device. If you’re sure that the sensors are clean and there is no packaging left on the device, then the problem is likely related to the programming of the unit. The best move here is to fully reboot the device and then check the response from the vacuum. Most often than not, the issue should be fixed as soon as you restart the device.
- Check For Damaged Sections
Damaged sections on the cleaning robot will lead to the same situation as well, and you won’t get any response from the Lidar sensors when it is actually damaged. So, just inspect the device for damaged sections and then take your device to a repair center or claim the warranty. Your main focus should be on getting a fresh piece if the robot is indeed damaged.
- Make Sure The Surface Is Even
The surface that you’re using for your cleaning robot also has a role to play in this situation with the Lidar sensors. If the surface is not even and you’re using the vacuum on a rough patch, then the sensors can often malfunction. The only thing that can be done here is to find a different spot for your sensors and then check the response from your robot one more time.
- Try Resetting Your Vacuum
Lastly, you should proceed with the reset routine if you believe that there are no physical issues with the sensor. It will take a few minutes to reset the device, and you will have to go through the reset routine from scratch. However, there aren’t any more options left at this point, and you should try reaching out to the official support if this method doesn’t help you fix the vacuum. Hopefully, that will be it when it comes to managing the Wyze Vacuum.