Projector Throw Ratio Calculator
Check whether a projector lens can make your target image from the planned throw distance, then compare zoom position, feasible screen range, wall clearance, and vertical lens-shift clearance.
📌Real Projector Layout Presets
Loaded preset: Living Room 120. Standard 1.13-1.47 throw lens, 12 ft throw, 120 in 16:9 image, and a lens height slightly above screen center.
⚙Throw Ratio Inputs
🔍Projector / Lens Spec Comparison Grid
📊Reference Tables
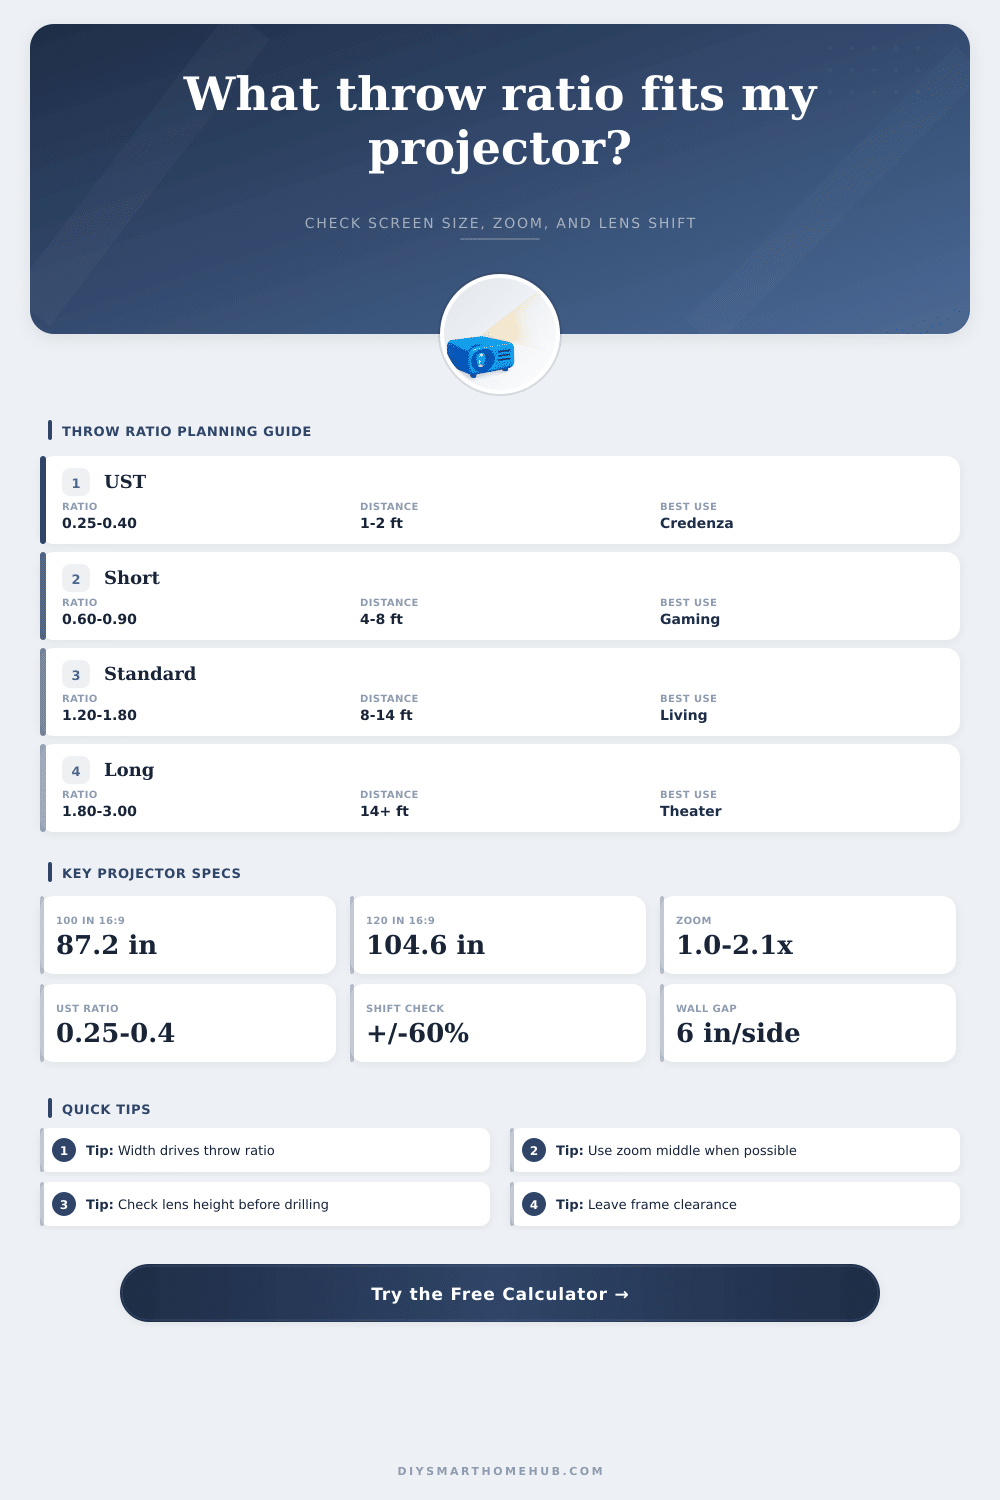
Throw Class Reference
| Lens class | Throw ratio | 100 in 16:9 distance | Mounting note |
|---|---|---|---|
| Ultra short throw | 0.25 to 0.40 | 1.8 to 2.9 ft | Credenza or fixed UST cabinet |
| Short throw | 0.60 to 0.90 | 4.4 to 6.5 ft | Coffee table or near-front ceiling |
| Standard throw | 1.10 to 1.80 | 8.0 to 13.1 ft | Typical shelf or ceiling mount |
| Long throw | 1.80 to 3.00 | 13.1 to 21.8 ft | Rear shelf or deep theater room |
Common 16:9 Image Dimensions
| Diagonal | Width | Height | Area |
|---|---|---|---|
| 92 in | 80.2 in | 45.1 in | 25.1 sq ft |
| 100 in | 87.2 in | 49.0 in | 29.7 sq ft |
| 120 in | 104.6 in | 58.8 in | 42.7 sq ft |
| 135 in | 117.7 in | 66.2 in | 54.1 sq ft |
| 150 in | 130.7 in | 73.5 in | 66.7 sq ft |
Aspect Ratio Width Factors
| Aspect | Width factor | Height factor | Typical source |
|---|---|---|---|
| 16:9 | 0.8716 x diag | 0.4903 x diag | Streaming, gaming, TV |
| 16:10 | 0.8480 x diag | 0.5300 x diag | Business, WUXGA |
| 4:3 | 0.8000 x diag | 0.6000 x diag | Classic presentation |
| 2.35:1 | 0.9208 x diag | 0.3918 x diag | Cinemascope screen |
| 21:9 | 0.9191 x diag | 0.3939 x diag | Ultrawide media |
Lens Shift Clearance Guide
| Lens type | Vertical shift | Best lens height | Risk check |
|---|---|---|---|
| UST fixed offset | 0 to 10% | Per cabinet spec | Cabinet height dominates |
| Fixed portable | 0% | Near image center or offset spec | Needs tilt if height is wrong |
| Standard zoom | 10 to 30% | Slightly above center | Check screen bottom height |
| Cinema zoom | 50 to 96% | Flexible ceiling mount | Still verify top clearance |
| Long throw lens | 50 to 60% | Rear shelf or ceiling | Throw may fit before shift fits |
📝Preset Result Reference
| Preset | Lens profile | Required ratio | Zoom fit | Shift fit |
|---|
💡Projector Planning Tip Boxes
Throw ratio is a number that describes the relationship between the projector and the screen. The throw ratio will tell you how far the projector need to be from the screen to create a specific size of the image. If you understand the throw ratio, youll be able to ensure that the image is in the correct location in the room.
If you dont understand the throw ratio, however, the image may end up being too small for the room, or you may have to move pieces of furnitures in the room after the projector is installed. You can calculate throw ratio by dividing the distance from the projector to the screen by the width of the image that is projected. A calculator can be used to perform this calculation by entering the distance that you would like the projector to be from the screen, as well as the size of the screen that you would like to create with the projector.
How to Use Throw Ratio to Place a Projector
Using a calculator for this calculation will eliminate the guesswork in determining the distance that the projector should be from the screen. Additionally, the calculator can be used to make sure that the lens that is used on the projector has the appropriate zoom range to create the size of the screen that you would like at the distance that you would like the projector to be from the screen. Many screens comes in different sizes, and the size is often advertised as the diagonal measurement of the screen.
The projector screen size calculator can convert that diagonal measurement to the actual width and height of the screen. The aspect ratio of the screen is another important specification because a 120-inch screen that has a 16:9 aspect ratio will be wider than a 120-inch screen that uses a 4:3 aspect ratio. Another reason that the aspect ratio is important is because the throw ratio will change with the width of the screen; the wider the screen, the more greater the throw ratio.
Many individuals who are unfamiliar with projector specifications often miss this fact, as they only often look at the inch measurement of the screen. Once you have determined the throw ratio, you must calculate whether or not that ratio falls within the zoom range of the projector lenses. Projectors has different zoom ranges; for instance, some projectors may have a zoom range of 1.2x, but other projectors may have a zoom range of 2x or more.
Generally, the wider the zoom range, the more flexibility that you have in positioning the projector. For instance, if an obstacle like a ceiling beam or an air vent prevents the projector from being placed at the ideal point, you will want to be able to move the projector a few feet without changing the size of the screen that is projected. Another consideration for projector placement is known as vertical lens shift.
Projector screen size calculators will allow you to enter the width of the screen, the height of the screen, and the height that the lens should be placed. Based on these inputs, the calculator will tell you whether or not the lens will be too high or too low from the center of the screen. If the lens placement is too high or too low from the center of the screen, tilting the projector or the projector mount will be required.
Tilt placement can create keystone distortion on the screen, so ensuring that the vertical lens shift is within the projector specifications before purchasing projector mounts will prevent these issues from occurring. The width of the wall on which the screen will be projected and the distance from the screen to the bottom of the screen can also have an impact on projector placement. For instance, if the wall is only slightly wider than the screen that is to be projected, the screen may end up too close to the edges of the wall.
Additionally, if the speakers for the screen are to be placed beside the screen, the screen may be too wide for the wall to allow the speakers to be placed beside the screen. The screen size calculator will flag these factors, allowing you to decide whether you would like to shrink the screen size or find a different wall to place the projector onto. There are also projectors with different lens specifications for different sized rooms.
For instance, if the room is narrow in height, it may be necessary to use a lens that allows the projector to sit on the surface that is directly below the screen; these projectors are known as ultra short throw models and use a large mirror to reflect the image from the screen to the projector. Short throw projectors are useful for gaming setups, as the projector can rest on a table near the front of the room. Standard zoom lenses are used for most living rooms and theaters because they allow the projector to sit farther from the screen.
Long throw lenses are useful for those with deep rooms, as the lenses allow the seating area to remain clear of the projector. The aspect ratio for the screen can change the dimensions of the screen. A 2.35:1 aspect ratio screen will be wider than a 16:9 screen of the same diagonal size.
Because the aspect ratios are different, the throw ratio for these two screens will also be different. Using the calculator will allow users to automatically adjust the width and height of the screen to these different aspect ratios. The brightness and contrast of a projector can change with distance.
For instance, a projector may be bright at eight feet from the screen, but it may not be as bright at twenty feet. A screen with a higher gain can be used to brighten the image, or the projector can be set to create a smaller image on the screen. This measurement will tell you the size of the screen, but you will have to decide if the brightness is sufficient for the room.
The height of the projector will depend on the placement of the furnitures in the room. If the height of the console or shelf is known, the projector calculator will show you if this particular height will work with the clearance of the screen from the bottom of the screen. If it does not work, the screen will have to be changed or an extension arm added to the projector mount.
These two options will add to the cost and complexity of the projector installation. The acoustics of the room and the way the audience will be seated in the room can complicate projector placement. For example, the projector may have to be placed directly above a chair.
In this situation, the projector may have to be shifted to one side of the screen to provide more comfort for the audience members. However, the projector may shift the throw ratio to the limits of the projector lens range. The calculator will show valid results, but the installation may not be valid for the room.
Another consideration in projector installations is the future of the room. For example, if you plan to buy a larger screen in the future, the lens for the projector should have a large zoom range to provide extra room on the screen. If you want the projector to be portable in the future, a short throw projector may be more useful than a long throw projector.
While these considerations are outside the mathematical calculation, they are important to ensure that the projector installation will accommodate the room for a long time. The best way to install a projector that will work for the room is to take measurements of the room. Relying on estimates of the dimensions of the room will result in potentially making an error in the throw distance or screen height.
You should measure the height and width of the projector twice before entering any number into the projector calculator to ensure that the projector will work for the room when it is turned on.