If you’re looking for variety and need a diverse range of dimmer switches for your home, then sticking with Lutron smart devices will serve you perfectly. This brand has been in the market for a long time, and millions of users from across the nation make use of these products to manage their smart devices. So, if you’re looking for a safe option to install in your home that you won’t have to change for well over a decade, then you’ll surely find an option from the Lutron portfolio.
With that said, quite a few users have asked about Lutron Switch not working. So, if you’re dealing with a similar issue, then the following solutions would give you a better perspective on this issue.
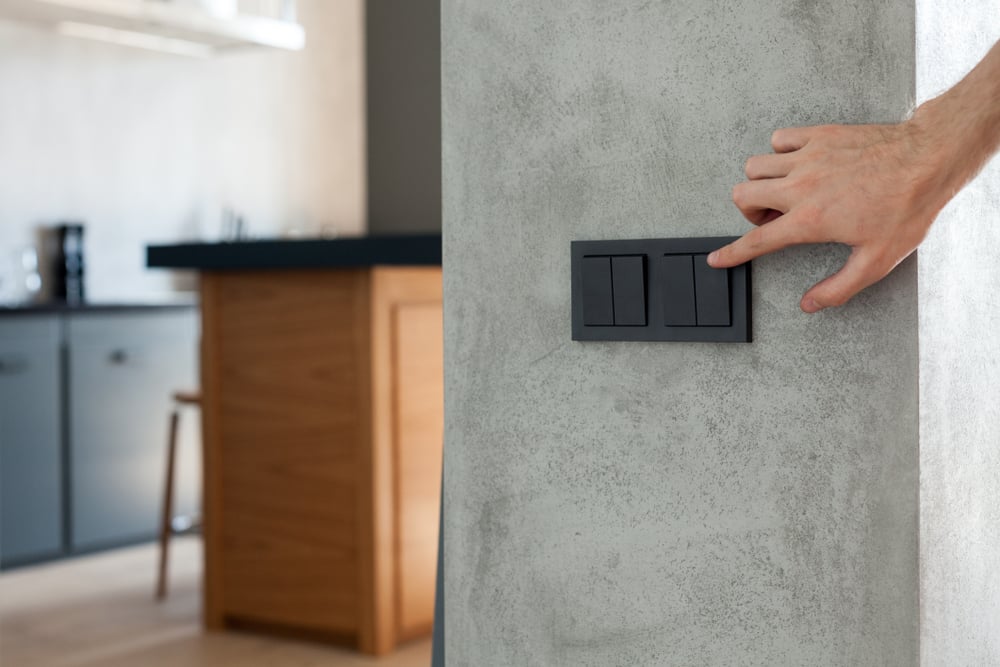
Fixing Lutron Switch Not Working
- Fix Loose Connections
Lutron prides itself on some of the most reliable smart switches in the industry. All of the units available on this brand rarely run into issues, and most problems with these switches can be traced back to improper installation of the switch. So, you should go owner the instructions on the owner’s manual to further isolate the issue. You will likely find issues with the wiring, and there will be nothing wrong with the actual hardware.
Even if you’ve installed the switch perfectly, connections can become loose over time. These loose connections will interrupt the power flow, and the lights won’t turn on when you use the Lutron switch. So, the fix is as simple as securing the connection points, and the system will work without any issues.
All you need to do is pull the panel after removing the power from the circuit for safety concerns. Once the power is removed from the system, you can check the wiring again for any damages and then secure the loose connection points. The switch will start working after the loose connections are fixed in your unit.
- Reset Switch
If you’re sure that there are no wiring issues with the unit, then there is a good chance you’re dealing with some bugs that can be removed by resetting the smart switch. Luckily, it will only take a few seconds to get through the reset procedure. All you need to do is access the FASS tab and pull it for 10 seconds. After the 10 seconds have passed, you can push the tab again, and the switch will reset immediately.
This tab is responsible for the power connection between the light bulb and the dimmer switch. So, you will also be isolating the power flow and then resupplying it to get the system working efficiently. If you’ve experienced a recent power cut, then using the FASS tab will fix the power-related issues in your system.
You won’t have to remove the top panel to access this switch, and it can easily be pulled with a pointy tool. So, just pull on this tab for 10 seconds and then push it back into place to reset the switch. Ideally, the issue will be fixed, and you won’t have to bother with any extra steps.
- Replace Defective Bulbs
If the dimmer switch is connected to a defective bulb, then you can also run into the same issue. Even if the switch is in perfect condition, it won’t work if there isn’t a functioning bulb attached to the switch. So, if the bulb has gone bad and there is no load on the dimmer, then the sensor light will go off, and you won’t get any response from the switch.
To isolate this problem, you can use an external power source and check the integrity of the bulb. If the bulb is indeed defective, then you will have to install a new bulb, and that should fix your dimmer switch.
However, if the bulb is working perfectly with an external power source and you’re sure that there are no wiring problems in the unit, then you need to call customer support for help. They will give you a better perspective on this problem, and you won’t have to spend hours trying to narrow down the cause behind this issue. So, just call the company number and explain your issue to them. Hopefully, your issue will be fixed in no time.
I had a light switch in new construction where power indicator was off. I found it hard to believe the switch was defective, but external power source showed lights worked. Eventually, I found that the circuit had a GFCI outlet which needed rest. Problem solved.