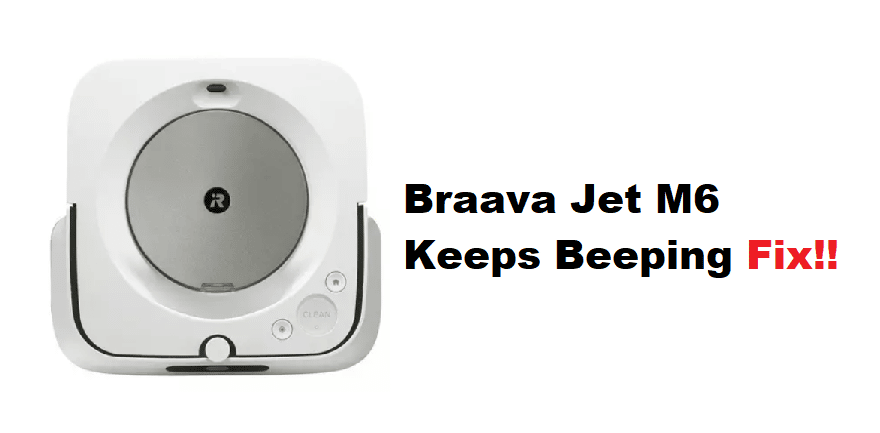
iRobot Braava jet® m6 is a revolutionary mopping robot equipped with advanced technology and features to clean your floors. Featuring MapIQ™ Technology, the mopping robot navigates your home to clean an entire level of your house. The robot beeps to let you know when it’s done cleaning and automatically returns to its docking station to charge. The Braava jet m6 is the perfect solution for busy families who want a clean home but don’t get enough time to do the cleaning. With this robot, you can finally have clean floors without lifting a finger! However, at times the robot continuously starts beeping. There are a few tips you can do to troubleshoot the issue.
A few common reasons include
- Batteries Not Installed Properly
- Blocked Cleaning Pads
- Dustbin, Mop & Water Reservoir Are Empty
- The Braava jet® m6 May Be Stuck
- There May Be Debris in the Machine
- The iRobot Braava jet® m6 Needs to Be Reset.
Here’s how you can fix these issues.
Fixing iRobot Braava jet M6 Keeps Beeping
- Batteries Should Be Installed Properly
Ensure the batteries are properly installed, and the charging dock is connected correctly. If the batteries are low, you may need to replace them. The ideal battery life for the iRobot Braava jet® m6 is two hours.
- Cleaning Pads May Be Blocked
If the cleaning pads are blocked with dirt or debris, this can cause the iRobot Braava jet® m6 to beep. To clean the pads, remove them from the unit and rinse them with water. Allow the pads to dry completely before reattaching them. Unblocking the pads is a common Braava® jet m6 troubleshooting step.
- Dustbin, Mop & Water Reservoir Are Empty
If the dustbin, mop, or water reservoir are empty, the device will beep to let you know. Refill or replace as needed. The reservoirs need to be properly seated for the device to work correctly.
- The Braava jet® m6 May Be Stuck
If the Braava jet® m6 appears stuck, remove it from the area and clear any obstructions. Once the area is clear, restart the device. A stuck robot will beep continuously.
- There May Be Debris in the Machine
If there is debris caught in the machine, this can cause it to beep. Try cleaning out the machine to see if this solves the problem. Dirt and Debris May Be Blocking the Sensors. If dirt or debris is blocking the sensors, the iRobot Braava jet® m6 will not be able to clean properly. Use a soft cloth to remove any dirt or debris blocking the sensors. Regularly clean the robot to prevent dirt and debris from building up and blocking the sensors.
- The iRobot Braava jet® m6 Needs To Be Reset.
Consider resetting the device. This will erase all the current settings and return the Braava jet® m6 to its factory defaults. To reset, hold down the power button for 10 seconds. Release the button when the light turns red, and the machine beeps twice. You’ll have to set up the device again from scratch.
- Adjust Settings
After trying the above, if the iRobot Braava jet® m6 is still beeping, you may need to adjust the settings. Go into the device settings and make sure everything is turned on that you want to be. You can also change the volume of the beeps. If you have any questions, don’t hesitate to contact iRobot customer support. We hope these Braava jet® m6 troubleshooting steps have helped you fix the problem. To know more regarding the Braava jet® m6, or other iRobot products, visit our website or give us a call.
If you have any questions, contact the iRobot customer support line. The official team would be happy to help you troubleshoot the issue.
How to Prevent the iRobot Braava jet® m6 from beeping?
To prevent the iRobot Braava jet® m6 from beeping in the future, make sure to keep it clean and free of debris. Regularly check the batteries, charging dock, and reservoirs to ensure they work properly. If dirt is blocking the sensors, use a soft cloth to wipe it away. Lastly, if you change any of the settings on the device, be sure to save them. This will help prevent unwanted changes that could cause the machine to get damaged.