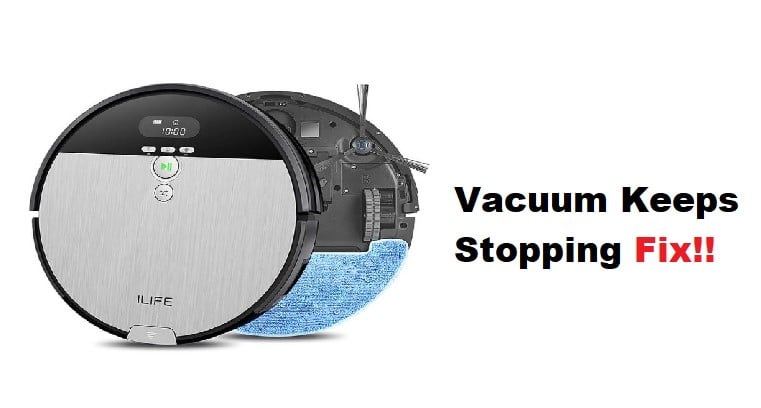
iLife Vacuum beats the majority of cleaning robots on the market with its quality cleaning and decent app features. Once the mapping is done, and the daily cycles are set up, you won’t have to worry about much with this cleaning robot. It will keep your house clean for years without any additional input from the owners. So, if you’re planning on going with an iLife cleaning reboot, make sure to keep track of its maintenance.
There are a ton of issues that can stem from ignored maintenance. The most common problem that annoys some users is with iLife vacuum stopping after a few seconds of operations. So, let’s go over a few fixes to help you get the desired cleaning performance from this unit.
iLife Vacuum Keeps Stopping Fix:
- Clean Jammed Hair
The most common reason why you might be struggling with the iLife Vacuum stopping is jammed hair. It is pretty common when you have not cleaned the base for a few days. So, just flip the vacuum around and check for jammed hair. You will just have to clean up the hair, and that should be enough to help you with the stopping problem.
- Replace Filter
A clogged-up filter can still lead to the same issue, and you should try replacing the filter on your vacuum to keep everything in perfect condition. Some users also try reusing the filter by rinsing it out. However, the long-term solution here is to just get a new filter. So, if you’re in the same boat with the iLife Vacuum filter, just grab a replacement and install that onto your unit.
- Empty The Bin
At this point, you need to also check the status of the dustbin. The robot won’t function when the bin is full, and you have to empty it out regularly. If you’ve missed a few days, then that is probably why your iLife vacuum keeps stopping.
- Check Battery Condition
If you’ve had the unit for years, then there is a good chance that this stopping issue is more related to the battery. There is no harm in ordering a fresh battery for your unit and then installing that to keep the cleaning robot functioning properly throughout the day. The good thing is that new batteries are not that expensive, and you can contact your dealer about this situation.
- Fully Charge The Unit
Even if the unit is new, a poorly charged device will keep stopping as soon as you start the cleaning cycle. So, you need to just let the robot charge for around 4 to 5 hours without interruption. You won’t be able to get much performance out of the device if it is allowed to charge for a few minutes at a time.
- Clean Brushes & Side Wheels
The side wheels and main brush might also be at fault here. You need to make sure that both of these things are able to move around without any obstructions. There might be something caught behind the brushes, restricting their movement, and you need to clean them up a bit to avoid further issues with the device.
- Check Axle Condition
If the unit is in rough condition, then there is a possibility that the axles are damaged. You can try to flip the unit over and then check the condition of the base to further isolate the issue. When you’re sure about the problem, you will have to take this device to a repair center. You can’t fix broken axles yourself, and the experts from customer support will guide you further.
- It’s Time For A Factory Reset
Lastly, if you’re sure that the hardware of your cleaning robot is in good shape, you will have to go through a factory reset. It will wipe away all the configurations, and you will have to set up the unit from the beginning. However, this is your best shot at addressing programming-related bugs.
So, open up the manual and follow through with the reset routine to get your iLife unit back on track. Hopefully, you won’t have to waste hours of your time trying to fix the unit, and it will start working perfectly as soon as you get rid of the jammed hair.