Every year you’ll get new and amazing units from some of the best brands and companies, like Philips. These brands might be a bit on the premium end, but the performance offered by these units is just superior to your traditional units.
You can’t compete with Philips when it comes to quality.
Similarly, IFTTT is one of the smartest innovations that has reshaped a huge number of applications and has opened the way for loads of new concepts to be created.
IFTTT stands for If This Then That, and it is basically a set of arrays that you can use on any appliance that is IFTTT enabled.
Luckily, all the Philips Hue bulbs come pre-equipped with IFTTT, and you don’t have to do much to get it working.
They offer a wide range of options and features for you when it comes to controlling those bulbs, so you are going to love having this feature around.
It might be a bit hard to configure at first, but with time, you’ll get efficient in managing the smart controls and their features. So, be sure to keep that in mind.
If, for some reason, you are sometimes unable to make IFTTT work on your Philips Hue series, here are a few things that you need to do.
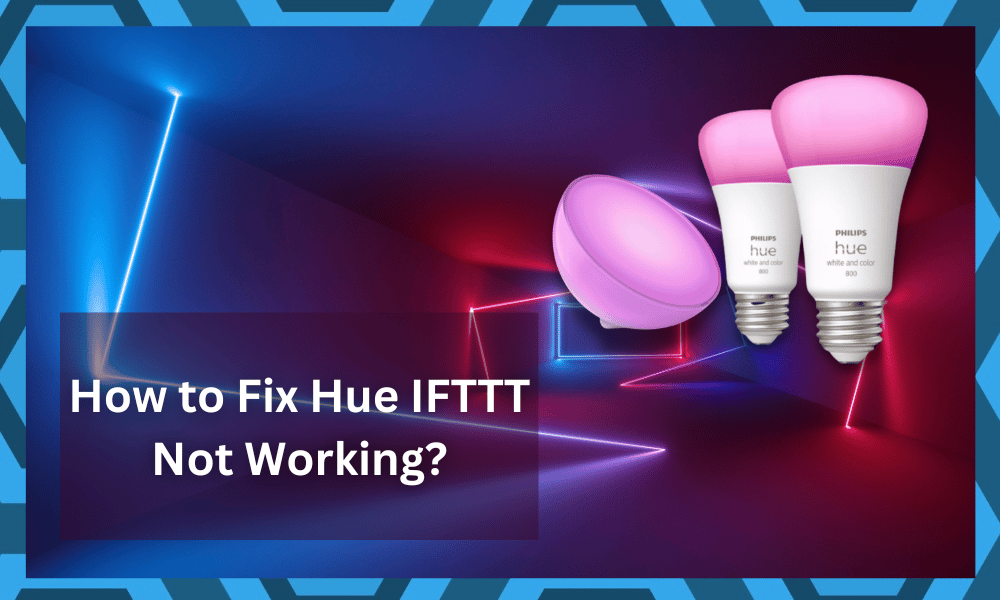
How to Fix Hue IFTTT Not Working?
- Re-sync the Equipment
The first thing that you will need to do is try a good, old-fashioned re-sync on all the devices. Now, since a Philips Hue bridge is involved, you will need to extend the process to more than just resetting your bulbs. It should be worth your time and effort.
Resetting the bridge is not a big deal and is pretty easy. You need to turn the bridge upside down, and you will see a reset button there.

This reset button is way beneath the casing of your bridge to ensure that it doesn’t get pressed mistakenly. You will need to press the reset button for 5 seconds using some pointy tool that can access the button.
Now, once you have pressed the button for 5 seconds, the light on the front will start blinking to signify that reset is in process.
Let the light blink, and once it restarts, you will know that the bridge has been reset. After the bridge restarts, you will need to connect it with all the bulbs and your mobile application again, and it will start working like before.
- Check the Application
Sometimes the issue can not be hardware or with the bridge and bulbs but with your application.
You need to ensure that your application has the right permissions to access all the features and there is nothing that can block it.
Also, you will need to check on any sort of VPN or other software that might be messing up with the internet traffic and causing you to have these issues.
Once you have made sure there is no issue like that, you will need to reinstall your application. Re-installing your application will ensure that you are wiping out any errors that might stop the IFTTT from working.
Also, you will be getting rid of any settings that might be causing you to have a problem with IFTTT.
Another advantage you will get on re-installing the application is that you can enter your credentials again, and having the latest version installed on your mobile phone will fix up all the problems.
You will be able to use the IFTTT-based features once again.
- Refresh Rules
Next, you should also check up on the rules that you’ve engaged through the IFTTT integration. If you’re not that sure about the configurations or believe that you missed a step or two, be sure to check up on the rules one more time.
The more common thing that you can do here is to remove all the rules and then add and test them one by one. This will help you accurately get through the minor errors, and fixing the system will come easily to you. So, all that you have to do is to check on the configurations.
Here, you also have the option of getting opinions from other experts on online forums. You can share your configurations with other users, and they will be able to guide you accordingly.

From there, you can follow along with the pointers listed by these users to tweak your configurations. Alternatively, hiring a local expert here is not a bad idea either.
You just have to secure the involvement of an expert when it comes to fixing these issues, and you will be sorted out here.
Hopefully, all errors will be addressed right here, and you will not have to worry about more challenging situations when it comes to fixing programming errors and bugs.
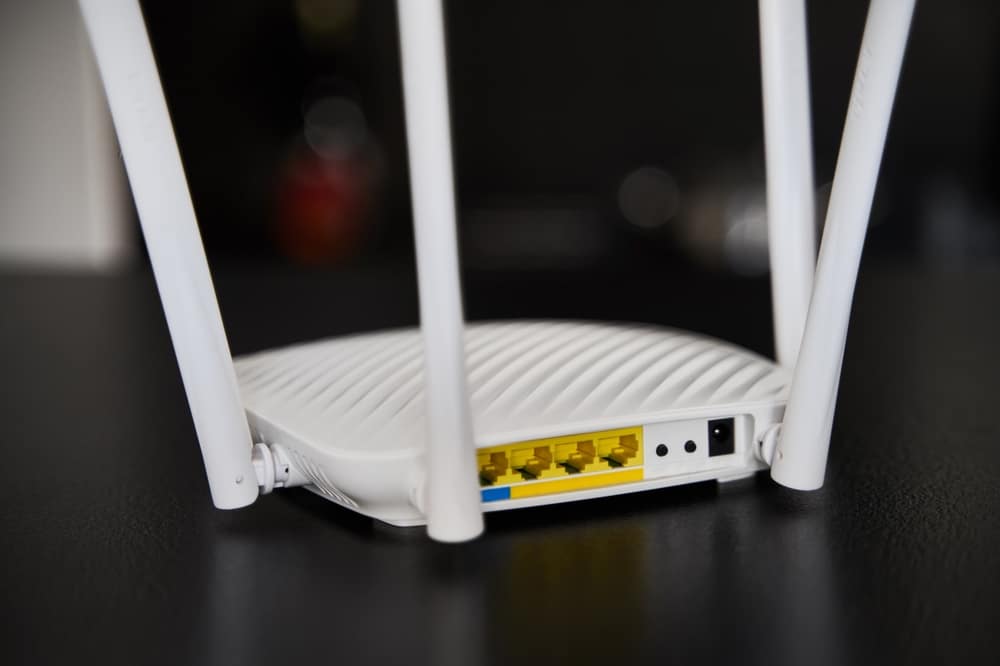
- Check For Network Errors
At this point, you should also check up on the network side of things to limit and address the errors. If you’re not that sure about the router, or the interferences are a bit too much, then now might be a good time to refresh the network.
All that you have to do most of the time is to power cycle the router. From there, you can check up on the configurations one more time, and you will be sorted out accordingly.
If everything goes well, you will not have to spend more than a few minutes on these errors.
It all comes down to securing a stable connection with the router, and you will experience a much better response from the connected device.
From there, you can also limit the interferences from other wireless accessories and make sure that the lights are well within the 25 ft. range from the router.
Lastly, you should also try to put the router in direct line of sight from the lights. The response of thick walls is never good, and you will only dig yourself into a deeper hole when trying to fix these errors on your own.
- There Might Be Hardware Issues
Issues with the hardware are equally as serious and can mostly be linked to defective devices or damages during the delivery process. If you’re in the same boat and the device seems to be damaged or in rough shape, then you need to get it replaced.
It is not always the configurations or the connection that is to blame here. Instead, the device itself or the lighting itself can be at fault. So, you need to carefully inspect everything when trying to limit these errors.
Most of the time, you will be able to narrow down the issue to a defective piece. It is not that rare for devices to get damaged during delivery. The key thing here is that you’re not liable for any of the delivery issues, and you should reach out to the dealer.

The dealer will help you navigate these errors, and there are no quick fixes here. After forwarding a warranty claim, you can expect to get the new piece within the same week, and it will not be that hard to address these errors.
- Ask for Official Support
Lastly, if you’re not able to secure a decent repose from the dealer or engage with a secondary dealer when purchasing this unit, then you should call up the Philips official support team.
There is no gain in trying to fix these errors on your own, you will just dig a deeper hole.
Having an expert with years of experience to help you out will help you avoid a ton of errors. All that you have to do is to reach out, explain your end, and then demand a replacement.
The experts will inquire more about this situation and try to guide you through more fixes.
From there, if you both come to the conclusion that the unit is indeed defective, then getting a new piece will not be that difficult.
Hopefully, you will be sorted out in due time and won’t have to deal with more errors down the road. Just be sure to involve an expert when dealing with these errors.

Wrapping Up
There is no debate that managing IFTTT configurations and routines can be pretty challenging, and you will struggle with the Hue IFTTT not working properly.
Now, the only real solution to this issue is to rely on an expert who can guide you through these errors.
You’ll not gain anything by spending hours trying to fix the system yourself. So, you will have to reach out to the dealer and have him guide you through the situation.
That way, you will be able to avoid a ton of pitfalls, and fixing the unit will come easily to you.
However, if you still wish to test your luck, cycle through with the methods listed above.
You will surely be able to get a better response out of the system after trying out the methods above. Hopefully, that will be it as you’re trying to tackle and address these errors.