Daybetter LED lights might present a cheaper price point when compared with other established options in the market, but this lower price will bring a ton of performance issues to the users. Owners have complained a lot about Daybetter LED strip light not turning on after the installation. While installation problems cause this specific issue, the quality of Daybetter lights is not that great, and these strip lights won’t last you nearly as long as other brands in the market.
However, if you’ve already purchased a set of Daybetter LED strip lights and they won’t turn on, then all hope is not lost. You still have a chance of fixing these compilations by going through some basic troubleshooting methods mentioned here.
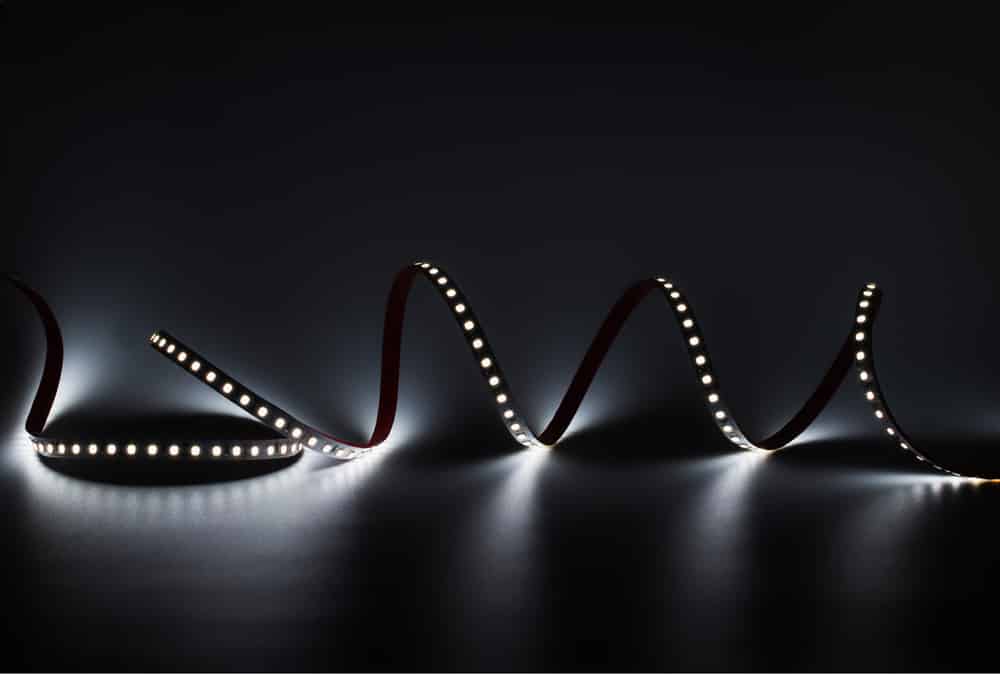
Daybetter LED Strip Lights Won’t Turn On
- Check For Voltage Issues
Voltage problems are the most common when you’re dealing with Daybetter LED strip lights not turning on. There is a good chance that the power source is not compatible with the voltage requirements of your LED strips, and it is a better idea to make use of a multimeter to check the response from the power source. If the source is indeed not providing the lights with sufficient voltage, then the only solution is to try a different outlet or call an electrician.
- Inspect Pin Connections
The pin connections on the Daybetter LED light strips can get damaged pretty easily and disrupt the flow of power through the unit. While you can make use of a soldering tool to fix these pin connectors, it is just a better idea to try a different patch to get the lights working again. You won’t enjoy any performance consistency by using a soldering tool, and there is a good chance that you’ll end up further damaging the LED lights.
- Remove Other Accessories
Some owners pointed out that they had to remove extra accessories from the power extension to address this problem with the Daybetter LED light strip. You can further choose to connect the strip directly to the power source and remove any and all extensions in between the device and the power source. That will be enough to address power problems with the Daybetter LED strip lights, and you’ll be able to turn them on if they are not damaged.
- Check For Water Damage
The Daybetter LED lights are not waterproof, and you need to keep water away from the connection points as well as the adapter to get these lights to turn on. The only thing you can do in this situation is to dry out the LED lights and test your luck after a few hours when the LED light strip has completely dried out. If the strip is still not responding, then you will have to get the LED light strip replaced, and there isn’t much that can be done with this defective LED light strip.
- Inspect the Condition Of the Power Adapter
The condition of the power adapter and loose connections can directly play into Daybetter LED lights not turning on. First, you need to make sure all power connections are adequately secured, and you’re not just dealing with debris stuck between connectors. Ideally, the problem will be addressed at this point, and you won’t have to purchase a replacement immediately.
However, if the adapter is not responding and the wires are damaged, then you will have to source a compatible power adapter for your Daybetter LED lights. Hopefully, that will get the lights working again, and you’ll be able to use the controller to turn them on.
- Contact Daybetter Dealer
If you’ve not had any success with any of these troubleshooting steps, then you need to reach out to the Daybetter dealer for help. There is a decent possibility that your Daybetter LED lights are defective, and you will have to source a replacement to get these lights working again.
In case the lights are indeed defective, you can forward a warranty claim and demand a replacement. It shouldn’t be that hard to secure a replacement if the claim is genuine and you purchased the Daybetter LED light strips recently. So, just contact the dealer and explain this issue to him, and he will guide you through the process.