Underfloor Heating Screed Calculator
Estimate heated area, screed thickness, volume, mass, heat storage, drying energy, heat-up energy, and cover over underfloor heating pipe.
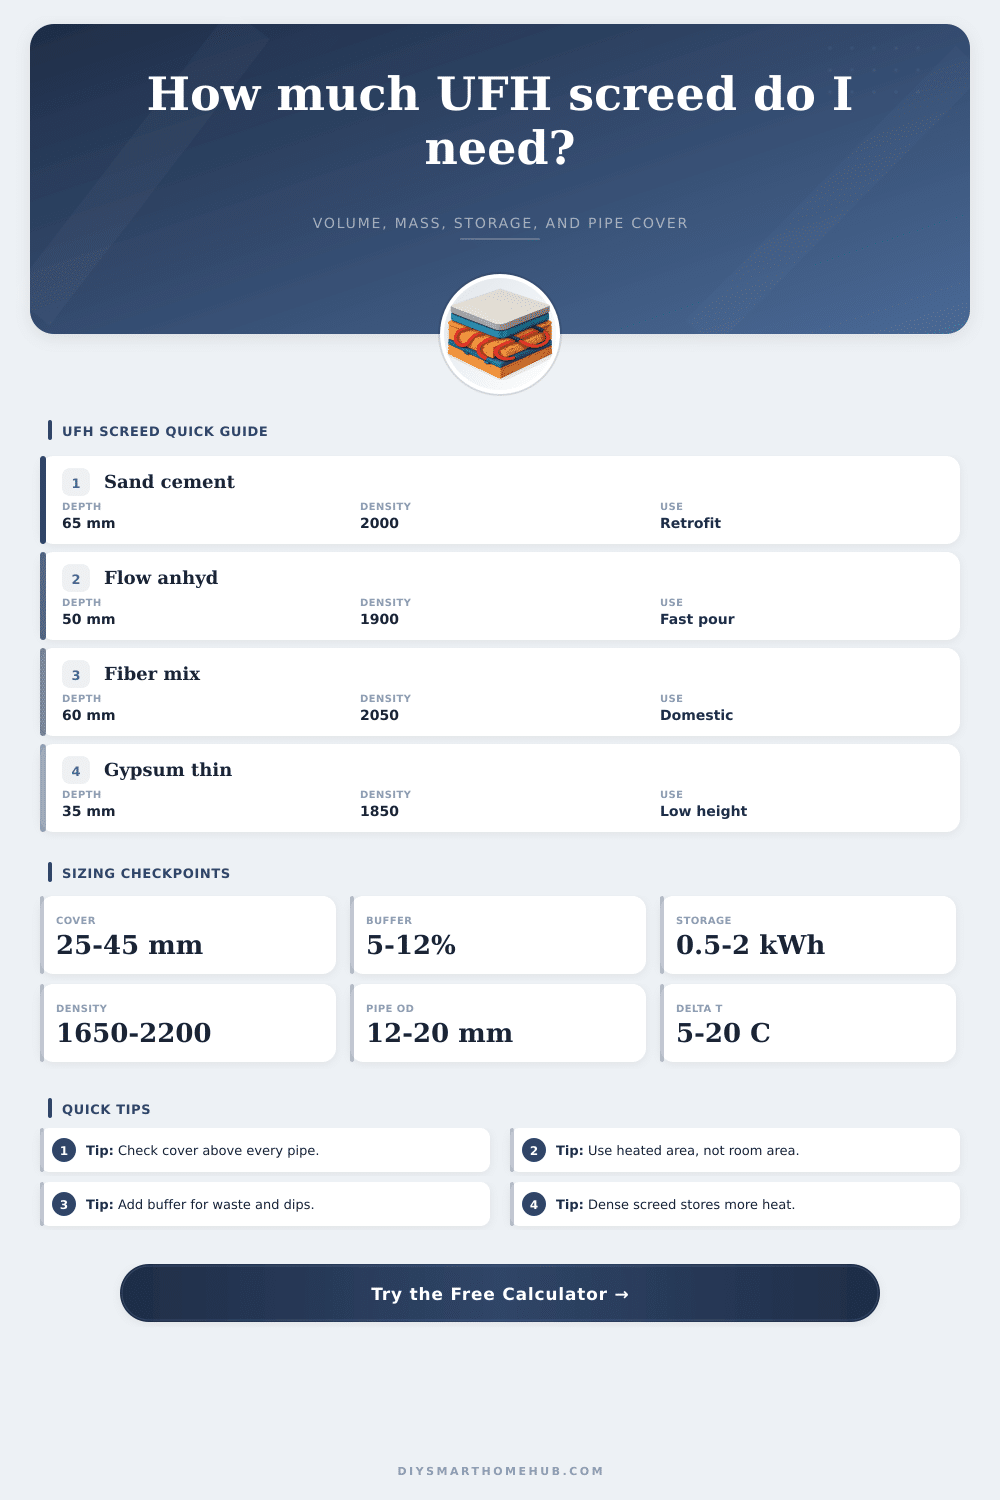
| Screed preset | Density | Typical UFH depth | Heat capacity | Use note |
|---|
| Pipe and screed check | Common range | Calculator input | Why it matters |
|---|---|---|---|
| Pipe outside diameter | 12 to 20 mm | Pipe OD | Sets the pipe top elevation inside the screed. |
| Cover above pipe | 25 to 45 mm | Thickness minus pipe top | Low cover can create hot stripes; high cover slows response. |
| Total cement depth | 50 to 75 mm | Total thickness | Balances strength, mass, and response. |
| Total flowing depth | 35 to 55 mm | Total thickness | Often lower profile because it flows around pipe. |
| Project example | Heated area | Depth | Volume | Mass at 2000 kg/m³ |
|---|---|---|---|---|
| Small bathroom | 5.5 m² | 45 mm | 0.25 m³ | 495 kg |
| Kitchen zone | 16 m² | 50 mm | 0.80 m³ | 1600 kg |
| Open living area | 42 m² | 55 mm | 2.31 m³ | 4620 kg |
| Whole ground floor | 100 m² | 60 mm | 6.00 m³ | 12000 kg |
| Energy factor | Formula basis | Typical value | Result use |
|---|---|---|---|
| Thermal storage | mass x heat capacity x delta T | 0.84 to 1.00 kJ/kgK | Shows heat held by the screed. |
| Heat-up energy | storage divided by efficiency | 85% to 95% | Compares system input energy. |
| Drying energy | water mass x 0.68 kWh/kg | 0.85x to 1.20x factor | Approximates moisture removal load. |
| Pipe cover | depth minus pipe lift minus OD | 25 to 45 mm target | Flags shallow or sluggish build-ups. |
There’s a certain type of worry that only comes with fitting underfloor heating: you’ve run the pipe-work; tested the water pressure; stared into the wide emptiness and wondered if it’ll ever be filled (not just with concrete but with warmth). What worries you most? You worry that you won’t get the speed of response from the floor you was hoping for.
That’s where screed comes in: part delivery device, part storage tank. How much mass does it need to hold? How big of a volume is required to deliver what you want when you turn up the thermostat? Input your room measurements plus materials options, and the tool takes care of the math for you. You no longer need to remember density coefficients on various mixture, or convert cubic meters into kilograms by hand.
How to Choose the Right Screed for Underfloor Heating
To be honest, most folks begin with area, figuring that if it’s a basic rectangular space, it should work out fine. But guess what? Rooms aren’t usually that tidy! Kitchens has islands, bathrooms have alcoves, and hallways slice through the middle of livig areas. What you want is the actual heated zone where your pipes reside, not necessarily the architectural footprint of the room.
Why does it matter? Because if you pour concrete in unheated borders, you’re adding mass but not adding warmth! It is thermal dead weight that your heating system has to struggle to get up to temperature each time you adjust the thermostat. But what’s the nature of that mass? That depends on screed type. Dense slow traditional sand cement stores a ton of heat… But also takes hours to give it back. Anhydrite flowing screed goes like liquid lava. It is self-levelling and spreads consistantly with no air pockets above any pipe underneath. Toggle through those presets in the calculator, which automatically adjusts both heat capacity and density.
Generally, heavier screed has higher thermal energy storage. This will smooth out temperature spikes, which is good, but it will make system less responsive. This is bad if you are looking for fast-on/fast-off heating cycles. Thicker/heavy screed is OK if you have a house where 20 degrees is normal most days. If you blast it just when your guests visit, you may find lighter/thinner mixes work better then you think.
Another vital thing most overlook until it is too late is pipe cover. This part of calculation looks at the geometry of your build up to confirm sufficient concrete cover over the pipe. If you’re not high enough, you’ll get hot stripes (where the heat concentrates right over the tube instead of spreading across the floor surface). Too much cover will make response times very slow because it buries the heat source inside an insulating slab instead of letting it spread out like a radiator does. Shoot for the sweet spot referenced in these tables: typically about 30-40 millimeters above the top of the pipe. It’s a balance between thermal efficiency and structural integrity.
It’s worth calling out drying time separately too. Physics applies here: you can’t put down flooring until the screed dries, no matter if the bag says it dries in X hours. The energy to remove this moisture from the concrete is included in calculations (the drying load). It won’t be quick but it’ll give you an idea of what your drying load will look like. Remember, there’s no point having damp timber/vinyl finishes damaged by a wet slab.
To prevent running out during the pour add some leeway for wasted material and other unevenness in the surface. Things don’t always go to plan with concrete! There’s no room for impatience on this job. Concrete is the patience game. There are some numbers, but it’s experience which fills in the gaps between the dots.
Go by the estimations. They’ll help you order materials, and estimate your time, but each house breathe differently. Get a good calculation on the screed and you’re on the road to comfort; a warm foot instead of a cold one. It’s the workhorse of the system, treat it with care and precision when preparing it.