Underfloor Heating Output Calculator
Estimate hydronic underfloor heating output from room area, pipe spacing, supply and return temperatures, floor finish resistance, screed type, and heat-loss demand.
Detailed output breakdown
| Floor finish | Typical R m2K/W | Approx tog | Output effect |
|---|---|---|---|
| Ceramic tile or stone | 0.01 to 0.02 | 0.1 to 0.2 | Highest output and fastest surface response |
| Vinyl or LVT | 0.02 to 0.04 | 0.2 to 0.4 | Strong output when the product is rated for heat |
| Engineered wood | 0.06 to 0.10 | 0.6 to 1.0 | Moderate output with warmer water often needed |
| Laminate with underlay | 0.08 to 0.12 | 0.8 to 1.2 | Check underlay resistance carefully |
| Carpet and pad | 0.12 to 0.18 | 1.2 to 1.8 | Lower output; keep combined tog within limits |
| Supply / return | Mean water temp | Tile at 150 mm | Wood at 150 mm |
|---|---|---|---|
| 95 / 86 F | 90.5 F / 32.5 C | 38 to 48 W/m2 | 30 to 40 W/m2 |
| 104 / 95 F | 99.5 F / 37.5 C | 55 to 70 W/m2 | 43 to 58 W/m2 |
| 113 / 95 F | 104 F / 40 C | 68 to 85 W/m2 | 54 to 70 W/m2 |
| 122 / 104 F | 113 F / 45 C | 85 to 100 W/m2 | 68 to 82 W/m2 |
| Pipe spacing | Best use | Output behavior | Design watchpoint |
|---|---|---|---|
| 100 mm / 4 in | Bathrooms, edges, high-loss rooms | Highest output at lower water temperature | Check surface limit first |
| 150 mm / 6 in | Most living zones | Balanced output and loop length | Works with tile and wood finishes |
| 200 mm / 8 in | Low-loss bedrooms and interiors | Lower output but shorter loops | May struggle under carpet |
| 250 mm / 10 in | Very low-load slabs | Gentle output, cooler surface | Avoid in cold perimeter rooms |
| Project type | Area | Typical output | Coverage note |
|---|---|---|---|
| Low-loss bedroom | 12 x 14 ft | 35 to 55 W/m2 | Often limited by carpet and comfort |
| Living room retrofit | 18 x 20 ft | 50 to 75 W/m2 | Usually needs 150 mm spacing |
| Tile kitchen zone | 14 x 18 ft | 70 to 90 W/m2 | Tile transfers heat efficiently |
| Bathroom zone | 8 x 10 ft | 85 to 110 W/m2 | Higher surface limit helps small rooms |
| Open-plan slab | 600 sq ft | 55 to 80 W/m2 | Insulation quality drives the result |
The theory behind underfloor heating sounds easy, like having a nice toasty floor. Reality sets in when you need to draw plans… Heat only travels from hot to cold, so there are three variable involved: the water temp you can run, the pipe spacing, and resistance of whatever sits above the piping. It’s true that most people go straight to thinking about boiler size as their first step. Wrong! It’s like trying to make a car more powerful by increasing the accelerator. The floor determines what level of performance is achievable. Nothing will change no matter how much pumping pressure you create if the finish and screed aren’t sending enough energy back into the room.
Just enter your system specs and room dimensions into the calculator above, and it will do all the math for you. This eliminates the guesswork when trying to find the balance between available surface area and how much heat it can lose. By inputting both your supply and return temperatures, the calculator understands your thermal headroom. For example, a system that runs 104-degree water with a return of 95 is different then one that pushes 122. Output density are driven by mean water temperature. The higher the temperature, the more watts per square meter; however, there is also a greater risk of overheating the surface (i.e., if you’re sitting/sleeping in the room most of the time).
How to Plan Your Underfloor Heating
Where things go wrong is floor finishes. All stone and tiles is good thermal conductors with almost no resistance. This allows heat to transfer rapidly, giving you high outputs from lower water temperatures. On the other hand, wood is less effective: Engineered wood and laminate all show some form of insulation making it difficult for them to release heat into the room; it stays in the screed. When considering carpet, both a higher pile and the type of pad used underneath affect how fast heat dissipates. Thicker pads behave like blankets for the pipes, preventing the pipes from warming the air effectivly. You will see this illustrated on page’s reference table where increasing resistance reduces output quickly.
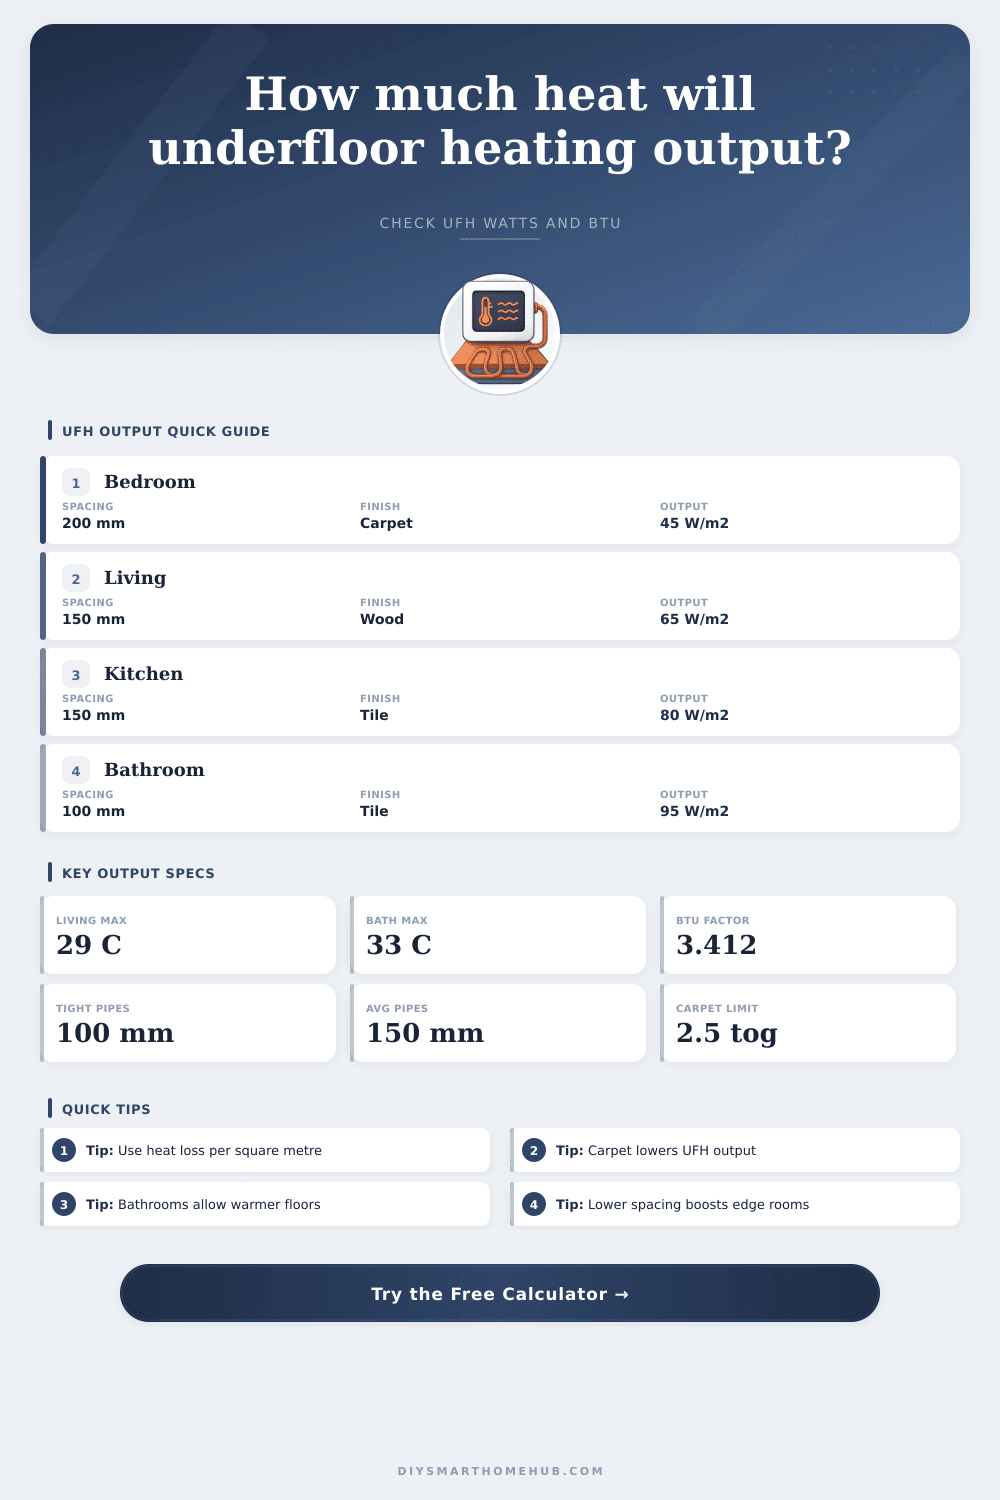
The main lever for adjusting intensity: the spacing between the pipes. The closer they are together, the more heat sources there is per square foot. For cold perimeter rooms (e.g., bathroom) which must make up for heat loss from exterior walls, 100 mm spacing is good. So is 100mm for rooms whose floors has high resistance, e.g., wood flooring. For inner bedrooms which don’t lose much heat via exterior walls, wider spacing is okay: 200mm. This minimizes the total length of tubing needed. This lowers installation costs and keeps loops short enough to manage easy. But don’t put wide spacing in an uninsulated room with heavy carpeting; you’ll never get enough heat to keep comfortabley.
Before purchasing fittings, plan and design based off heat loss. To do this, consider what is needed for the coldest day: does your room lose 80 watts per square meter? That’s how much heat needs to be supplied by your underfloor system. Does limited flooring mean the floor itself will only provide 50 watts? Then there is a shortfall. You need more heating, a lower temperature, or better insulation in other places. The tool instantly tells you your coverage ratio so you know if you’re meeting demand or not.
Because bathrooms are used less than living areas (where people sit down), they can reach higher temperatures without risk to comfort. Maximum temperature should of been around 33 degrees Celsius. While that’s comfortable for short periods, bathrooms can handle higher temperatures because people spend less time standing still on them. To avoid feeling uncomfortably warm while sitting, keep your living spaces at or below 29 degrees. For a good night’s sleep, bedrooms should be cooler still. Keeping within those guidelines makes sure the system remains efficient enough to avoid over-heating.
When retrofitting underfloor heating in an existing house, you need to be more careful as insulation beneath may not be adequate and you probably don’t have much depth for a screed over the pipes. If this is the case then the heat will go downwards into the floor structure rather than upwards into the room. Not only does this waste energy but it also reduces its efficiency. Dry panel systems are better suited here. They place the pipes nearer to surface, which reduces their response time and reduces the thermal mass.
Don’t confuse the calculator with a substitute for expert help when doing something complex like this. But do use it to experiment. What happens if you double the spacing between the pipes? Or you could change the finish. How does warmer water affect performance? It’s a great visualization tool that helps you see the trade-offs without having to break ground first.
After using the calculator to see what works together and what doesn’t (in terms of spacing and material resistance), the idea of building a cozy home isn’t so scary. You realize that the heat you’re enjoying at your feet comes from being really careful about balancing things out, not just from hot water running in loops.