Water Leak Rope Sensor Length Calculator
Estimate sensing rope length from appliance perimeter, straight runs, bends, slack, zone count, maximum supported length, and uncovered coverage gaps.
📍 Leak rope presets
⚙ Rope length inputs
Protected geometry and sensor limits
Live planning snapshot
📐 Current setup spec cards
📊 Rope sensor reference tables
| Sensor profile | Typical max length | Best use | Planning note |
|---|---|---|---|
| Short plug-in rope | 6 to 15 ft / 1.8 to 4.6 m | Single appliance or cabinet | Keep bends and slack modest so the sensing section reaches the leak path. |
| Modular leak cable | 20 to 50 ft / 6.1 to 15.2 m | Laundry, kitchen, water heater | Useful when a few cable sections can be joined on one channel. |
| Hub-connected rope | 30 to 75 ft / 9.1 to 22.9 m | Mechanical room or basement wall | Check the product's stated sensing-cable limit, not only lead-wire length. |
| Panel-supervised zone | 50 to 100 ft / 15.2 to 30.5 m | Long utility runs | Long zones benefit from clear labels because alert location is less precise. |
| Industrial cable | 100 ft+ / 30.5 m+ | Equipment rooms and long trenches | Verify controller resistance and maximum cable run before combining zones. |
| Formula part | Calculator logic | Example | Meaning |
|---|---|---|---|
| Appliance perimeter | 2 x (length + width) x sides / 4 x count | 2 x (6 + 3) x 1 | Full rectangular wet edge before slack. |
| Direct run | Measured run x planned zones + extra runs | 24 x 2 + 16 | Linear rope that should sense water. |
| Bend allowance | Bends x allowance per bend | 8 x 0.25 ft | Extra routing length for corners and clips. |
| Slack length | (base + bends + end slack) x slack% | 25 x 10% | Service loop and future repositioning margin. |
| Coverage gap | max(0, desired run - supported sensing capacity) | 72 - 60 | Run that needs another zone or shorter path. |
🚰 Common rope sensor projects
| Project scenario | Typical base run | Common zone choice | Gap focus |
|---|---|---|---|
| Washer drain pan or laundry closet | 6 to 12 ft / 1.8 to 3.7 m | One short rope zone | Back corners, hose valves, and pan lip breaks. |
| Water heater platform | 8 to 16 ft / 2.4 to 4.9 m | One circular or rectangular loop | Drain valve, relief pipe, and lowest floor slope. |
| Kitchen appliance row | 14 to 30 ft / 4.3 to 9.1 m | One or two zones | Dishwasher, sink base, and refrigerator line separation. |
| Mechanical room perimeter | 25 to 70 ft / 7.6 to 21.3 m | Two or more labeled zones | Equipment pads, condensate drains, and floor drains. |
| Finished basement protection line | 40 to 120 ft / 12.2 to 36.6 m | Multiple supervised zones | Dry wall gaps under bathrooms, kitchens, and laundry. |
💡 Calculation notes
Water damage, when it comes, is typicaly not the Hollywood kind (thank god). It’s usually a drip drip drip behind a washer, or a leaky pipe under a sink somewhere. Then it waits until you’re out of town to make things real crazy.
A water leak rope sensor is like insurance (if you can get it around yourself, that is) But the trick is how much rope do you need? Too much and you’re wasting money on slack that just coils off where the water may be coming in. Not enough rope and you’re leaving gaps in the policy, not good!
How to Measure Water Leak Sensor Rope Correctly
The choice of brands are less important then getting the amount correct. The mistake many make is measuring the distance between the wall and the appliance as a straight line. That’s all well and good, but water isn’t going to leak in a straight line, and neither will the sensor rope. Once you input your measurements the calculator figure out the rest for you. You won’t have to guess how far to extend the rope for bends and corners.
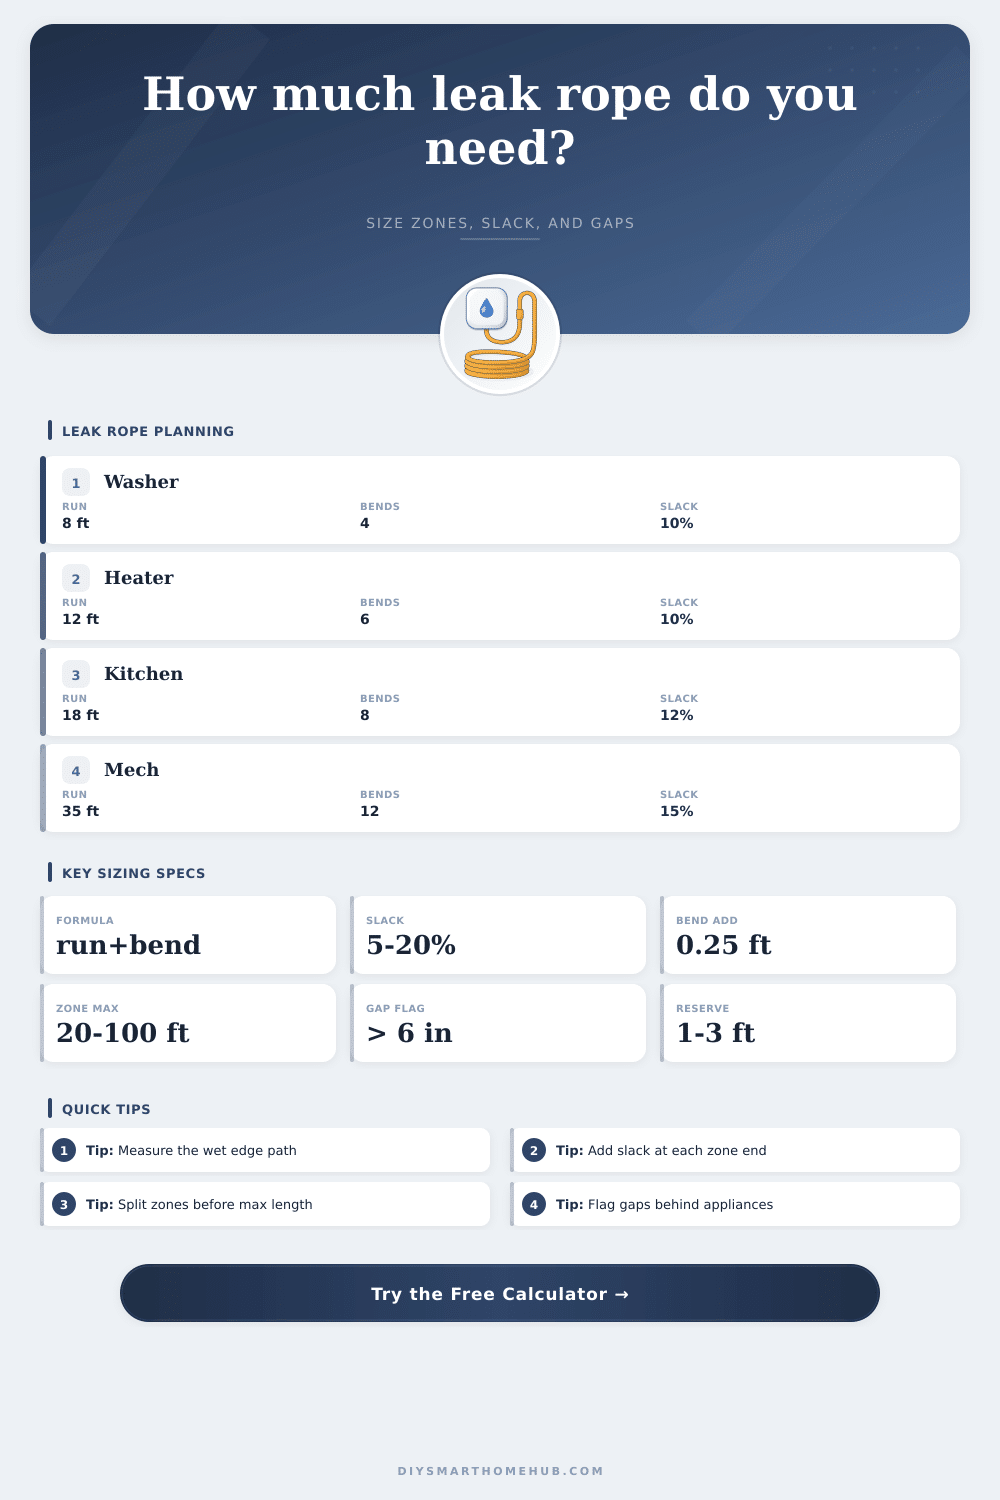
Real world routing requires accounting for the real-world realities of how much rope fits around appliance leg, around tight spots in cabinets, and along uneven floor surfaces. Since you cannot kink the rope without breaking the conductors inside every 90-degree turn reduces the sensing length. A quarter foot allowance per turn doesn’t sound like much until your mechanical room has a dozen turns. It reduce the usable capacity which means you’ll need another zone controller just to reach same perimeter.
The other one is Slack, which seems like a no brainer but can also trip you up. You need a little slack at each end of the run to be able to terminate and relocate in the future. However, too much slack create loops that stay dry while the rest pools with water. The tool help you find that balance by applying a percentage based off how complex the route is.
That simple washer pan loop might only need a five percent service margin. A complex run behind a kitchen island with several appliances could mean 20% to account for not pulling tight when installing or replacing an appliance. It’s a matter of anticipating how the space will evolve over time.
Knowing how long each sensor works is also important, and that’s different than knowing the size of the room. The maximum run length between sensors per zone vary among leak cables. A 15-foot maximum run is common with some plug-in types, and you’ll see more than a hundred feet available with certain industrial hub systems. The table on page has it all laid out by profile. You’ll learn why one short rope may work well in a tiny laundry closet but won’t cover much ground in a big basement.
If your calculation tell you you’ve got more total coverage needed than any given device supports, the system will warn you about a coverage gap. That’s not a math mistake; it’s a physical limitation of the electrical resistance in the cable. The fix? Don’t try to stretch that rope past its limit, typically by breaking up the run into two zones instead.
To put it another way, you’re imagining these sensors as perimeter guards. In other words, you’re sketching out a fence around whatever might flood. So what happens if there’s a hole in this fence bigger than six inches? Water will collect in those dark corners without anyone noticing. That’s what the calculator is estimating: how much room you have between where you want to go, versus how far the sensing area extends when you account for slack and bends. It makes you realize that perhaps your intended path isn’t even touching the wet perimeter of what you’ve marked as risky spots.
All in all, stopping water from entering your house has more to do with knowing how to pay attention than any tech tools. Diligence can’t be automated. But gadgets could of help with the friction involved when actually installing stuff. Carefully measuring the route ensures that the sensor will go where it needs to go and not give you false negatives based off bad placement.
It’s easy… Cover everything but don’t miss anything. Consider the actual percentage of slack and bend allowance in addition to the straight-line measurement. When done right, the rope sits still on the floor waiting to catch that initial drop before it turn into a mess.