Humidity Sensor Calibration Offset Calculator
Calculate a one-point RH offset, multi-point average offset, slope/intercept correction, temperature influence, drift allowance, and corrected humidity reading for smart home sensors.
Multi-point calibration pairs
Corrected humidity result
| Reference source | Typical uncertainty | Best use | Calculator note |
|---|---|---|---|
| Fresh saturated salt chamber | About ±1 to ±3%RH when temperature is stable | Single or two-point home calibration checks | Enter the known reference RH and the settled sensor reading. |
| Calibrated handheld hygrometer | Usually listed on its certificate or datasheet | Room, cabinet, and HVAC sensor comparisons | Use the stated uncertainty field to keep the final error band honest. |
| Lab humidity generator | Often below ±1%RH depending on system | Multi-point slope and intercept work | Use at least three spread-out points for a meaningful slope. |
| Another low-cost smart sensor | Often unknown or several %RH | Rough trend comparison only | Increase reference uncertainty if the comparison sensor is not calibrated. |
| Calibration shape | Minimum points | Formula used | When it fits |
|---|---|---|---|
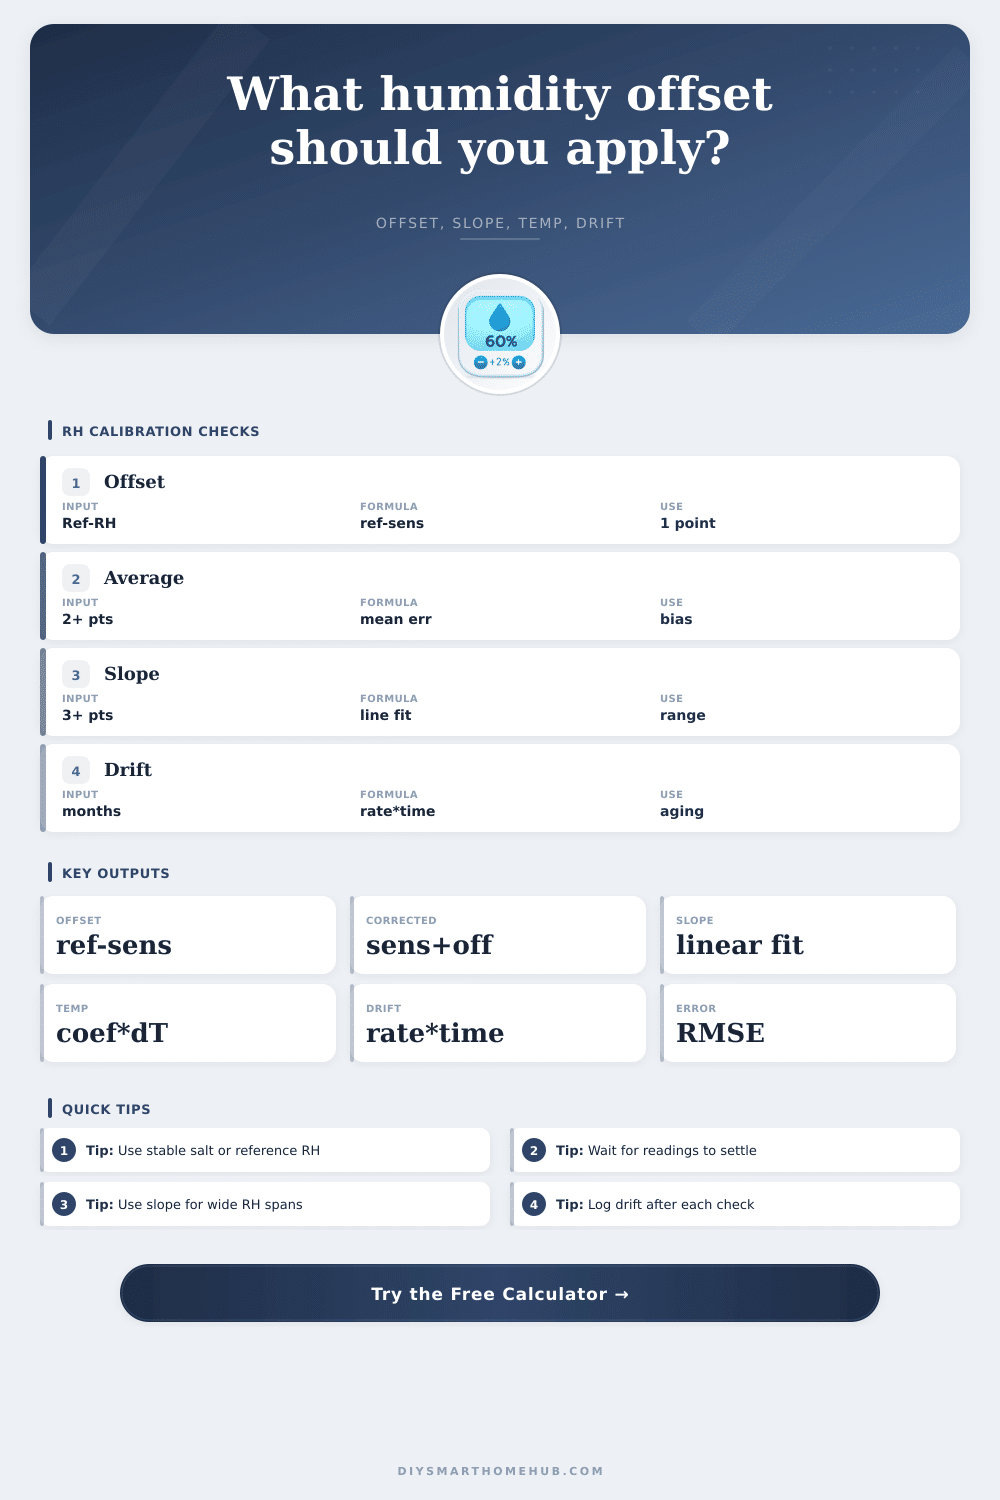
| One-point offset | 1 | offset = reference RH - sensor RH | Sensor bias is nearly constant around the operating range. |
| Average offset | 2 or more | mean(reference RH - sensor RH) | Several checks show similar error across low, mid, and high RH. |
| Linear slope | 2 or more, 3 preferred | corrected RH = slope x sensor RH + intercept | Error changes across the RH range rather than staying parallel. |
| Temperature influence | Temperature pair | temp correction = -coefficient x delta T | The sensor reading shifts when measured away from calibration temperature. |
| Drift allowance | Time and rate | drift = months x %RH per month | Long-running sensors gradually move high or low between checks. |
| Use case | Useful RH points | Preferred correction | Reason |
|---|---|---|---|
| Comfort room monitor | 35%, 50%, 75% | Average offset | Most decisions happen near midrange humidity. |
| Basement dampness alert | 50%, 65%, 75% | Average or slope | Accuracy matters near mold-risk and dehumidifier thresholds. |
| Greenhouse automation | 35%, 60%, 85% | Slope fit | Large RH swings expose non-parallel sensor error. |
| Electronics cabinet | 30%, 45%, 60% | Offset plus temperature | Warm enclosures can shift the indicated RH. |
We trust our smart home sensors blindly. Why wouldn’t you? If it says on the dashboard that the room is 45 percent relative humidity, then it must be that humid (or damp). You don’t really think about the little piece of plastic stuck to the wall. That’s why it’s easy to understand our blind faith, we want our automation to simply work.
But those capacitive sensors are cheap. They’re sensitive to temperature, aging and sunlight. In time, they settle into a constant bias and throw off your whole comfort loop. And if you ignore it, you’ll either have a broken dehumidifier, or an atmosphere that dries out the air completely. It’s not the tech itself that’s normally the issue. It’s the fact that it’s never corrected from time to time against some known truth.
Why You Must Calibrate Your Sensors
People tend to think calibration is a single number: Add X to everything and move on. If sensor error were always perfectly parallel with reality, then yeah…that’d work. But real sensors don’t act like that. Some sensors has worse errors at one humidity level than another. Others change when temperatures vary just a tiny bit. Without knowing what kind of error you’re up against you won’t be able to correct it correctly.
The calculator above does the math for you after you input your reference pairs so you don’t have to guess whether you’ll get by with a simple average or a proper linear slope correction. Plus, it takes into account the gradual growing error caused by sensor age, something many people never bother to account for until they see their reading go completely whacko months later.
First thing is to get a solid reference point. This is the trickiest part because you face a chicken-and-egg problem: you have to calibrate your sensor using yet another cheap sensor. So what do you trust? Saturated salt solutions come in sealed jars with known stable humidity points in %RH based off which salt you use. Or you can buy a handheld hygrometer and if it’s got a fresh cert, that will work as well.
Once you have that truth, let the sensor sit next to it until the readings flatten. Don’t cheat here. The capacitive sensors take time to react, particularly when they are cooped up somewhere (like in a cabinet enclosure or wall box). If the needle is still sliding when you record the reading, it introduces noise into the calibration data. It’s far better to wait an hour for it to settle than to make a guess and apply a bad correction right away.
A quick note about slope error: Run several tests of your sensor under various humidity values, then use those results to figure out whether your sensor suffers from this kind of error. In other words, maybe it reads okay at half-humid, but completely screws up on eighties-percenters? Using a simple average assumes that the error stay the same across all values. If it increases with higher humidity, well… That’s wrong.
The tool provides both options in order to distinguish between those two situations. For simple bias, it computes the mean difference. For range-dependent errors, it fits a line through your sample points. Selecting the correct model is important because you can apply a slope adjustment even when you only want a simple offset. Using the wrong one could add extra complexity and possible instability to your automation logic.
Then there’s the effect of temperature, which many people overlook: The sensors may be calibrated at room temp, yet sit in a cool basement or hot equipment rack. A couple of degrees one way or another makes a difference that can add up. The coefficient corrects for that, so no more seasonal drift that has nothing to do with aging hardware. You specify what the measurement temperature is today, what the calibration temp was, and it accounts for that thermal effect. Little details, yes. But little details that keep your settings correct all year long.
Drift is the quiet killer for sensor accuracy. No matter how well calibrated, things deteriorate over time. Electrodes corrode. Electrolytes dry out. Most consumer sensors drift at a rate of a fraction of a percent a month. That compounds into a big enough error band to be concerned about in as little as six months.
By logging it, not only do you react faster to obviously wrong readings but more importantly, you can tell how fast they are drifting so you know when the next check needs to happen. It will give you a corrected reading and show what the expected error band is. A reminder that nothing gets measured precisely.
In the end, calibration is just setting expectations. You cannot get rid of these expectations completely, but you can reduce them so that you can confidently make decisions based on those readings. Knowing what the real value is for humidity is far more important then the number coming out of your sensors, whether you’re guarding against mold in a basement, or stopping wood floors from expanding. Verify with a reference, trust the process, and calibrate as needed. It’s that little bit of work that makes a guessing game into something that’s under control.