Video Doorbell Field of View Calculator
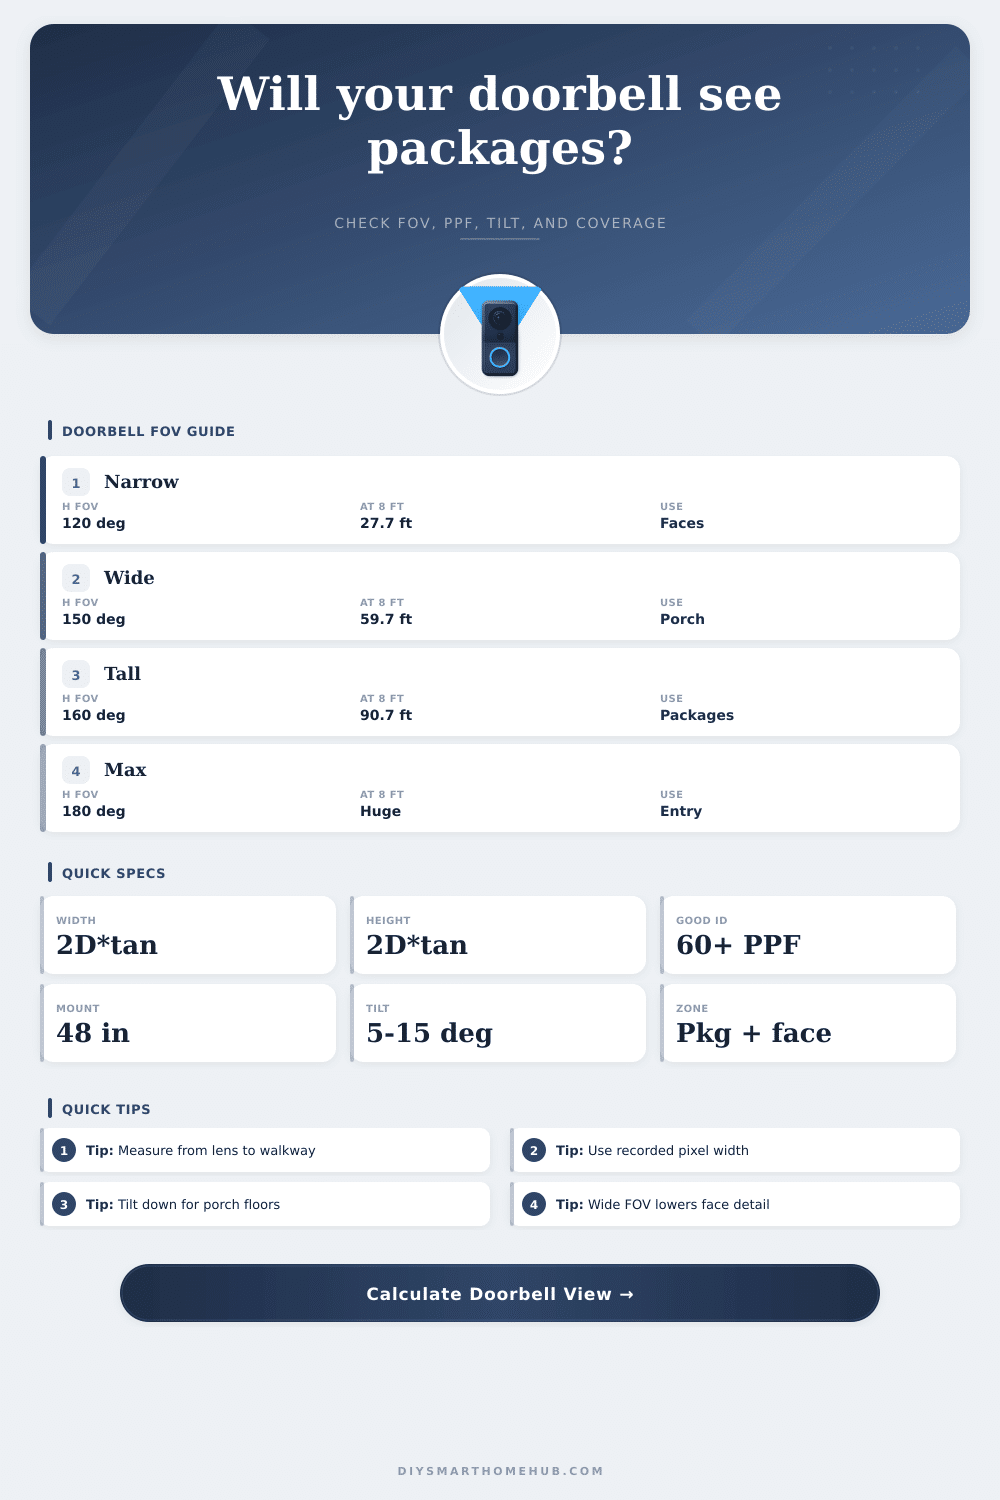
Estimate the porch width, vertical frame, pixels per foot, package visibility, and person coverage from distance, FOV, resolution, mounting height, and downward tilt.
Run the calculator to compare lens view, pixel density, and package coverage.
Better pixel density at the door mat, but less side porch and package spillover.
Usually covers a normal porch while keeping enough pixels for visitor recognition.
Useful when the camera needs to see the floor and a standing visitor in one frame.
Captures more approach area, but edge distortion and lower PPF can reduce face detail.
| Horizontal FOV | Width at 6 ft | Width at 8 ft | Best use |
|---|---|---|---|
| 110 deg | 17.1 ft | 22.9 ft | Narrow walkway |
| 130 deg | 25.7 ft | 34.3 ft | Front stoop |
| 150 deg | 44.8 ft | 59.7 ft | Wide porch |
| 160 deg | 68.1 ft | 90.7 ft | Side approach |
| Horizontal PPF | Metric PPM | Practical read | Doorbell note |
|---|---|---|---|
| 20 PPF | 66 PPM | Observe | Motion and body shape |
| 40 PPF | 131 PPM | Recognize | Known visitor detail |
| 60 PPF | 197 PPM | Strong ID | Good porch face detail |
| 80 PPF | 262 PPM | High ID | Better for snapshots |
| Mount / tilt | Target distance | Floor visibility | Person framing |
|---|---|---|---|
| 3.5 ft / 0 deg | 6 ft | Depends on V FOV | Often centered low |
| 4 ft / 8 deg | 8 ft | Good for packages | Balanced |
| 4.5 ft / 12 deg | 8 ft | Strong floor view | May crop tall heads |
| 5 ft / 15 deg | 10 ft | Best for high mount | Check top edge |
| Scenario | Distance | Suggested FOV | Watch item |
|---|---|---|---|
| Apartment hall | 4 to 6 ft | 110 to 130 deg | Too much fisheye |
| Standard porch | 7 to 9 ft | 140 to 160 deg | Floor packages |
| Wide steps | 9 to 12 ft | 150 to 170 deg | Low PPF |
| Gate approach | 14 to 20 ft | 100 to 130 deg | Face detail |
You want to know who’s at your front door? That’s why you got a video doorbell. You hook it up and fire up the app, but oh no! Now all faces is blurry potatoes. They are also too wide or too narrow to show a package left on the mat.
There’s generally one key misunderstanding here: most consumers look at the number of pixels without thinking about how they distribute them in physical space. Sure, more resolution on a camera doesn’t help when that spreads it out across 40 feet of blank lawn. It’s not how many; it’s how dense.
How To Get Clear Video From Your Doorbell
You can plug in all that stuff into the calculator here (above) which does all the geometry for you. You don’t need a tape measure or a protractor. It only requires your lens specs, your tilt angle, your mounting height and it gives you an exact answer on what’s going to fit inside the frame.
One number that it spits out that’s most important is pixels per foot; or how many real-life details is available for any given linear unit of distance. There’s a minimum level of pixel density required if you want to spot someone’s face, or read a shipping label. Below that point, you’re just observing, not recognizing.
It depends on how you mount it. Eye-level is great for catching faces but doesn’t touch the ground. That’s why so many default installations miss packages. The package is below the bottom of the camera frame, but above the head of whoever is holding it. Dropping the mounting point can help, but typically brings into view some odd angles (ceiling shots, people looking like giants).
Often, you can solve this by lowering the lens angle just enough to get the object out of the way without going too low; this keeps the mount closer to the ground. You lose a little horizontal in exchange for vertical. Most manuals don’t describe this process very clear.
You’ve probably seen marketing materials about wide angle lenses “covering more area” like this makes them better. For identification? No. Not usually. You can see a hundred and eighty degrees around yourself, including the whole porch and half the sidewalk outside. But it does this by spreading out those pixels over such an area that they’re super-thin.
It also warps the edges through something called barrel distortion. This causes faces to appear stretched and distorts all the straight lines. When you want to confirm someone’s identity, a narrower lens preserves a sharper image with the subject right in the center. You can try them side-by-side on the tool. It illustrates how quickly the pixels gets spread out by increasing the width, forcing you to choose between coverage vs. Clarity.
You’ll also notice that tilt is often ignored during installation. Tilt can be the difference between seeing someone’s head and just their fence. But tilt has its limits. Too aggressive and you crop off the top of people’s heads, getting a view of torsos and shoes instead. You want enough vertical space for standing guests but not so low that you lose sight of what’s happening on the floor.
The calculator accounts for this with a simulation of the rectangle you’d see at a given distance. It indicates the start and end points of the frame on the ground (where does it begin?) and up in the air (where will it stop?). This keeps you from making one of the most common mistakes: mounting too high and needing too much tilt, or tipping so far down you no longer see anyone at all.
Second, resolution matters more then most people realize. While many of these doorbells claim to support 4K, they actualy record at lower resolutions for storage purposes. What you see on the screen isn’t necessarily what you’ll get in your recording. When you’re watching that footage later, you want it to be the actual video… Not just some preview stream.
You can really tell when you zoom in on someone’s face; there’s a big difference between a full 1080p clip vs. It is one with compression artifacts at 720p. Getting those numbers right helps the pixels add up as intended, not based off marketing specs. That’s a small thing, but it avoids disappointing yourself when you revisit that package from last Tuesday.
At its core, installing a video doorbell is about tradeoffs: There’s no such thing as maximum height plus maximum width plus maximum detail. That’s just physics. What works on one entryway won’t necessarily work on another (so pick the priority for yours). Do you care more about getting a decent view of whoever knocks at your door? Or do you want to catch that courier from halfway down the driveway?
The math will tell you which way to go. And once you get it, you’ll be able to see clearly instead of looking at blurry, bad footage. It doesn’t matter whether you’re guessing anymore; now you know precisely what you wanted to see.