Task Lighting Lux Calculator
Estimate task-plane lux, required fixture lumens, fixture count, beam coverage, and delivered light after utilization, age or contrast needs, and shadows.
Task Lighting Estimate
| Task type | Typical target | Common plane size | Planning note |
|---|---|---|---|
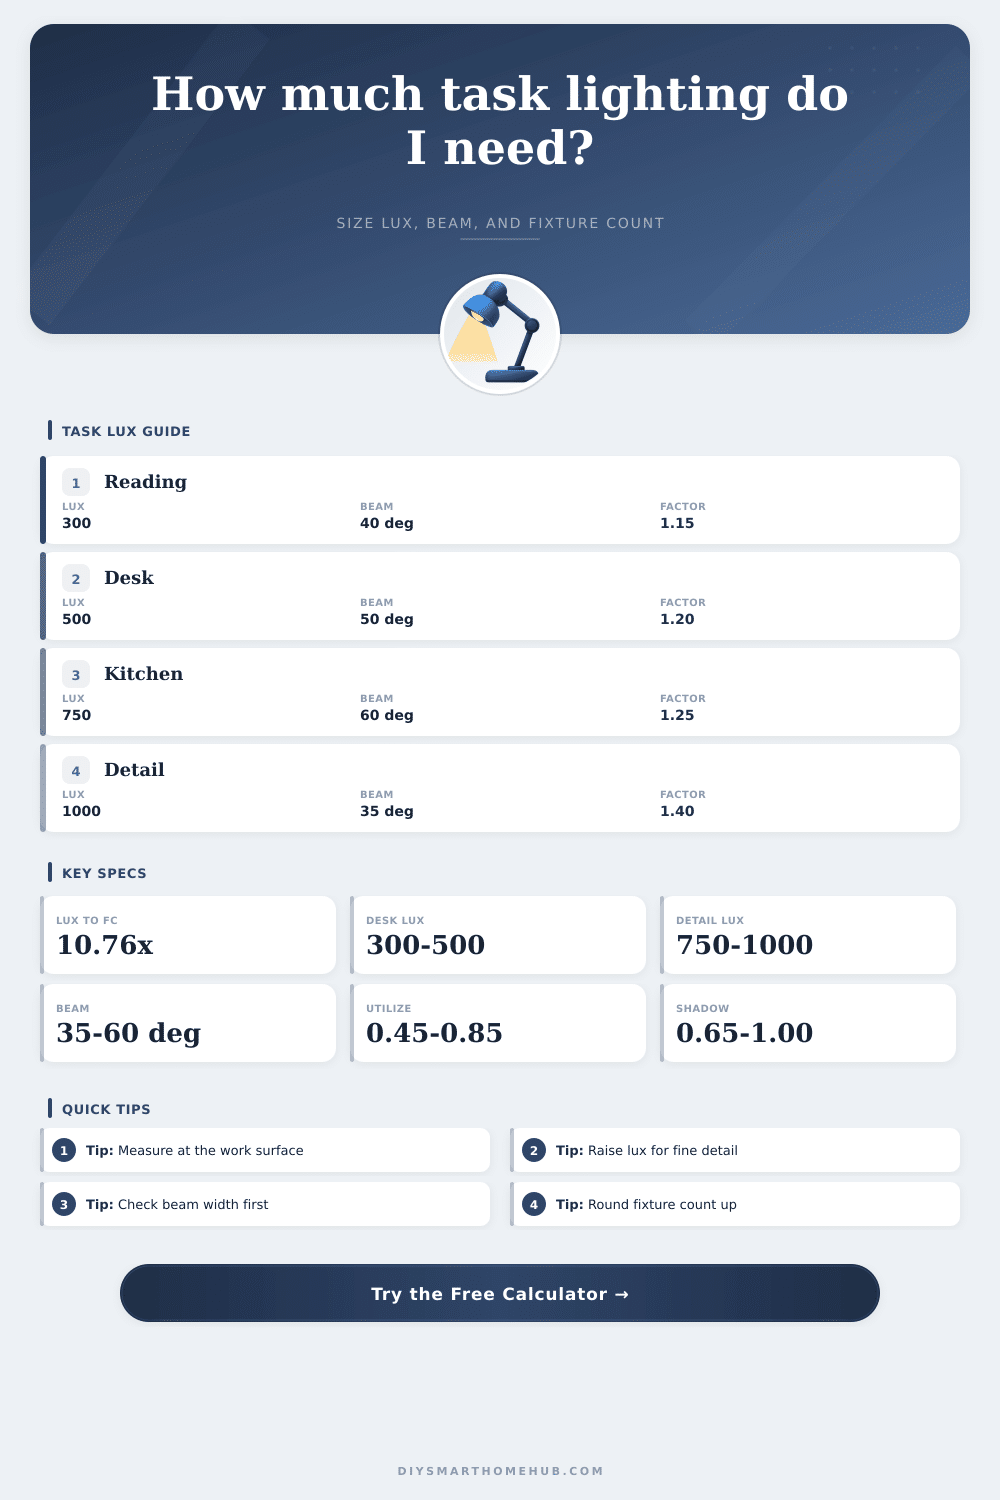
| Casual reading or side table | 200 to 300 lux | 2 ft × 2 ft | Comfortable local light with low glare. |
| Home office desk | 300 to 500 lux | 4 ft × 2 ft | Use higher end for paper work. |
| Kitchen prep counter | 500 to 750 lux | 4 ft × 2 ft | Shadows from cabinets often matter. |
| Workbench, sewing, or crafts | 750 to 1000 lux | 5 ft × 2.5 ft | Use cross lighting for hands and tools. |
| Inspection and fine matching | 1000 to 1500 lux | 3 ft × 2 ft | High CRI and uniformity are important. |
| Beam angle | At 18 in distance | At 30 in distance | Best task use |
|---|---|---|---|
| 25° narrow spot | 0.7 ft diameter | 1.1 ft diameter | Tiny detail or accent, not broad desks. |
| 35° task spot | 0.9 ft diameter | 1.6 ft diameter | Focused reading or inspection zones. |
| 50° medium beam | 1.4 ft diameter | 2.3 ft diameter | Desk lamps, pendants, work lights. |
| 60° wide task | 1.7 ft diameter | 2.9 ft diameter | Counters, benches, and craft tables. |
| 90° flood | 3.0 ft diameter | 5.0 ft diameter | Even broad coverage with lower punch. |
| Factor | Typical range | What it represents | Calculator effect |
|---|---|---|---|
| Utilization factor | 0.45 to 0.85 | Useful light after shade, aiming, and spill. | Lower values require more fixture lumens. |
| Age/contrast multiplier | 1.00 to 1.75 | Visibility need from eyes, detail, and contrast. | Higher values raise the lux requirement. |
| Shadow factor | 0.60 to 1.00 | Light blocked by hands, shelves, cabinets, or body. | Lower values reduce usable delivered light. |
| Maintenance factor | 0.75 to 1.00 | Dust, diffuser aging, and lamp lumen loss. | Lower values add installed headroom. |
| Preset | Task plane | Target lux | Fixture approach |
|---|---|---|---|
| Home Office Desk | 4 ft × 2 ft | 500 lux | Medium beam desk or pendant light. |
| Kitchen Prep Counter | 4 ft × 2 ft | 750 lux | Linear under-cabinet bar with shadow allowance. |
| Electronics Bench | 5 ft × 2.5 ft | 900 lux | Two-side or bar lighting for fewer hand shadows. |
| Detail Inspection | 3 ft × 2 ft | 1200 lux | Narrower high-CRI task fixture near the plane. |
Lux estimates are planning values for task surfaces. Verify final illuminance with a meter when work is color-critical, safety-critical, or inspection-grade.
It’s all about the right kind of light in just the right place, where your eyes and hands meet. It is not necessarily about just having light. Like: You sit down at your desk for three hours, and suddenly your eyeballs are on fire; but it was the light, so wrong. Why does reading feel like some form of endurance?
Most folks don’t get light that’s made to perform well. They gets lamps that look good. Then they’re like “Why doesn’t this make my reading easier?”
How to Choose the Right Light for Your Work
After you input your fixture specs and surface dimensions, the calculator above do the math for you to decide whether one pendant is enough or if you need a whole array. The work surface itself are the first place to get this right. You aren’t lighting the room, you’re lighting the circuit board, or the cutting board, or the paper. General ceiling lights just scatter the energy all over the place without landing on what counts.
By defining the exact length and width of that zone, you isolate the area that actualy matters. Even though it seems strange to ignore the rest of the room, your eyes only care about those few square feet in front of you. From these measurements the tool can calculate how much light intensity, measured in lux, actualy lands on the work.
Next is the fixture output, which is where folks trip over marketing numbers. Maybe the bulb says it puts out lots of lumens. But then the light goes through a dusty lens, a shade, or your body, which blocks part of it. Very little light actualy makes it to the page. That’s what the use and maintenance factors are for. These take into account how much light is lost in the real world as it goes through a dirty lens, a shade, around a physical obstruction or your body blocking some of it. Assume that there will be some loss before the light ever lands on your task. Otherwise, your workspace will look dimmer sooner then later.
The other silent killer of good lighting is beam angle. You may think a wide flood spread looks inviting and soft, but in fact it spreads the same amount of intensity over a bigger area, so the middle is just adequate. When assembling things like electronics or sewing something, you need a tighter beam to concentrate power where your hands are doing all the moving. Table on the page shows the reference for how narrower spots concentrate their energy and how wider floods spread it thin. That way the whole pool of light covers the task at hand with no waste spilling useless brightness into empty walls or dark corners.
The last factor that will ruin an otherwise well lit set up is shadows. Putting a light right behind your head create moving shadows on your hands as they move around. This can be solved by cross lighting with two lights from either side or by using a linear bar and placing it where it won’t get obstructed. The calculator has shadow factors so you can see what it looks like when something blocks your light. A little tweak in the settings makes all the difference in comfort.
Contrast and age also matter. Older eyes require much more light. Even if eyes are young, fabrics with low contrast, such as grey on grey; require lots of light to see the detail. Then your eyes need lots of light to be able to pick out the detail. With this tool you can adjust the requirement accordingly, so that you don’t simply satisfy a minimum code level but one sufficient to make the light suit your particular visual needs. Subjective comfort becomes a measurable goal.
In short, it is about control. It’s not like I have the ability to adjust the angle of the sunlight streaming in from my windows, but I can set those lights where they don’t cast shadows or reflect glare on my screen. And when you view them as tools (as opposed to décor), and not something fighting your idea of the space, then suddenly you’ve got a space that works with you, instead of one working against you. The right number makes the strain dissapears. All that remains is the clarity (and the work) to perform it well.