Cove Lighting Lumens Calculator
Estimate indirect ambient light from cove perimeter, ceiling height, throw distance, LED strip output, reflectance, indirect losses, dimming level, and target room lux.
Indirect Cove Lighting Estimate
| Room / scene | Typical cove target | Best role | Planning note |
|---|---|---|---|
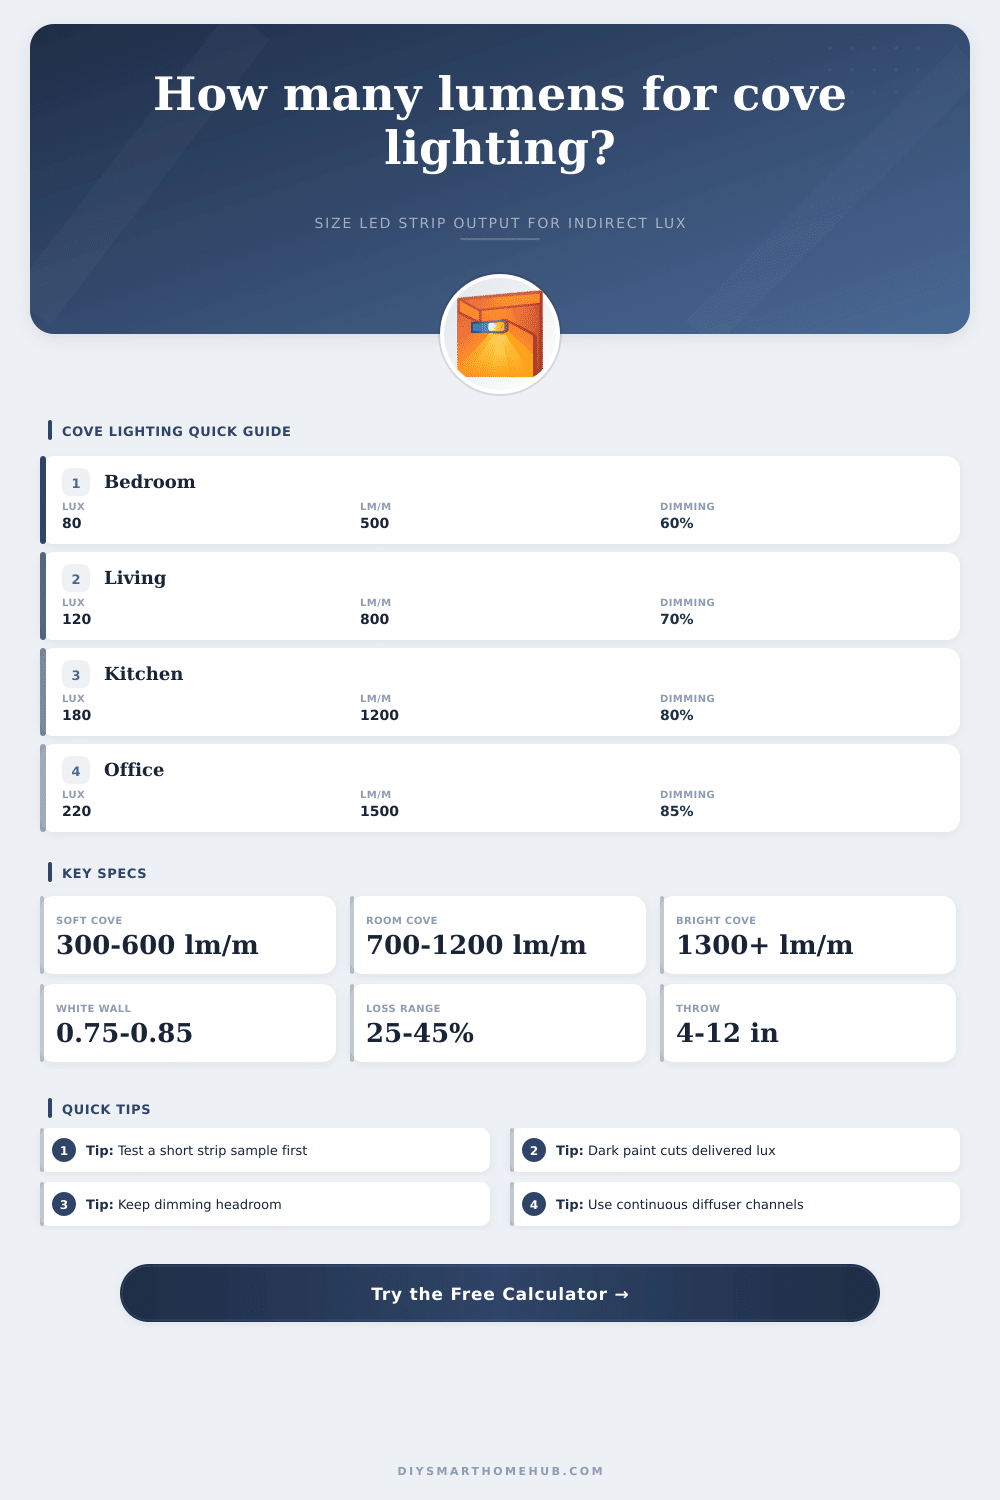
| Bedroom evening ambient | 50 to 100 lux | Relaxed indirect glow | Keep headroom for very low night scenes. |
| Living room general | 100 to 180 lux | Layered room light | Works best with lamps or downlights for tasks. |
| Kitchen background | 150 to 250 lux | Supplemental ambient | Use separate task lighting over counters. |
| Home office ambient | 180 to 300 lux | Screen-friendly fill | Add desk lighting for reading and paperwork. |
| Hall or tray ceiling accent | 40 to 120 lux | Orientation and depth | Uniformity often matters more than peak lux. |
| Surface finish | Reflectance factor | Indirect loss to try | Result behavior |
|---|---|---|---|
| Matte white ceiling and light walls | 0.82 | 25% to 35% | Most efficient cove condition. |
| Light paint / typical white ceiling | 0.72 | 30% to 40% | Good baseline for residential rooms. |
| Neutral mixed finishes | 0.60 | 35% to 45% | Needs more strip output for the same lux. |
| Warm wood or beige surfaces | 0.50 | 40% to 50% | Warmer appearance with lower delivered light. |
| Dark paint or colored ceiling | 0.38 | 45% to 60% | Often shifts from ambient to accent lighting. |
| Strip class | Rated output | Typical power | Good fit |
|---|---|---|---|
| Low-output accent | 300 to 500 lm/m | 4 to 6 W/m | Short coves, media rooms, toe-kick glow. |
| Standard ambient | 600 to 900 lm/m | 7 to 10 W/m | Bedrooms, lounges, tray ceiling accents. |
| High-output ambient | 1000 to 1400 lm/m | 11 to 16 W/m | Living rooms and open plan coves. |
| Very bright indirect | 1500 to 2200 lm/m | 17 to 24 W/m | Kitchens, offices, tall ceilings. |
| Dense COB strip | 600 to 1600 lm/m | 8 to 18 W/m | Smooth lines with fewer dotting issues. |
| Project size | Cove perimeter | Room area | Example strip output |
|---|---|---|---|
| Small bedroom tray | 42 ft / 12.8 m | 140 sq ft / 13.0 sq m | 500 to 800 lm/m |
| Living room perimeter | 64 ft / 19.5 m | 250 sq ft / 23.2 sq m | 800 to 1200 lm/m |
| Kitchen indirect cove | 52 ft / 15.8 m | 180 sq ft / 16.7 sq m | 1200 to 1800 lm/m |
| Open plan rectangle | 96 ft / 29.3 m | 600 sq ft / 55.7 sq m | 1000 to 1500 lm/m |
| Hallway linear cove | 36 ft / 11.0 m | 90 sq ft / 8.4 sq m | 400 to 700 lm/m |
For many homeowners, cove lighting is a mood switch, not a main light source. Many homeowners install a low-output strip behind a tray ceiling, press a button, and are immediately disappointed by the dimness. But this isn’t usually the fault of the LED, it’s the physics of indirect light. Your strip emits its light upward. It reflects off the ceiling, spreads through the room, and reaches your eye having lost energy along every step. Each bounce siphons away some of the light. Shadows conceal it; diffusers capture it; dark paint consumes it. Unless you plan for those inefficiencies initially, you’ll probably find yourself with an uneven, underpowered glow.
But how do you know what size is right? Don’t wing it. Think about the space (both floor and perimeter) that you intend to light up, and keep in mind that large areas needs more light per foot than small ones. For example, a massive living room will require much greater lumens then a tiny bedroom, there’s simply no point wasting lumens on lighting up empty space! And don’t forget ceiling height: Ambient light spreads out more in taller spaces, so what looks plenty bright from a ten-foot ceiling may be impossible to see at twelve.
How to Plan Your Cove Lighting
The handy calculator above does all the tricky math for you, converting real-world measurements into practical lux values that help you predict results before investing in fixtures. The last factor in home design, and maybe the most ignored, is reflectance. White = white, right? Not necessarily. Matte paints absorb light; glossy/semi-glossy paint reflects it. So, if your ceilings are painted a rich shade of neutral, you’ll need to use much greater brightness than what’s needed for a super-white surface to get the same amount of ambient light.
Love dark wall colors? Well, either be prepared for a lot of extra lumens from brighter strips, or realize that you’re not going to have a cove that’s useful lighting so much as an aesthetic element. There is tradeoffs. Another issue that catches beginning designers is dimming. You can’t drive an LED at less than its full capacity and expect it to be as efficient. Our perception of brightness isn’t linear, but logarithmic instead. Seventy-percent dimming isn’t going to deliver seventy-percent brightness (in fact), you’ll have to design your system at full power from the start so that what’s left over after dimming remains comfortable. That leaves room for dynamic changes while keeping your drivers within their limits (and avoiding the risk of flicker in those lower ranges).
A basic set of targets is provided in the table accompanying the calculator. For example, a bedroom may aim at eighty lux (for relaxing in the evenings), whereas an office environment require more like two hundred lux (to minimize eye strain when looking at screens). These aren’t hard-and-fast rules, though; they represent a good place to start, depending upon how you plan to use rooms. Adjust upward if you prefer it brighter, downward if there are additional light sources present.
Cove lighting is most effective when used as one layer within a layered lighting scheme, illuminating only the shadows left over from downlighting or task lamps, instead of providing all illumination. More than just electrical math determines how well it works. Practical installation factors matter, too. Beam spread depends on throw distance (how far the LED strip hangs below the ceiling). If there is not enough distance, it’ll cause visible scalloping on the wall or harsh hotspots. If it is too great, it will lose its punch before hitting the room. Generally an even, smooth wash occurs when throw stays within four to twelve inches.
Continuous diffuser channels help integrate separate diodes into a cohesive line of light that’s key to keeping up the illusion of a glowing surface, not a row of exposed bulbs. The technical details include power density and voltage stability. The higher the output of a strip, the greater its power consumption. Which means higher amperage (requiring stouter wiring) and increased heat generation (meaning beefier power supplies). These factors may necessitate thicker gauge wire if you go long distances with no noticeable voltage drop from one end to the other. Going with a 24 volt system typically solves both of these problems while still maintaining an extended run length without noticeable dimming at the opposite end.
Finally, invest in good drivers that can smoothly dim your lights; inferior ones will add noise or otherwise behave erratically and destroy the mood you’ve worked hard to achieve. The bottom line: Good cove lighting just dissapears. It’s seamless and doesn’t draw attention to itself. It gives a sense of dimension and depth while remaining out of the way. To avoid under-lighting, size your lights based off your actual needs rather than peak requirements, accounting for reflectance values and planned losses. You end up with a space that draws you in at first glance, where the light enhances the space but doesn’t take over. Getting the numbers right before drywall installation creates a quiet confidence in the way your space looks and feels.