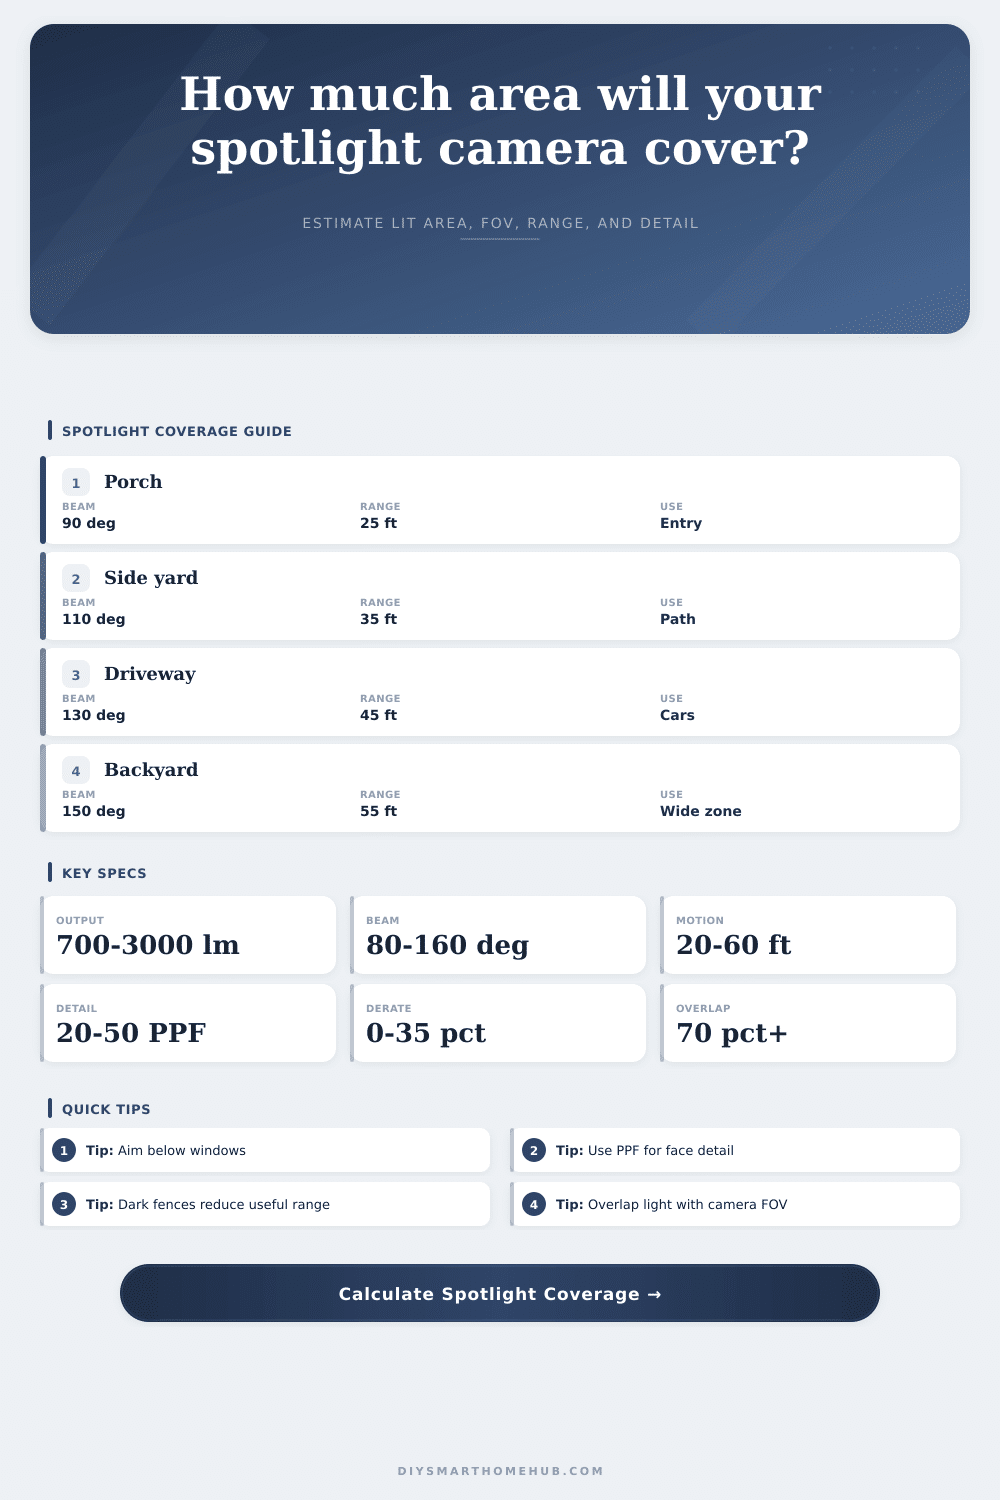
Spotlight Camera Coverage Area Calculator
Estimate the useful illuminated sector, motion detection reach, camera FOV width, beam-to-video overlap, reflectance derate, glare pressure, and pixels per foot for a spotlight camera zone.
Compact spotlight
Best for porches and side doors where 1080p detail is kept by a shorter planning distance.
Wide 2K camera
Balances beam width and pixels per foot for patios, driveway aprons, and shared entries.
4K wide view
Supports wider FOV coverage while keeping useful PPF farther from the mounting point.
Ultra-wide flood
Covers broad yards, but the calculator may show low PPF unless distance stays reasonable.
| Horizontal FOV | Width at 20 ft | Width at 35 ft | Best zone use |
|---|---|---|---|
| 115 deg | 62.9 ft | 110.1 ft | Narrow side approach |
| 130 deg | 85.8 ft | 150.2 ft | Driveway or porch |
| 145 deg | 126.4 ft | 221.2 ft | Wide front yard |
| 160 deg | 226.9 ft | 397.0 ft | Broad view, crop needed |
| Lumen output | 90 deg beam | 120 deg beam | Typical role |
|---|---|---|---|
| 700 lm | 28 ft | 24 ft | Small porch |
| 1200 lm | 37 ft | 32 ft | Side yard |
| 2000 lm | 48 ft | 41 ft | Driveway |
| 3000 lm | 59 ft | 51 ft | Wide yard |
| Motion detector | Reliable range | Coverage note | Calculator check |
|---|---|---|---|
| Short PIR | 15 to 25 ft | Low nuisance alerts | Use porch presets |
| Wide PIR | 25 to 35 ft | Good side movement | Watch beam overlap |
| Video motion | 25 to 45 ft | Depends on contrast | Use derate profile |
| Radar assisted | 40 to 60 ft | Long approach alerts | Check PPF at range |
| Surface profile | Reflectance | Glare derate | Use in calculator |
|---|---|---|---|
| Dark fence | 0.45 | 8% | Lower useful light range |
| Concrete | 0.80 | 10% | Balanced default |
| Light wall | 1.05 | 18% | Good bounce, more glare |
| Wet paving | 0.90 | 28% | Strong glare penalty |
You feel frustrated by blurry video of a package thief. You paid for a security system with cameras that deliver crisp imagery, but all you get is pixel and blurs. It’s not the camera’s fault, it’s typically a problem with the lights.
Common wisdom says “more light = better video.” So they crank up brightness, a lot. The result are washed out pictures without details. To fix this, control not only amount of light, but also how it fall on the scene.
How to Fix Blurry Security Camera Video
So then what? Does it matter if there is light in the camera’s field of view? How about type of light? Is it an open space, or is there a spotlight covering a big area while your lens sees just a small section? With the beam spread and mounting height info, the calculator will tell you how they relates. In other words, are the light and lens compatible?
The image is also affected by mounting height: When placed high, cameras is harder for people to mess with, but they record lower-quality images. To get an image from a higher mount down to the ground, you need to point camera at a steeper angle. That angle makes the image pixels appear stretched on the ground. A face might be clearly visible at one mounting height but appear distorted at another height. Depending on how steeply your camera is pointed down, the tool will adjusts its effective range. You can also try a reflector, or just lower the camera if the range becomes to small.
The other factor is that the reflected light changes how well it perform. Light colors reflect light and cause glare. Glare causes loss of contrast and blinding of your camera’s sensor. This makes seeing face hard and seeing license plates impossible. Darker surfaces will absorbs some of the light, leaving less light for what you want to see. The calculator has a reduction factor for this type of scenario. It takes into account the lack of effectiveness of light on dark colored or shiny surfaces.
You need the right amount of pixels because proper lighting isn’t as effective without enough pixel density. There aren’t enough pixels to distinguish features, especially if you’re trying to get close-ups. People spend a lot of time worrying about light output but don’t think about the resolution spread across the image. Even with high-res sensor, it might cover too large of an area to make any images distinct. Pixels is spaced out so much they cannot pick up small details.
It also gives you a fit score measuring the overlap between your light cone and video frame. Low = not fully covering space. For common situations, the presets provides a starting point. They represent things you might do around your home such as on a driveway or porch. What’s probably different is what you want to detect. Perhaps it’s not that far away? Or maybe you want a wider or narrower beam?
The manufacturers will tells you the maximum distance they claim is theoreticaly possible. But those numbers are never really reached in real life. Typically you should of rely on closer distances where it can reliably see things. If you set a higher expectation for range, you’ll get more false positives triggered because of dark areas.
To get a good image from a security camera you need a light level that makes it work properly. You want to see what happens. You want clarity so you can tell who was there or where they were. And you don’t want glare or poor viewing angle or wrong pixels (just right). Get all these factors lined up between the camera and the lighting and suddenly the system show you things you couldn’t see before.