IR Illuminator Distance Calculator
Estimate usable infrared lighting distance from illuminator range, radiant power, beam angle, wavelength, weather loss, camera sensitivity, scene reflectance, and pixels per foot.
Calculation breakdown
| IR factor | Typical value | Formula effect | Planning note |
|---|---|---|---|
| Power ratio | Actual W / rated W | Range scales by square root | Doubling radiant power gives about 1.41x reach, not 2x |
| Beam angle | 30-120 degrees | Range follows beam diameter ratio | Narrow beams concentrate IR but cover less side-to-side area |
| Reflectance | 10-70 percent | Range scales by square root | Grass, dark paint, and asphalt return much less IR than concrete |
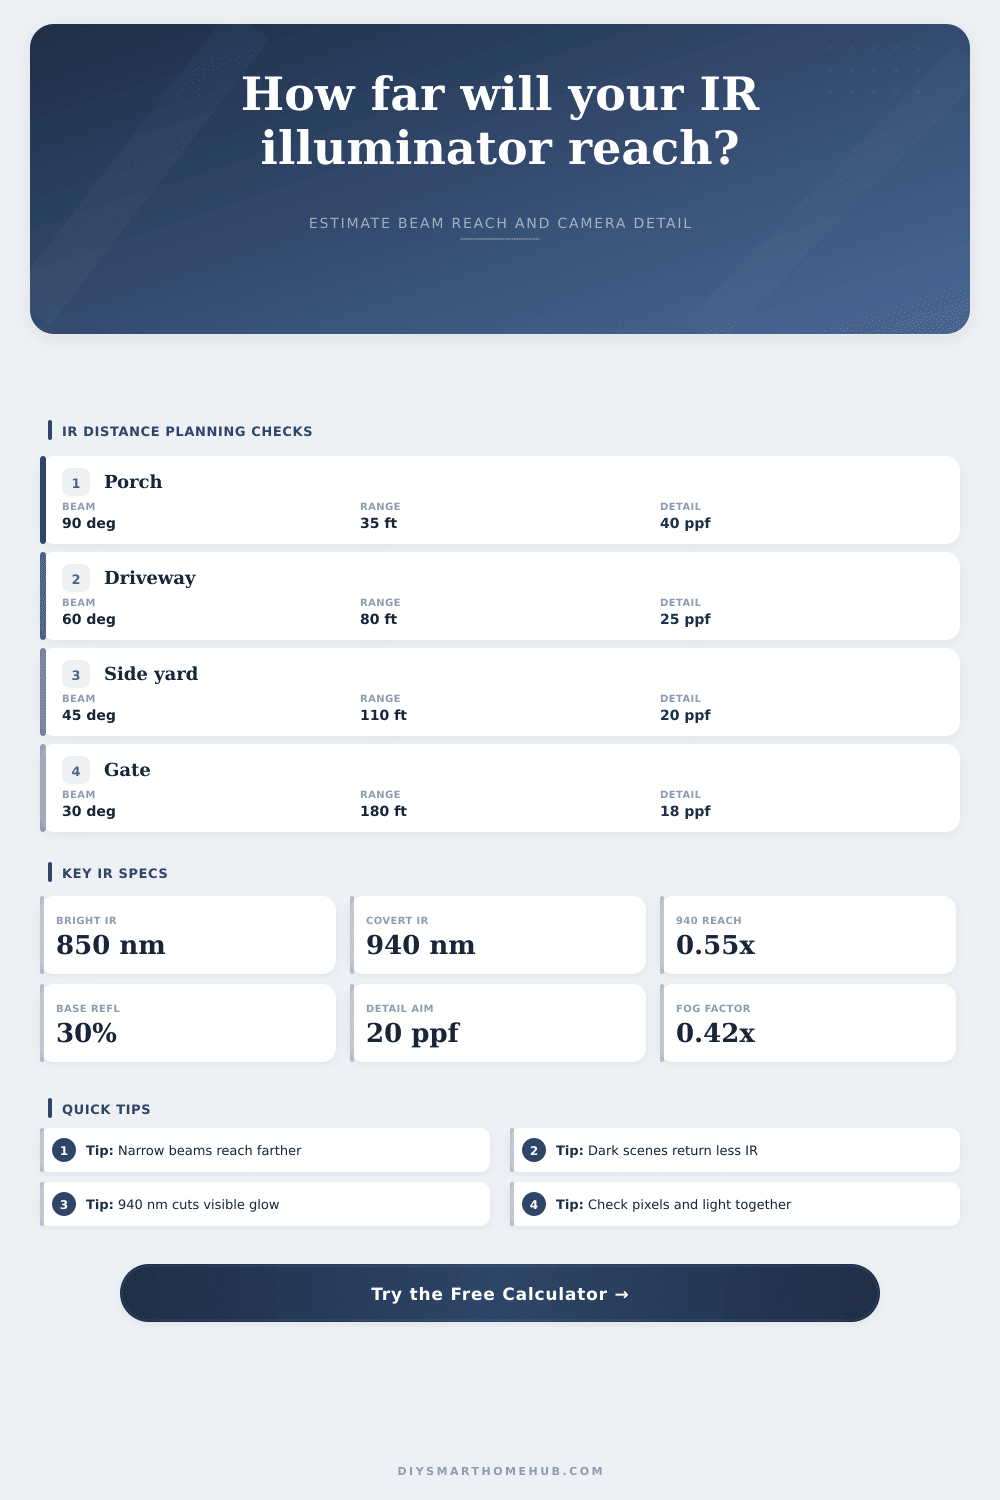
| Wavelength | 850 or 940 nm | 940 nm applies a sensor response loss | Most cameras see 940 nm, but with less useful distance |
| Beam class | Angle | Best use | Distance behavior |
|---|---|---|---|
| Wide flood | 90-120 degrees | Porches, rooms, short yards | Broad coverage with fast inverse-square drop |
| Medium flood | 50-75 degrees | Driveways and patio zones | Balanced width and usable range for home cameras |
| Spot beam | 25-45 degrees | Side yards, gates, alleys | More distance, but aim becomes more important |
| Long throw | 10-25 degrees | Lane, gate, and plate views | Strong reach with narrow coverage and higher glare risk |
| Scene condition | Factor | Input to use | What changes in the result |
|---|---|---|---|
| Clear direct view | 1.00x | Clear air, direct view | Illuminator rating is adjusted mainly by power, beam, and reflectance |
| Light rain or mist | 0.82x | Light rain or mist | Moisture scatters IR and reduces contrast before the rated limit |
| Fog or dusty air | 0.42x | Fog, dust, or pollen | Backscatter can make near particles bright while distant targets fade |
| Window path | 0.35-0.58x | Clean or dirty glass | Glass reflects LEDs and absorbs part of the outgoing and returning light |
| Detail target | Pixels per foot | Best use | IR planning note |
|---|---|---|---|
| Detection | 10 ppf | Motion and presence | Often light-limited before detail-limited on wide cameras |
| Recognition | 20 ppf | People, vehicles, repeated activity | Good default for home driveway and yard planning |
| Identification | 40 ppf | Faces, clothing, object shape | Usually needs a closer target or a narrower lens |
| Plate/detail | 60 ppf | Small reflective targets | Glare control and shutter speed matter as much as IR distance |
850 nm flood
Highest practical camera sensitivity and broad home coverage. The LED glow may be visible close to the unit.
940 nm covert
Lower visible glow with shorter reach. Works best at closer distances or with reflective surfaces.
Medium beam
Good match for driveways and yards when the camera FOV is not dramatically wider than the IR beam.
Spot beam
Useful for long lanes and gates. Aim it within the camera view so the target is lit, not the foreground.
Mount the light, add the camera. Turn it on at night and… nothing works right. Everything is blurry (like license plates), the middle are overexposed and everything on the edges is black. Why? Infrared lighting isn’t as simple as cranking up the wattage, you need to control where the light goes and what it bounces off of. Also, the sensor doesn’t “see” light in the same way your eye does.
The calculator figure out that sweet spot for your set-up. No more guessing if you’ll be able to see down your driveway or shine the beam into a neighboring bush.
How to Get Better Night Vision Photos
More than raw watts, beam angle determines how far. Watts is wasted when they’re spread over a big area (wide flood). On the other hand, watts can concentrates into a small circle, then pushed further until light falls below the camera’s sensitivity level (narrow spot beam). Many people purchase maximum wattage without considering the beam spread. Wrong. Marketing claims don’t matter. You need to test and see where it go. A 10w unit with a ninety-degree beam may not make it past fifty feet; a three-watt unit in a thirty degree spot will clear a hundred feet without problem. With this tool, you can play with the variables and know where light really reaches.
There’s one other wrinkle to Wavelength: Standard illuminators are 850 nanometers which give them good range on most sensors while producing the subtlest red glow. To remove all glow, covert units is 940 nanometers. That means your sensor has less sensitivity to the longer wavelength; not a good deal but there is a steep tradeoff. You effectively get about half the range of an otherwise equal 850 nm unit. So if stealthiness matters to you, you’ll either have to compensate by running far more power or accept a reduced range. It’s spelled out nicely in tool and reference tables so you can see right away what you’re losing in distance for stealth.
Output isn’t everything; what’s important is also how well something reflect infrared light. Before it reaches the lens, some of it will bounce back from the surface being illuminated. Asphalt, dark wood fences, and thick vegetation tend to absorb most of the light. But light siding and concrete reflects a significant amount of it back to you. Night vision works better on a white picket fence than on a dimly lit side yard because of this: You’re fighting against absorption when trying to illuminate a black car in your dark driveway. That’s where the option to choose surface reflectance values comes into play with the calculator.
There are some penalties from weather and glass. Heavy rains and fog scatters infrared light, forming a glare wall that prevents anything further than a couple of feet from being seen. Then there’s mounting the camera inside with an outdoor view; even relatively clean glass will still absorb much of the signal. Dimming the LEDs makes it worse, as does narrowing its beam width. And low-reflectance targets? Forget it, the math gets ugly quick. To avoid doing this yourself, the system takes all these factors into account (illumination and pixel resolution limits) and figures out how far you should of expect to be able to see useful things. That includes whether or not light actually makes it to target…or if the camera itself has enough pixels to resolve the detail you’re interested in.
In sum, good night vision is an interplay between three things: 1) sufficient light to illuminate the subject; 2) sufficient pixels to decipher what’s returned; 3) a narrow enough beam to maintain intensity of the light. Get any of these wrong and you have nothing but an image. The calculator help you get that mix before drilling holes in your siding. It makes you consider the scene as a complete system instead of simply purchasing highest lumen box on the shelf. And that change in perspective is what transforms grainy junk footage into something worthwhile. You’ll get the light where you need it, not necessarily where you want it.