License Plate Capture Distance Calculator
Estimate whether a camera has enough pixels, shutter speed, angle control, and infrared reach to capture license plates at a driveway, gate, curb, alley, or private lane.
▣ LPR Presets
▱ Inputs
◉ Results
▦ Preset Comparison Grid
▧ LPR Formula Spec Grid
▨ PPF and Plate Pixel Table
| Capture goal | Scene PPF target | 12 in plate pixels | Angle tolerance | Planning use |
|---|---|---|---|---|
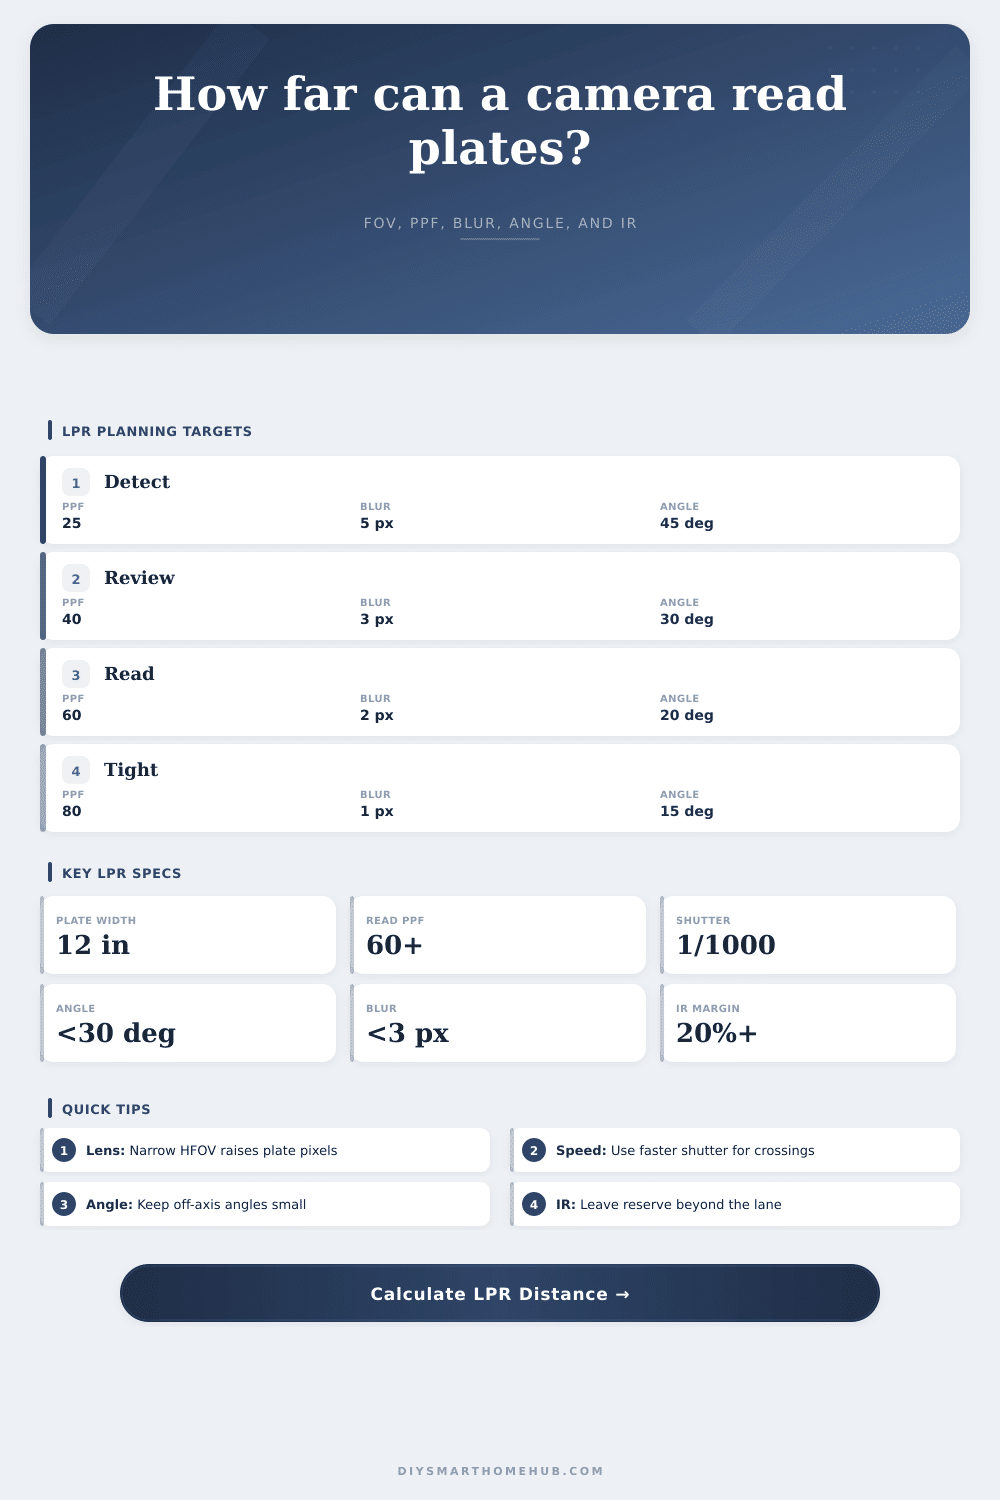
| Vehicle detection | 20-30 PPF | 20-30 px | Up to 45° | Confirms a vehicle passed, not reliable for reading characters. |
| Plate review | 40 PPF | 40 px | About 30° | Usable when speed, exposure, and focus are controlled. |
| Plate read | 60 PPF | 60 px | About 20° | Practical target for DIY LPR snapshots and event review. |
| Tight capture | 80+ PPF | 80+ px | 15° or less | Best for longer lanes, low light, or compressed video streams. |
▩ Lens and Resolution Comparison
| Camera class | Horizontal pixels | HFOV | 60 PPF max range | Typical LPR role |
|---|---|---|---|---|
| 1080p overview | 1920 px | 90° | 16.0 ft / 4.9 m | Close curb or porch plate review only. |
| 4MP narrowed | 2560 px | 45° | 51.5 ft / 15.7 m | Short driveway or mailbox approach. |
| 4K lane camera | 3840 px | 35° | 101.5 ft / 30.9 m | Private lane, gate, or road edge capture. |
| 12MP tele view | 4000 px | 25° | 150.4 ft / 45.8 m | Longer chokepoint when mounting angle is low. |
▪ Shutter Blur Reference
| Vehicle speed | Exposure | Travel during exposure | Crossing blur risk | Planning note |
|---|---|---|---|---|
| 10 mph / 16 km/h | 1/500 s | 0.029 ft / 0.009 m | Low | Usable for slow driveways if plate pixels are adequate. |
| 25 mph / 40 km/h | 1/1000 s | 0.037 ft / 0.011 m | Moderate | Common minimum for moving vehicle LPR at night. |
| 35 mph / 56 km/h | 1/2000 s | 0.026 ft / 0.008 m | Low | Better for road-edge plates moving across the frame. |
| 50 mph / 80 km/h | 1/4000 s | 0.018 ft / 0.006 m | Lower | Needs strong light or IR because exposure is very short. |
▫ Angle and IR Derate Table
| Condition | Derate formula | Example factor | Effect on capture | Calculator input |
|---|---|---|---|---|
| Horizontal angle | cos(angle) | 30° = 0.87 | Plate appears narrower across the sensor. | Horizontal off-axis angle |
| Vertical angle | cos(angle) | 20° = 0.94 | Plate height and characters compress slightly. | Vertical mounting angle |
| Weak integrated IR | range * 0.65 | 100 ft = 65 ft | Usable range may be far below the box rating. | Night lighting factor |
| Reserve margin | usable * (1 - margin) | 20% reserve | Leaves headroom for weather, dirt, and glare. | IR reserve margin |
◈ Actionable Tips
Pointing at the driveway from the eave where you installed the camera, you see a nice picture by day, but then a vehicle turning sharply or at night make the license plate fuzzy. Why? Because pixel counts aren’t everything; geometry and physics play a role as well.
If your field of view is too broad to begin with, spreading out those pixels makes a high-resolution image useless. Pixels per foot is metric that matters. Resolution isn’t always the answer, because resolution without the right field of view is just noise spread over a larger area. But also, more pixels mean less scene, because the scene are wider if lens is wide. So with a wide lens, you might get maybe twenty pixels on entire plate when the plate is at forty feet. You can’t read letters from twenty pixels.
How to Get a Clear License Plate Photo
Making field of view narrower (effectively zooming) concentrates the pixels. Visit the page and use the calculator to see how many pixels hit the plate for any given angle and distance.
But after getting the static shot right, there’s the issue of moving objects. That car isn’t standing in one place for your photo. Your shutter speed is limiting factor. Too slow an exposure and the shutter will be open as the car passes by. This results in blur, blur that can’t be corrected through software. The chart below (from the page) indicate what happens at various shutter speeds. To keep blur small, you need a quick shutter. So you’ll need more light.
That’s where infrared details comes into play. DIY systems are frequently lacking in infrared range. They advertise a maximum range, which is under ideal conditions. In real life, there’s rain, dirt on the lens, and angles. To make sure you have light, the tool cuts down their rated range by some margin. Better to be short but right, rather than long and wrong.
You can’t add light to a dark scene, but you can get closer with camera. The angle at which it mounts alter the image as well. A steep angle makes the plate appear narrow. If you see side of the plate as the car passes through your field of view, you will see less of it. The calculator adjusts based off this. At a thirty degree angle you lose nearly fifteen percent of your resolution. That’s not much but it can mean telling an eight from a zero.
How you achieve this varies depending on your specific situation. For example, too much pixel density and you can’t read the plate; not enough and you won’t be able to make out the context. Too much shutter speed, and it’s a blur; not enough, and there isn’t enough light to get away with it.
Here’s how I would of suggest doing it: work backwards from the plate. Where does it sit? How far back does camera need to be? What kind of lens gets the plate into the best area of sensor? What shutter will stop the action, yet allow enough light?