Glass Break Sensor Coverage Radius Calculator
Estimate effective acoustic radius, room area coverage, window load, and sensor count from listed range, line of sight, room surfaces, and planning reserve.
Coverage estimate
Formula breakdown
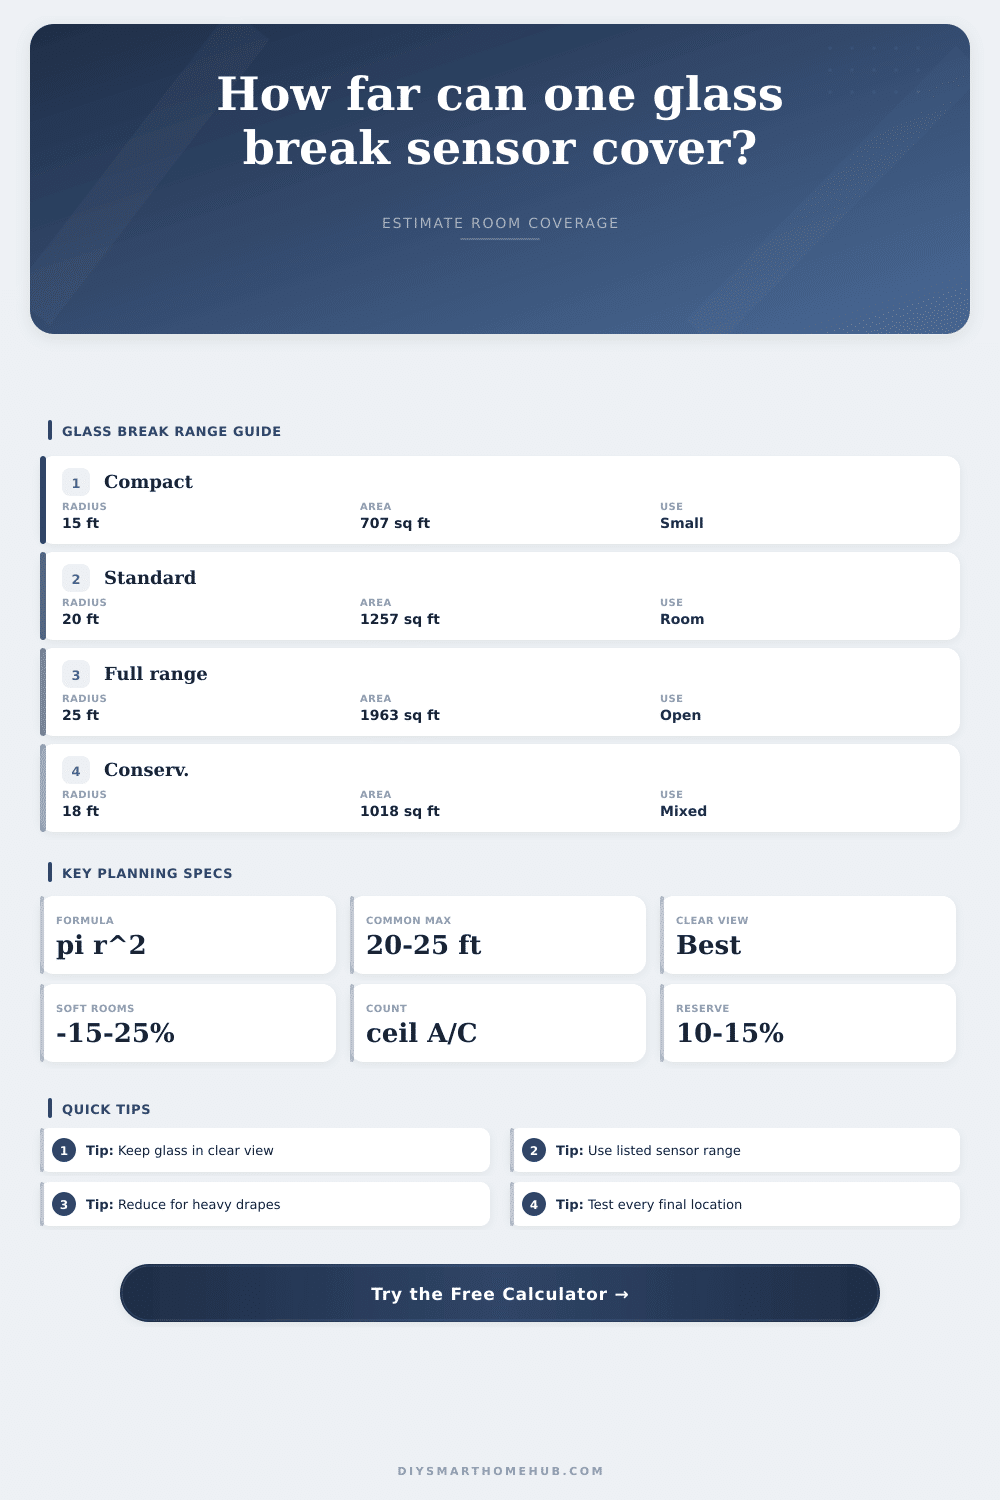
| Listed range class | Radius | Circle area | Metric area | Best-fit room type |
|---|---|---|---|---|
| Compact acoustic | 15 ft | 707 sq ft | 65.7 sq m | Small office or bedroom |
| Standard acoustic | 20 ft | 1,257 sq ft | 116.8 sq m | Bedroom, den, medium room |
| Full-range acoustic | 25 ft | 1,963 sq ft | 182.4 sq m | Living room or open plan zone |
| Conservative planning | 18 ft | 1,018 sq ft | 94.6 sq m | Mixed surfaces or imperfect view |
| Condition | Factor used | Why it matters | Planning note |
|---|---|---|---|
| Clear line of sight | 1.00 | Glass sound has a direct path to the microphone | Best case for listed range |
| Minor furniture | 0.88 | Small obstructions can shadow high-frequency sound | Keep curtains off the path |
| Partial open-room view | 0.75 | Angle and distance reduce confidence | Use extra reserve |
| Around a corner | 0.40 | Acoustic sensors are not meant to listen through corners | Add another sensor zone |
| Room material | Factor used | Typical surfaces | Effect on radius |
|---|---|---|---|
| Hard normal room | 1.00 | Drywall, glass, wood, light furniture | No calculator reduction |
| Mixed furnishings | 0.94 | Drywall, sofa, rugs, bookcases | Small acoustic reduction |
| Soft room | 0.84 | Carpet, rugs, fabric seating | Moderate reduction |
| Heavy drapes or panels | 0.76 | Large curtains, acoustic panels, soft partitions | Large reduction |
| Example zone | Room area | Windows | Suggested input | Watch item |
|---|---|---|---|---|
| Bedroom pair | 168 sq ft | 2 | 25 ft, clear | Window grouping |
| Sunroom | 252 sq ft | 10 | 20 ft, clear | Window load |
| Garage zone | 400 sq ft | 3 | 20 ft, furniture factor | Stored items |
| Open plan | 768 sq ft | 8 | 25 ft, partial view | Long sight path |
A glass break detector doesn’t work like a microphone. It’s not just listening for “shatter.” It’s listening for a unique set of frequency signatures: The sharp impact, then the ringing sound of broken glass. These sensors uses sound physics, not volume; it’s more like a radio signal different than a light bulb.
So perhaps a 25-foot radius seems good enough, so you put one device in a big room and call it done. But the specific signature these devices hunt gets distorted or lost when blocked by walls; meanwhile, drywall, heavy curtains and furnitures act as acoustic filters. In a lab, that same device rated at 25 feet will typically fall down to 18 or 19 feet inside a furnished house. And there lies the failure point of most installs.
How to Place Glass Break Detectors Correctly
But it doesn’t leave you having to guess at the impact of your décor on the signal. By entering your room size and describing the surface conditions, the calculator handles the math for you. Beginning with the maximum range specified in the product specs, it begin taking away range for material loss and line of sight.
Soft surfaces like thick drapes and high-backed sofa absorb the high frequency ring that the sensor must “hear” in order to trigger. To compensate, tool shrinks circle of effective coverage. It also makes you think about line of sight. These aren’t sound sensors intended to “listen” behind corners. While soundwaves do bend, they gets distorted and can even be lost if blocked by a doorway or wall. And if your layout means the sensor would of have to “listen” down a hall, effective range takes a nosedive.
Another consideration is window load. While it’s true that the room must fit into the coverage circle, how many windows exists within the radius? For example, maybe one sensor covers a huge open space, but there are 10 individual windows along its perimeter. That affects how sure it is that it will detect activity. By estimating how many sensors are truly needed to cover a reasonable number of glazings, tool will help visualize that. Generally speaking, most installers wants to keep the load light enough to ensure a strong signal strength at each window.
Another thing that gets forgotten until test day is planning reserve. You can lower your estimated coverage on purpose to make it rock solid. Ten or fifteen percent reserve adds up. On paper, it looks wasteful. But it saves your butt if a break event happens and the sound from a nearby HVAC system or car muffles the signal.
Wood and tile flooring helps bounce back the sound, keeping the signal clean. Acoustic panels and carpeted rooms kill it. The reference tables on the page shows this. They show you how fast your square footage coverage drops when you stack on realistic penalties. Twenty-five feet may sound good until you multiply it times a zero-point-seven-six factor for heavy fabrics and suddenely lose almost a quarter of your reach.
Start with the closest. You want all the windows to be within earshot of a detector, but not necessarily one detector per window, just one that can “hear” the slight change in frequency. Think of it more like a planning tool then a promise. The only thing that will tell you for sure if something works is physical testing on a real-life installation point using recorded audio file(s) or a glass break simulator.
What I don’t want is someone spending big bucks on a bunch of sensors and discovering that they’re blind to half the home. Do the math first using geometry. Second, account for the messy nature of reality. Finally, factor in some margin for error.