Wall Area Paint Coverage Calculator
Estimate finish paint, primer, wall area, ceiling area, opening deductions, texture adjustment, coat area, and waste allowance from measured room dimensions.
📌Room Presets
📏Wall, Opening, Coat, And Coverage Inputs
Paint Coverage Results
Results update from the wall area, openings, coats, texture, ceiling, coverage rate, and waste inputs.
Calculation Breakdown
🎨Paint Surface Grid
📊Reference Tables
| Surface | Factor | Coverage effect | Use in calculator |
|---|---|---|---|
| Smooth sealed drywall | 1.00 | Label coverage is a good baseline | Use 1.00 for clean repaint walls |
| Light orange peel | 1.08 to 1.12 | Small texture adds surface area | Use 1.10 for most textured rooms |
| Knockdown or heavy plaster | 1.15 to 1.30 | More paint fills peaks and low spots | Use 1.18 or 1.28 depending on depth |
| Brick, block, rough stucco | 1.35 to 1.45 | Porosity and relief reduce spread rate | Use the porous masonry setting |
| Coverage rate | Equivalent | Typical use | Planning note |
|---|---|---|---|
| 250 sq ft/gal | 6.1 sq m/L | Porous or rough walls | Use for heavy texture or masonry |
| 300 sq ft/gal | 7.4 sq m/L | Primer on mixed surfaces | Good default primer coverage |
| 350 sq ft/gal | 8.6 sq m/L | Common interior finish paint | Good default finish coverage |
| 400 sq ft/gal | 9.8 sq m/L | Smooth sealed repaint | Use only when label and surface agree |
| Opening type | Common size | Area deducted | Calculator field |
|---|---|---|---|
| Interior door | 3 ft x 6.67 ft | About 20 sq ft | Door count and average dimensions |
| Small window | 3 ft x 4 ft | About 12 sq ft | Window count and average dimensions |
| Large slider | 6 ft x 6.67 ft | About 40 sq ft | Enter as window or extra opening |
| Built-in cabinet run | Measured area | Varies by project | Use extra opening area |
| Project | Wall run | Height | Common setup |
|---|---|---|---|
| Bedroom 12 x 14 | 52 ft | 8 ft | 2 windows, 1 door, 2 finish coats |
| Living room 16 x 20 | 72 ft | 9 ft | 3 windows, ceiling optional |
| Hallway run | 70 ft | 8 ft | Many doors and light texture |
| Whole house repaint | 520 ft | 8.5 ft | Openings and waste matter more |
💡Measurement Tips
How many gallons will I need? Most folks go to the paint store with some hazy idea of size and cross their fingers hoping it’ll work out to be one gallon. You pick a color you like and head home, only to realize halfway through that you are out of paint on north wall.
It’s simple math if you think about paint as something measurable instead of a magic liquid. Know how much you’re buying when you buy a gallon (you’re buying coverage), not color. Knowing the size of the surface will help you budget both your money and time.
How to Calculate How Much Paint You Need
First, always measure walls. We all forget we’re painting linear feet (or square footage). So if there are 4 walls in the space, add up their lengths together. Then go back around and find the height from floor to ceiling, then multiply those two numbers. That is your gross wall area.
Next deduct what won’t be getting painted. These include windows, doors, and other things like that. They can make big deductions, particularly in old houses where they may have large windows or multiple doorways. If you don’t account for them, you’ll end up buying more paint then you actualy need for your walls. A small deduction, but it adds up fast as you try to stretch a budget!
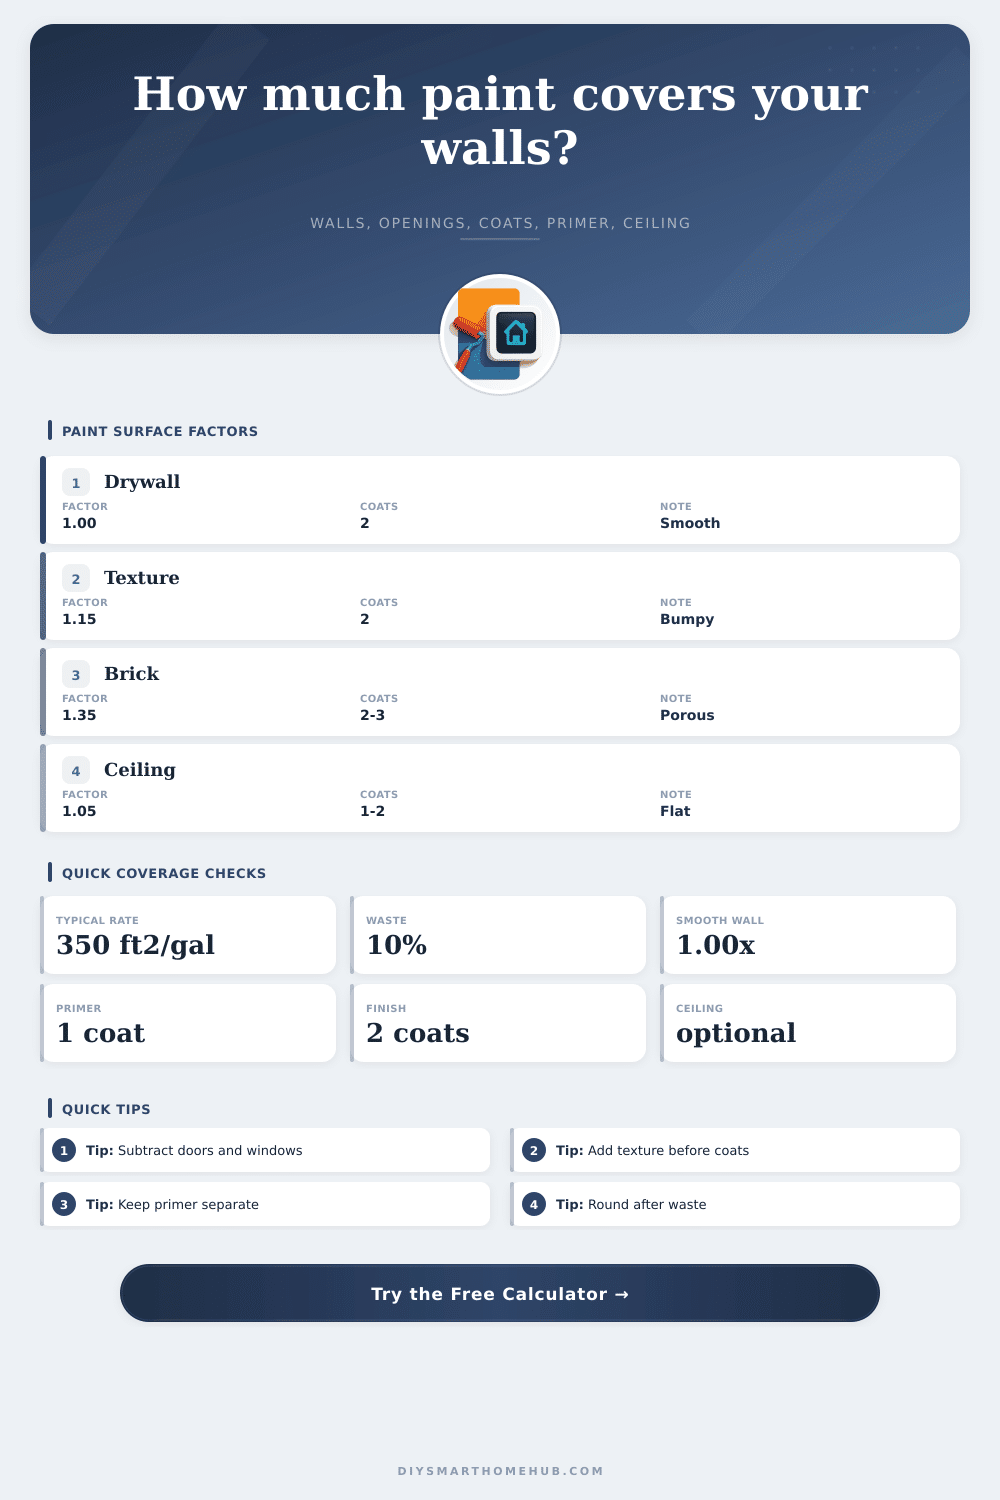
How much texture should there be? Here’s where most estimates get tripped up: Texture = amount of paint used. A flat, smooth drywall surface is pretty predictable. But almost every interior wall isn’t completely smooth these days. Most moddern homes have some sort of knockdown or orange peel texture baked into the plasterboard. This results in peaks and valleys which eat up more paint than a flat sheet of anything. To account for this, the calculator use a factor on your base area; since a textured surface really does have more actual square footage than your rooms measurements indicate. Remember: Paint goes with the contour of the wall, not with the straight line of the room. Ignore this variable at your own peril.
Another common source of confusion is primer. This is not only for new drywall, it’s necessary anytime you’re painting over stained wood or covering a darker color with a lighter one. The primer seals and creates an even surface for top coat to grab onto. Thinking about primer separately from finish paint can also help prevent incorrect quantity mix-ups. Typically you’ll apply fewer coats of primer than finish paint, which means counting them out separately will ensure you purchase enough of both without having to guess. This is a two-step solution that prevents you from seeing those ugly streaks and patchy coverage in the future.
One final note: consider waste. Although you’ll be careful about applying it perfectly, some will go into paint tray, onto your roller frame, drip off and hit the floor. Factor in a standard ten percent buffer. This serves as an insurance policy against running out halfway through the second coat, needing to do any small touchups, or differences in porosity from one batch of drywall to another. The freshly taped walls of a room are going to soak up more than the rest of the painted area, and that’s what the added percentage is for.
The same holds true for ceilings (which people tend to forget). Measure the floor space, because the ceiling is a perfect mirror image. You’ll want to use lighter colors on ceilings, as ceiling paint is usually flatter than the paint used on walls. Consider that crown moldings and lighting fixtures may eat up some of the ceiling surface, but typically not significantly enough to change your gallons count by much.
Knowing how much to buy takes away the stress from the job. Go into the store knowing exactly what you need. You won’t have to make awkward second trips to match colors in three days. It is all about being exact and in control. By calculating the surface area, factoring in the texture, deducting the opening areas and allowing for waste, you take something that used to be a crazy job around house and transform it into a step-by-step process. It is a matter of running out of paint on the final wall instead of the first. You should of accounted for all this before starting.