Wake Light Gradual Brightness Curve Calculator
Compare linear, exponential, and logarithmic wake-light ramps from wake time, duration, update interval, start and target brightness, fixture lumens, delivery factor, and color-temperature shift.
Wake-light curve results
--
wake time minus ramp and buffer--
actual command interval--
useful lumens at final brightness--
selected curve first to largest step--
Kelvin and mired command movement--
resolution and cadence fit| Checkpoint | Elapsed time | Brightness | Useful lumens | CCT target |
|---|---|---|---|---|
| Start | 0 min | 1% | 11 lm | 2200 K |
| Middle | 17.5 min | 24% | 269 lm | 3120 K |
| Wake | 35 min | 75% | 840 lm | 4500 K |
| Curve type | Formula used | Brightness behavior | Best fit in wake scenes |
|---|---|---|---|
| Linear | progress = t | Same percentage-point change per step | Predictable devices and short wake ramps |
| Exponential | (exp(k x t) - 1) / (exp(k) - 1) | Very small early steps, stronger finish | Gentle starts where the room should stay dark early |
| Logarithmic | log(1 + k x t) / log(1 + k) | Earlier visible lift, softer final steps | People who need light sooner in the ramp |
| Selected output | start + (target - start) x progress | Works for increasing or decreasing brightness | Smart bulbs, panels, strips, and grouped scenes |
| CCT band | Kelvin range | Mired range | Wake-light use |
|---|---|---|---|
| Very warm start | 1800 to 2200 K | 556 to 455 mired | Lowest early visual shock |
| Warm bedroom | 2400 to 3000 K | 417 to 333 mired | Soft middle of a gradual ramp |
| Neutral morning | 3500 to 4500 K | 286 to 222 mired | Common final wake target |
| Cool boost | 5000 to 6500 K | 200 to 154 mired | High alertness scene if supported |
| Command interval | Steps in 30 min | Average 1% to 80% delta | Practical note |
|---|---|---|---|
| 5 seconds | 360 steps | 0.22% per step | Very smooth, best for local control |
| 15 seconds | 120 steps | 0.66% per step | Good for hub-based scenes |
| 30 seconds | 60 steps | 1.32% per step | Often enough for wake ramps |
| 60 seconds | 30 steps | 2.63% per step | Simple routines but less gradual |
| Scenario | Ramp duration | Brightness target | CCT shift |
|---|---|---|---|
| Single bedside lamp | 25 to 35 min | 35% to 60% | 2000 K to 3000 K |
| Two-bulb bedroom | 30 to 45 min | 60% to 85% | 2200 K to 4500 K |
| Deep sleeper scene | 45 to 60 min | 80% to 100% | 2200 K to 6500 K |
| Shared room low ramp | 35 to 50 min | 25% to 50% | 1800 K to 3000 K |
| Quick weekday ramp | 10 to 20 min | 60% to 90% | 2400 K to 4000 K |
Most alarms don’t progress. You press snooze to grab an extra ten minutes and then what happens? BLAM! A bright blast of light is not only rude; it hurts your eyes. At 6:30 AM during December they’re not quite awake for full brightness yet, and they need a gentle ramp up to full.
After you input the details of your fixtures, calculator on the page figures out the rest. You won’t have to guess if a half hour fade will be gentle or simply slow. A linear ramp is predictable, which most people believe makes it effective. Add a percent or two every couple of seconds until you get to where you need to be.
How to Wake Up Gently with Light
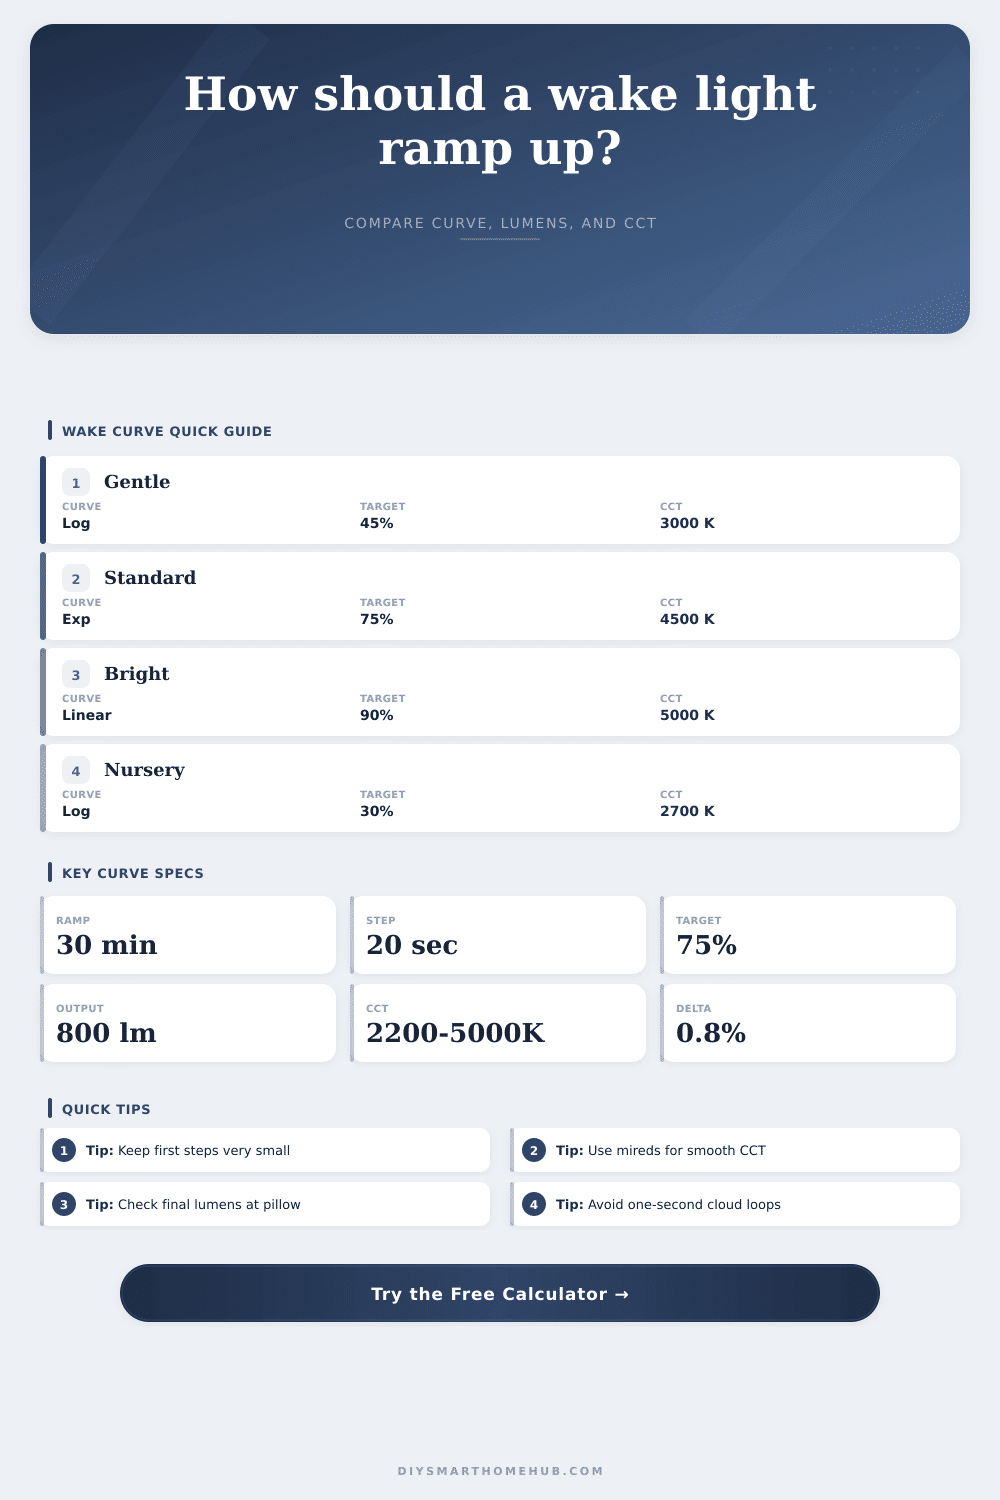
That’s not how human vision works, though. In low light, our eyes is highly sensitive to change, but insensitive to change in high light. A linear curve provides no perceptible experience for the first 20 minutes and then sudden hits you, causing pain. The solution is an exponential curve. Begin with tiny increments so small you won’t notice them (and your sleeping brain won’t either), but gradually increase speed when your pupils begins to open up. Uneven perception is what you’re after, not even steps.
It’s not just how bright your light is, but also what it looks like. With tunable white bulbs, or even a bedside lamp, you’ll be able to adjust the color warmth (CCT). At 2200 Kelvin, you’ve got something that feels like candlelight… Biologically soothing. At about 4500 Kelvin, you’ve got something that is more like morning sun, helping suppress melatonin.
The trick is getting that ramp up to feel naturaly. Jumping directly from orange to white, for example, feels jarring. The light will look artificial. Instead, you want to fill in those values using some form of non-linear math. Using mireds instead of raw Kelvin numbers prevents awkward moments in the middle of a ramp when the light might looks muddy brown or sickly green. And the reference table on the page lays out the non-linear math for you.
Secondly, consider the light’s delivery: Eight-hundred lumen bulbs can certainly be made, but placing such a bulb into ceramic shade or pointing it upward toward the ceiling doesn’t mean you’ll recieve that many photons on your face. The real delivery factor matters more different than looking at box specs. You might set your target too low because you assume one hundred percent efficiency means you will still wake up in the dark. Or maybe an eighty lumen LED panel next to your pillow would of do the trick, since light hits you directly. Better to underlight slightly then create a strobe effect.
For deep sleepers, these should generally be longer ramps that extend well into the hour range. But ramping out for extra time and not also tweaking the curve strength could end up backfiring on you. For example, if the initial few steps aren’t large enough compared to the device’s resolution, it will instead flicker or stutter as it tries to fade light down. To avoid this, take note of the per-step increment when checking it off. Ideally, the smallest step in your sequence should be greater than the minimum command threshold of your smart bulbs.
And then there’s the matter of company. The approach to a newborn’s room differs from one with just adult-sized sofa present. Warmer colors and lower light levels helps a baby sleep while showing that it is daytime to mom or dad. Don’t do it because of automation rules, but because it makes sense to design an environment that understands your biology.
If you hit the curve correctly, waking up doesn’t feel like an event, it’s a process. You don’t fight the light; you rise out of it.