Thermal Mass Buffering Calculator
Estimate how much heat a floor, wall, tank, or interior mass can absorb or release using material density, specific heat, thickness, heat load, duration, temperature difference, and ventilation.
🏠Choose a Thermal Mass Preset
🌡Enter Buffering Conditions
📊Your Thermal Mass Estimate
⚙Material Constants Used
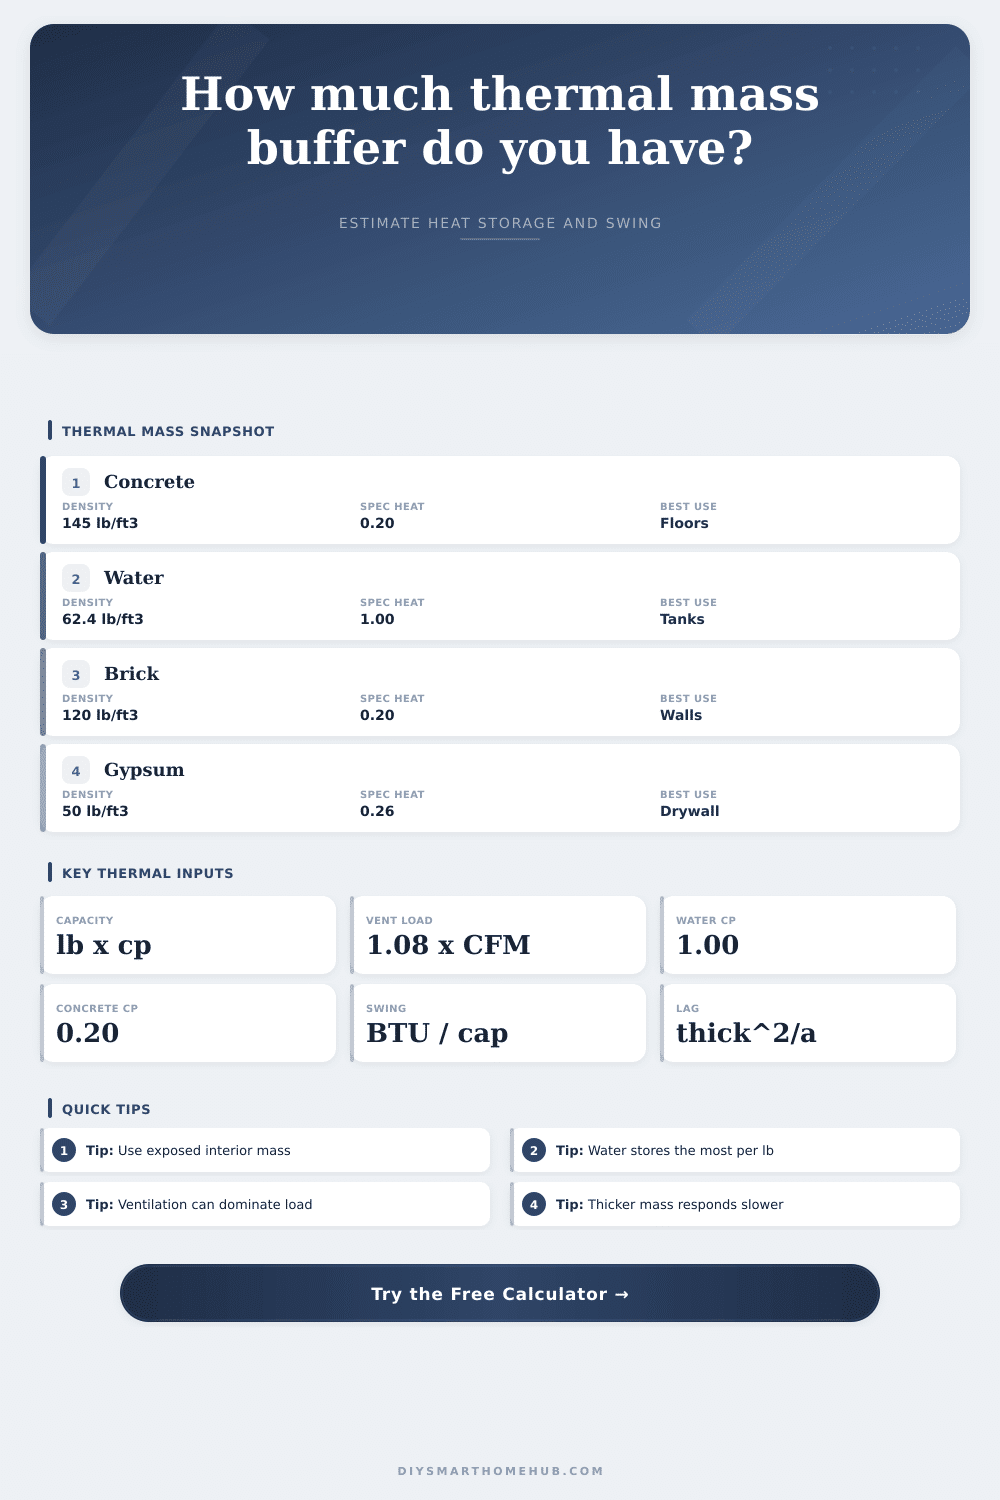
🧱Concrete, Water, Brick, And Gypsum
Concrete floors
Concrete offers high density and useful contact area. A slab can buffer daytime gains or nighttime cooling, but thick slabs respond gradually because heat must move inward.
Water mass
Water has about five times the specific heat of masonry per pound. Tanks and barrels work best when air can circulate around them and stratification is limited.
Brick and drywall
Brick stores meaningful heat in interior walls. Gypsum is lighter, but large wall areas still add a measurable short-term buffer in occupied rooms.
📐Formula Reference
| Formula step | Inputs used | Calculator expression | Result role |
|---|---|---|---|
| Material mass | Area, thickness, density | ft² x in / 12 x lb/ft³ | Finds active mass when direct weight is unknown. |
| Heat capacity | Mass, specific heat | capacity BTU/°F = mass lb x specific heat | BTU stored per degree of mass temperature change. |
| Ventilation load | CFM, indoor-outdoor delta | BTU/hr = 1.08 x CFM x deltaF | Adds outside-air load to the sensible heat load. |
| Temperature swing | Total BTU, capacity | swing °F = heat load / capacity | Mass temperature change needed to buffer the load. |
| Time lag | Thickness, diffusivity | lag hr = thickness ft² / (9.87 x alpha) | Rough delay for heat to reach deeper material. |
| Night discharge | Capacity, charge delta, load | hours = charged BTU / effective BTU/hr | How long the charged mass can cover the entered load. |
🌡Material Reference Table
| Material | Density | Specific heat | Calculator note |
|---|---|---|---|
| Concrete slab or block | 145 lb/ft³ / 2320 kg/m³ | 0.20 BTU/lb°F / 0.84 kJ/kgK | Good all-around mass when exposed to room air or radiant gains. |
| Water tank or barrels | 62.4 lb/ft³ / 1000 kg/m³ | 1.00 BTU/lb°F / 4.19 kJ/kgK | Very high storage per pound; response depends on circulation. |
| Brick or masonry | 120 lb/ft³ / 1920 kg/m³ | 0.20 BTU/lb°F / 0.84 kJ/kgK | Useful for interior walls, hearths, and masonry heater mass. |
| Gypsum drywall | 50 lb/ft³ / 800 kg/m³ | 0.26 BTU/lb°F / 1.09 kJ/kgK | Lower density, but large exposed wall area can still matter. |
| Dense stone or tile | 165 lb/ft³ / 2640 kg/m³ | 0.19 BTU/lb°F / 0.80 kJ/kgK | Good near sunlit floors or radiant surfaces with direct contact. |
| Adobe or rammed earth | 110 lb/ft³ / 1760 kg/m³ | 0.24 BTU/lb°F / 1.00 kJ/kgK | Large wall thickness increases capacity and time lag. |
📋Common Buffering Scenarios
| Scenario | Typical active mass | Useful buffer range | What controls the result |
|---|---|---|---|
| Sunlit concrete floor | 3 to 5 in active slab depth | Afternoon gain into evening release | Solar contact area and carpet or rug coverage. |
| Night-flushed slab | Garage or basement slab surface | Cool storage for the next warm period | Outdoor delta, CFM, and charge hours. |
| Water barrel wall | 55 gallon drums or compact tanks | High capacity in small footprint | Air circulation and water mixing across the tank. |
| Interior masonry wall | Brick, block, adobe, or stone wall | Slow room temperature damping | Wall thickness and room-side surface exposure. |
🌬Night Charge And Discharge Guide
| Charge method | Main equation | Best input to refine | Planning note |
|---|---|---|---|
| Night ventilation cooling | 1.08 x CFM x outdoor delta x hours | Measured CFM through the room | Airflow may cap the charge before mass capacity is full. |
| Passive solar charge | capacity x mass temperature rise | Actual slab or wall temperature gain | Only sunlit or room-coupled mass charges efficiently. |
| Radiant floor charge | BTU/hr input x active heating hours | Delivered water or electric heat rate | Control limits matter more when the slab is thick. |
| Discharge to room load | charged BTU / effective load BTU/hr | Real load after ventilation | Higher infiltration shortens the useful buffer quickly. |
💡Calculator Tips
When most people hear “thermal mass,” they picture a pile of brick or a chunk of concrete. They envision that heat soaking into masonry and holding steady there until a chilly evening coaxes it out again and returns it to the space.
Here’s what really happens: That heat doesn’t just linger. It shifts and stalls and struggles with the rushing cold air entering your house via ducts and doors. Your massive flooring could be a summer slow-release oven and a winter cold trap if you fail to understand how heat stays in.
How to Use Thermal Mass Right
Before you lay down that tile or pour that concrete, know how much heat your home will retain. After you select materials and enter your room dimensions into the calculator (above), it do the math for you, no need to try to figure out conversions and coefficients. But it’s worth knowing what it’s doing anyway.
First off, it’s all about heat capacity. How much energy does your material take to increase its own temperature by 1 degree? In this case, the answer is: water wins by a landslide. Its specific heat is roughly five times greater than that of brick/concrete. It takes only a couple of barrels of water in a sunroom to hold as much heat as an enormous brick wall.
That’s a big difference in weight and space, so do you want a wall of drums that responds in minutes…or a floor that takes all day to warm up?
RELATED: Thermal mass basics and how to use the calculator
But there’s also the matter of time lag. Solid materials conducts heat slowly, the thicker they are, the slower that energy travels into them and back out again. A few inches of concrete respond pretty fast to a warm afternoon; the top warms up and bottom remains cooler. Add a foot more and you’ve got a buffer that holds that energy not for hours, but for days.
The calculator uses diffusivity of your chosen material to figure out how long the lag is, whether your mass will follow seasonal shifts or respond day-to-day. If you’re after instant gratification, thin is the way to go. But for smoothing out weather over several days, go thick.
The third big one is ventilation. Ventilation is the silent killer of thermal buffering. Even if you’ve got the biggest frigging space on earth, if you’re sucking in cold outside air continuously, it’ll never charge. The tool accounts for ventilation by multiplying temperature delta by the CFM and then by the standard 1.08 multiplier. This is a stark reminder that air leaks ruin both mass and insulation.
Seal your home so that the stored heat can do its job. Don’t leak air or the heat blows right out before the walls gets time to absorb it.
But wait! What about night flush? Night flush is a whole different ballgame. In other words, if you’re able to cool your mass at night when the outside temp drops, you’re getting your air conditioner ready, which means you can use that stored-up coolness for hours after sunrise. You’ll need to enter in your local climate info to get an estimate of what kind of cooling you can store overnight (in an eight-hour period), and how long that will hold you over through the day.
So again: match your strategy to your local climate, not necessarily your favorite material. The benefit diminishes in humid climates; the smaller the difference between indoor and outdoor air, the less effective this is (because your indoor temperature won’t match the outdoor temperature). But in dry climates where the nighttime temps are considerably lower than daytime highs, this rocks.
Most people make this mistake: don’t cover your mass with heavy furnitures or carpet. Only exposed thermal mass will work, meaning it must be in direct contact with air or radiant energy. If you put a thick rug down, then that’s an insulator preventing heat from getting into the slab.
The page has a reference table explaining how density/exposure affect there real-world performance. You want the surface open to the room.
In the end, thermal mass is all about timing. When you get it right (airflow, exposure, and thickness), your building will work for you… As in neither a cave nor a greenhouse. If you get it wrong, well, you’re just moving heat around for no reason.
Before choosing what to build with, you should of thought about what it is you are trying to buffer.