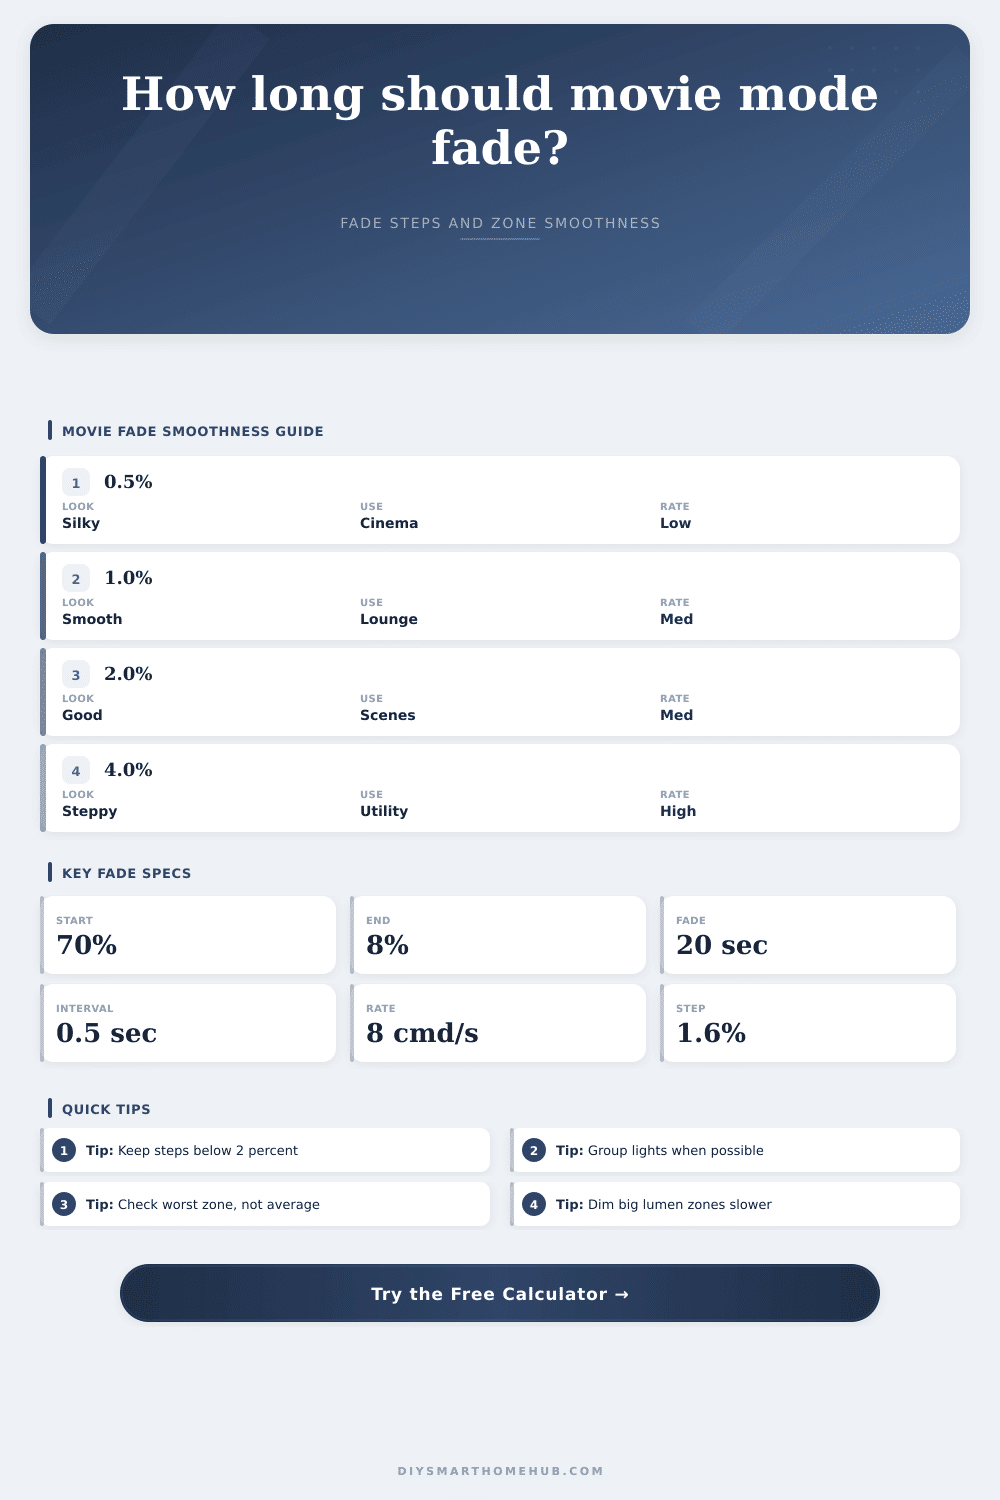
Scene Fade Time for Movie Mode Calculator
Plan a dimming fade from bright room lighting to movie mode by comparing start and end brightness, fade duration, step interval, command rate, lumens per step, and the smoothest zone.
| Output | Formula Used | Meaning |
|---|---|---|
| Start lumens | Fixtures x lumens x start% / 100 | Light output before the movie cue begins. |
| End lumens | Fixtures x lumens x end% / 100 | Light output after the fade reaches movie mode. |
| Fade steps | Ceiling(duration / requested interval) | Number of visible brightness updates in the fade. |
| Actual interval | Duration / fade steps | Evenly spaced step interval after rounding to a whole step count. |
| Command rate | Steps x zones / duration | Estimated commands per second sent to active zones. |
| Lumens per step | Total lumen delta / steps | Whole-scene output change for each fade update. |
| Brightness Step | Movie Mode Feel | Best Use | Calculator Status |
|---|---|---|---|
| 0.25% to 0.75% | Very smooth | Projector rooms and high-output downlights | Excellent |
| 0.75% to 1.5% | Smooth | Most living rooms and media spaces | Strong |
| 1.5% to 2.5% | Usually acceptable | Mixed lamps, strips, and small zones | Check |
| Above 2.5% | Noticeable stepping | Utility fades or longer duration needed | Revise |
| Profile | Practical Ceiling | Typical Interval | Useful For |
|---|---|---|---|
| Zigbee or Thread group scene | 20 cmd/s | 0.35 to 0.75 sec | Several lights responding as one zone. |
| Zigbee per-light commands | 8 cmd/s | 0.60 to 1.20 sec | Independent bulbs without grouped scene support. |
| Matter local grouped scene | 18 cmd/s | 0.35 to 0.80 sec | Local controllers and grouped endpoints. |
| Local Wi-Fi light API | 12 cmd/s | 0.50 to 1.00 sec | Local polling with several lamps or strips. |
| Cloud automation relay | 3 cmd/s | 1.00 to 3.00 sec | Cloud scenes that need generous pacing. |
| Bridge or DMX style output | 30 cmd/s | 0.10 to 0.50 sec | Dedicated lighting bridge with fast local output. |
| Scene | Start to End | Fade Time | Typical Target |
|---|---|---|---|
| Living room dim | 70% to 8% | 18 to 25 sec | Gentle room transition. |
| Projector blackout | 55% to 2% | 25 to 45 sec | Low glare without a sudden drop. |
| Pause-safe family scene | 80% to 18% | 16 to 24 sec | Enough path light for movement. |
| Night lamp drop | 35% to 5% | 10 to 18 sec | Small-zone fade with fewer commands. |
Movie mode: You hit the button to turn out the lights … and they dim down smoothly, and not just shut themselves off. Until the room is dark enough that you’re no longer constantly adjusting to new levels of brightness after a few seconds.
Smooth transitions are what make for a good smart home rather than a bad one, but it’s not something you can guess at. How long do you make it take? The answer involves finding a compromise. You must balance what feels comfortabley with what your particular bulb, networks, and other gear can actualy do.
How to Make Smooth Light Fades
Everyone asks about the whole time: should I leave it on for 20 seconds? Or maybe 30? The challenge is the second piece: the increment, the small fraction-of-a-percentage-point that the light get updated by with every tick. Too big and your zone will appear as discrete bands of light instead of a gradual fade. Rather than smoothly gliding down when the switch was turned off, you’re seeing it being cranked down in discrete increments, as if someone had walked through and manually twisted it down ten times.
Ideally, each individual change happen within two percent of a zone. Below that, your brain registers constant movement, not distinct changes. Above that, your eyes begin to pick up on the mechanism itself, not the ambiance. The math here can be difficult, however, because different lights don’t always work the same way.
For example, if you have both a large high-lumen recessed downlight and a small bedside lamp, you might put them together into the same scene. Typically, the pacing is dictated by larger light. If you dim it too quickly to fit the bigger light, the smaller light may reach its minimum point before the bigger light complete its drop, creating an unpleasing jarring effect. To overcome this, instead of simply taking the average, the calculator look at the worst case zone. It determines which light has the biggest difference between points on graph from start to stop; i.e., what’s the biggest jump in lumens per step? That’s your benchmark for how smooth it will be.
Most people get tripped up there, thinking the average is good enough, but it never tells the whole story; the loudest single light do. Another intangible limitation is network traffic. Each dimmer step must be communicated via your Zigbee or Wi-Fi or Matter protocol as a command to dim down one step further. Send them too frequently and the packets will start colliding. You might get a delayed response, stuttering lights, or worse, automations will simply give up.
Some protocols has very high speed limits; others are choke points at three commands per second. A cloud-based relay might struggle, while a local bridge might easily handle thirty. By plotting your target interval against the maximum speed of the protocol you’re using, you can see what is possible. And ask yourself if your network can handle the fade you want without choking.
There’s also the issue of concurrent zones. Fading several different zone at once greatly increases your command load, while it also significantly raises the likelihood of having a single zone lag behind the rest. Even if individual steps within a lagging zone are very small, the zone still breaks the illusion of smoothness. Before starting, take some time to group lights according to logic, as knowing which fixtures play a similar role in the room will assist. Main overheads should be grouped together, as should accent strips. Using both low- and high-output bulbs in the same logical grouping of lights will cause uneven brightness curves that cannot be completely corrected by adjusting their timing.
However, it’s only in use that it really gets tested. Follow the lights down and wait for the moment when it doesn’t feel like someone turned off the power, but like you are watching a movie. Notice any banding? Adjust the fade time instead of the interval between steps; it’s better to have things take more time than risk overloading your network with too many quick-change orders that might or might not work. Better slow than broken.
It requires some up-front planning, but each time you sit down to watch a movie it pays off immediately: There’s no more thinking about the technology, only feeling that environment. Like it should of. The lights becomes part of the background.