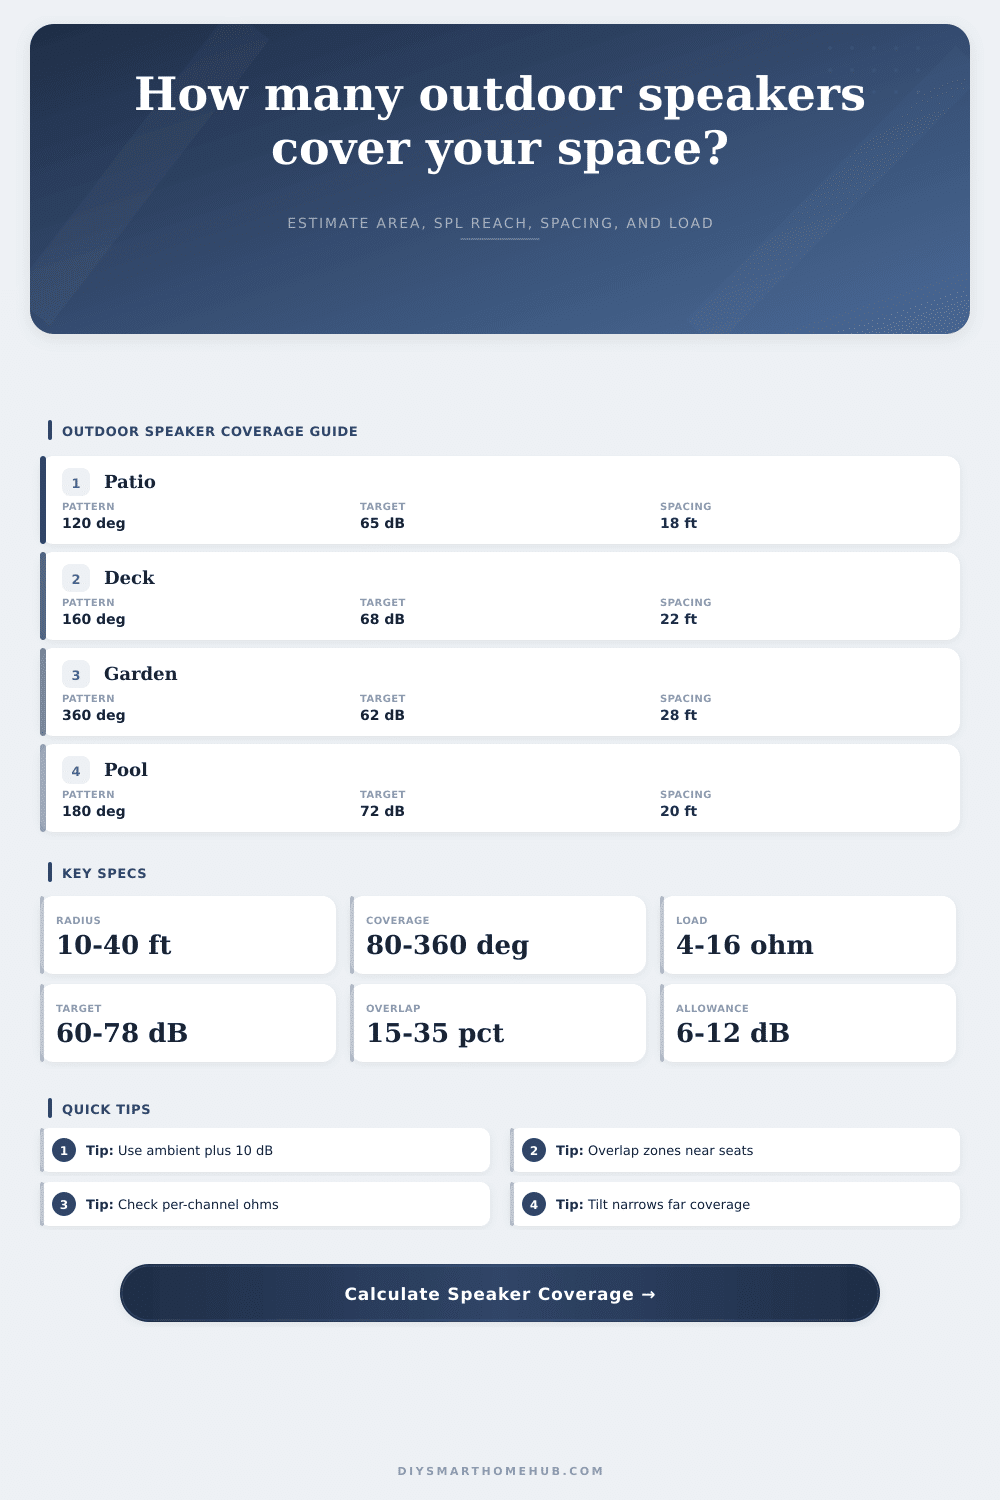
Outdoor Speaker Coverage Area Calculator
Estimate how many outdoor speakers cover a patio, deck, garden, or pool zone by combining dispersion footprint, listener area, SPL drop, overlap spacing, and amplifier channel load.
1. Choose a starting scenarioPresets fill the form and calculate immediately
2. Enter coverage and audio assumptionsInputs use acoustic planning math, not brand-specific specs
3. Selected profile quick specsValues update when the speaker profile changes
4. Coverage pattern comparisonUse these as planning categories for the calculator
Directional Wall
- Pattern70-120 deg
- Best areaPatio edge
- Spacing styleFan overlap
- Load model8 ohm each
Wide Outdoor
- Pattern120-180 deg
- Best areaDeck zones
- Spacing styleBroad arcs
- Load modelPair groups
Landscape Omni
- Pattern360 deg
- Best areaOpen beds
- Spacing styleCircles
- Load modelMany small
5. Reference tablesTransparent assumptions used by the calculator
| Speaker profile | Coverage pattern | Sensitivity | Planning watts | Typical use |
|---|---|---|---|---|
| Compact wall | 90 x 70 deg fan | 86 dB | 20 W | Small patios and balconies |
| Wide wall | 120 x 80 deg fan | 88 dB | 30 W | Patio seating and decks |
| Directional | 70 x 50 deg fan | 91 dB | 35 W | Longer narrow listener zones |
| Under-eave | 160 x 80 deg fan | 87 dB | 25 W | Broad covered outdoor areas |
| Landscape omni | 360 deg circle | 85-87 dB | 15-20 W | Distributed garden coverage |
| Target condition | Ambient noise | Useful listener target | Allowance used | Planning note |
|---|---|---|---|---|
| Quiet balcony | 45-50 dB | 58-64 dB | 8-10 dB | Lower level often covers well |
| Typical patio | 50-58 dB | 64-70 dB | 10 dB | Balanced speech and music level |
| Pool or street side | 58-68 dB | 70-78 dB | 10-12 dB | SPL reach usually limits radius |
| Dining conversation | 48-56 dB | 62-68 dB | 8-10 dB | Closer spacing improves evenness |
| Wiring plan | Speakers per channel | Nominal load | Load risk | Calculator treatment |
|---|---|---|---|---|
| Single speaker | 1 | 8 ohm | Low | One speaker load per channel |
| Two parallel | 2 | 4 ohm | Moderate | Common lower-load pair model |
| Three parallel | 3 | 2.7 ohm | High | Flagged as below 4 ohm |
| Two series | 2 | 16 ohm | Low | Less channel power demand |
| Four series-parallel | 4 | 8 ohm | Moderate | Four-speaker grouped channel |
| Common outdoor zone | Listener area | Likely pattern | Overlap range | Main limiting factor |
|---|---|---|---|---|
| Small patio | 150-250 sq ft | 90-120 deg | 15-25 percent | Mounting angle |
| Deck seating | 300-500 sq ft | 120-160 deg | 20-30 percent | Even spacing |
| Pool edge | 500-900 sq ft | 70-180 deg | 25-35 percent | Ambient noise |
| Landscape bed | 700-1600 sq ft | 360 deg | 15-30 percent | Channel load |
6. Planning tipsShort checks for cleaner coverage math
Measure the seating, walking, or poolside area where audio should be intelligible. Large empty corners can inflate speaker count without improving listener coverage.
The speaker count tells you coverage demand. The wiring plan groups that count into per-channel impedance so low-ohm channel loads are visible before final equipment matching.
Halfway into your summer dinner and suddenley someone has to yell for more bread because it’s too loud out there? You’re not alone. That’s one reason outdoor audio sucks.
To most folks, the answer lie in purchasing ever-louder speakers. However, as they say: Volume isn’t everything. More often than not, it’s geometry. It is also about the ambient noise floor and how you wired the system so the amp doesn’t fry by the time dinner rolls around.
How to Plan Outdoor Sound
Instead, this page’s calculator turns your patio into a sound design exercise that eliminates guessing.
First: Define listener area, that is, the area in which sound makes any difference at all. It is not the entire property line or the vacant corner behind the grill. The listening area are the seats. Measure a big ol’ rectangle if the set is small and you’ll end up with a recipe that calls for more speaker than necessary. And that just creates a muddy, overlapping mess of audio. Think about chairs, not the pavement.
Then it ask you about the mount height and speaker profile. Mounting height alter the shape of the dispersion footprint, or the area the sound covers. Mounting a speaker high on a wall with a little down angle shoots out a fan shape that spreads wider at ear level than if you hung something low and pointed it straight out.
Next, it will calculate estimated power needed to reach your desired sound pressure level based off standard sensitivity ratings. Then, it subtracts the natural drop in volume caused by sound traveling across the room. This is where most people mess up: they figure out how many decibels their speakers can do and don’t account for how far away from those speaker you are. Distance reduce all that energy before it reaches your ear.
Outdoor installs is also subject to ambient noise, which is a huge factor. A quiet balcony might only need sixty-two decibels at the listener position to be pleasant. Seventy-five or more could work outdoors by a pool with water pumps running, wind blowing, and nearby traffic. To make sure speech is still clear, the tool includes an allowance of ambient noise added on top of the ambient level. This lets you specify how much quieter your installation needs to be different than a party (for example) versus a conversation. For louder situations, you’ll need more infrastructure, including higher wattages and multiple speaker, then for a quieter situation. The calculator takes this into account and makes you face up to it: making a noisy place livable will take way more infrastructure than making a quiet one livable.
The math becomes practical with wiring. On paper, you might have all your speaker coverage just dandy, but on the other hand, hooking up eight speakers in parallel from one amp channel is asking for trouble: you’ll either burn out the output stage of the amp or you’ll blow a fuse. It’s at this point that the tool comes into play and groups speakers into workable loads, typically four or eight ohms per channel. That’s an important safety check. The tool’s page has some reference tables that illustrate what happens when you wire things differently. Two speakers wired in parallel reduce the load to four ohms, no problem for most moddern amps. Wire three in parallel and they reduces it to two point seven ohms, a dicey situation for many typical receivers. You should of used the calculator flags those concerns so that you can modify your wiring plan before purchasing any cables.
The last tweak for smoothness is overlap spacing. If you place speakers edge to edge, there’s a dead zone in the center with less coverage. To solve this, use the calculator and adjust your percentage of overlap. This decreases the speaker-to-speaker distance while increasing the number of units. It’s a matter of balance between consistency and cost. More hardware create a more seamless wall of sound. And it’s a little thing; but it makes all the difference between a patchy-feeling system and one that sounds like a pro did it.
In the end, it’s all about balance outside. It’s balancing noise, volume, area and electrical load. The tool gives you the starting point numbers. Your ears give you the finishing touch. Do the math first and calibrate for actual acoustics of your space.
Next time you shout for bread, you’ll have a clear idea of what happened.