Lumens Per Square Meter Calculator
Convert a lux target into fixture lumens per square meter, fixture count, delivered lux, and beam coverage using area, fixture output, utilization, maintenance, ceiling height, and beam angle.
Lux Conversion Result
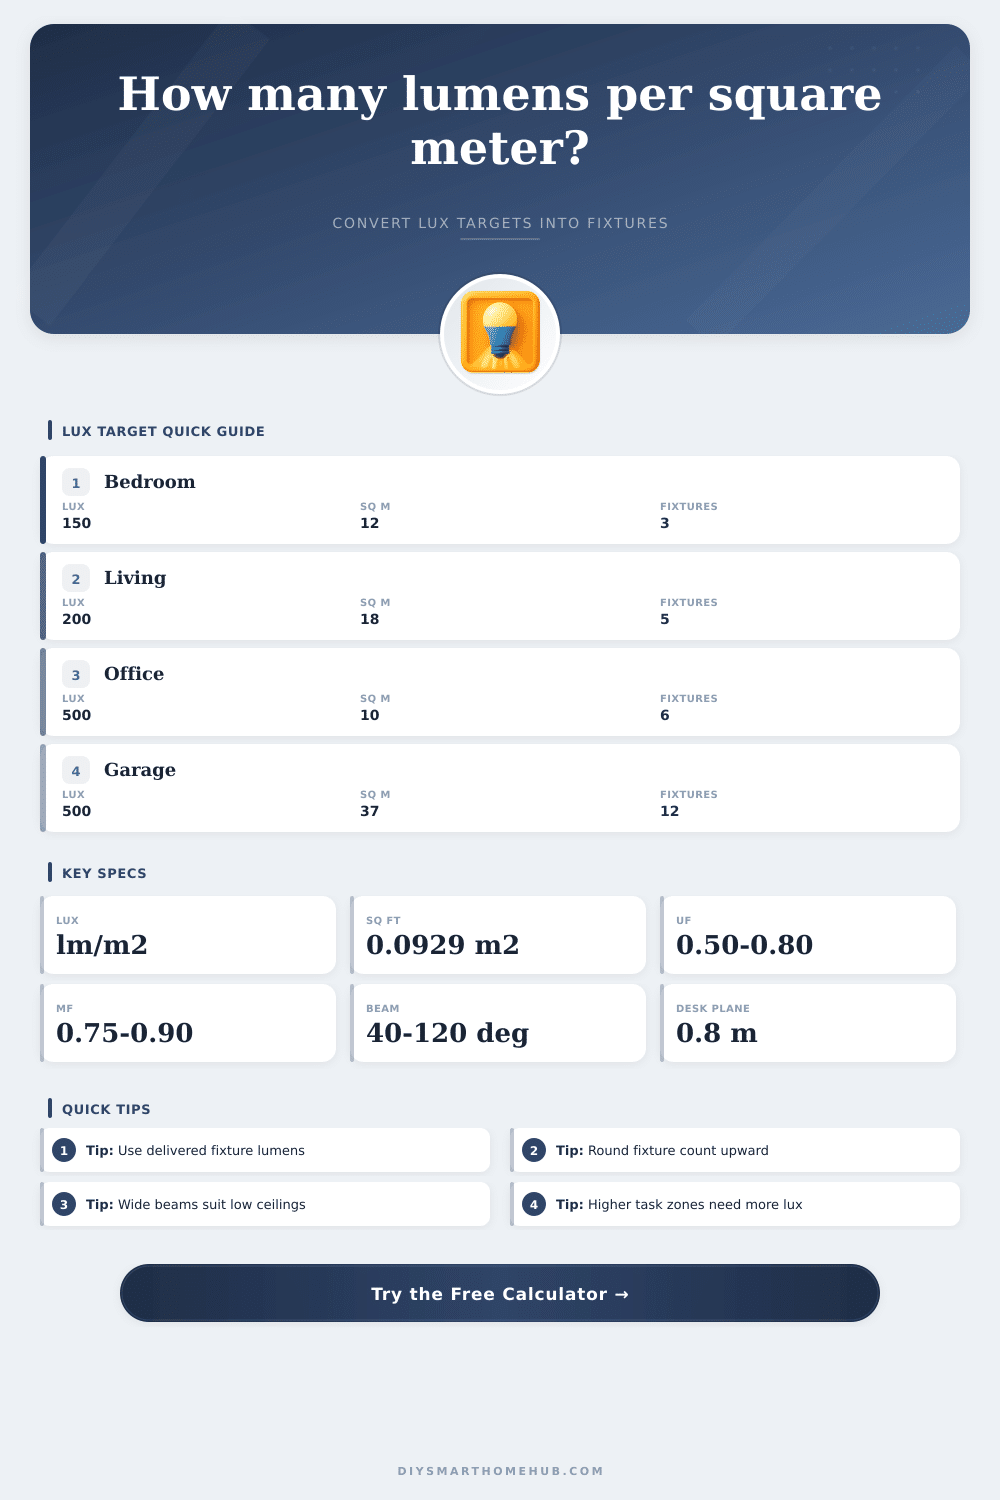
| Room or use | Planning lux | Lumens per m² | Best fixture approach |
|---|---|---|---|
| Hallway and circulation | 75 to 150 lx | 75 to 150 lm/m² | Wide beam ceiling fixtures or wall wash. |
| Bedroom ambient | 100 to 200 lx | 100 to 200 lm/m² | Layered lamps and low-glare ceiling light. |
| Living or dining room | 150 to 300 lx | 150 to 300 lm/m² | General fill plus dimmable task or accent layers. |
| Bathroom and laundry | 300 to 500 lx | 300 to 500 lm/m² | Diffuse ceiling light with focused vanity or bench lighting. |
| Office, kitchen, garage task | 500 to 750 lx | 500 to 750 lm/m² | Even overhead layout with local task lights where needed. |
| Planning factor | Typical range | Use higher value when | Use lower value when |
|---|---|---|---|
| Utilization factor | 0.50 to 0.80 | Bright surfaces, open fixture, useful beam spread. | Dark finishes, shaded fixture, poor placement. |
| Maintenance factor | 0.75 to 0.90 | Clean rooms, sealed LEDs, easy lens cleaning. | Dust, heat, long service interval, exposed lenses. |
| Combined UF x MF | 0.40 to 0.72 | Efficient fixtures in reflective rooms. | Decorative fixtures or dark utility spaces. |
| Design spare | 5% to 20% | When dimming is available and uniformity matters. | When glare control is more important than brightness. |
| Beam angle | Typical role | Low ceiling note | Tall ceiling note |
|---|---|---|---|
| 25 to 40 degrees | Accent, display, task highlight | Can create bright spots and shadows. | Useful when focused punch is needed. |
| 50 to 70 degrees | General downlight | Good balance for kitchens and offices. | May need closer spacing above 3 m. |
| 80 to 100 degrees | Wide ambient light | Often best for bedrooms and living rooms. | May lose intensity unless lumens are increased. |
| 110 to 120 degrees | Panel, globe, broad wash | Good uniformity with low glare diffusers. | Works best with high-output panels or multiple fixtures. |
| Example zone | Area | Target lux | 800 lm fixtures at 70% UF, 85% MF |
|---|---|---|---|
| Small bedroom | 12 m² / 129 sq ft | 150 lx | 4 fixtures before dimming. |
| Living room | 18 m² / 194 sq ft | 200 lx | 8 fixtures for full target. |
| Home office | 10 m² / 108 sq ft | 500 lx | 11 fixtures or higher-output panels. |
| Kitchen prep zone | 14 m² / 151 sq ft | 500 lx | 15 fixtures unless task lights share the load. |
| Garage workshop | 37 m² / 398 sq ft | 500 lx | 39 bulbs or about 10 shop fixtures at 3200 lm. |
Wattage In the days of incandescents, where power use was approximately equal to lumens (brightness), most folks chose their lightbulbs based off the former. Not so with LEDs. Why? Because LEDs emits different levels of illumination at equivalent power use. Instead of thinking about the energy used, think instead about the lumen output directed toward your work surface.
This will be particularly important if you’re designing a space as opposed to merely swapping out a burnt-out bulb. Lumens per square meter matter here. To make this work, I used a calculator (above) that does the math for you (no guessing at coefficients necessary). First it asks how bright you want the space in lux, which is simply lumens divided by the square meters of the area you are trying to light.
How to Choose the Right Light Brightness
If you just want to relax with a book in bed, maybe the room needs only 150 lux, but if you’re chopping veggies at a kitchen counter, you’ll need 500 lux or more so you can get it done without squinting. Plug in your desired lux, plus the size of the room you’re lighting and the calculator figures out exactly how many fixtures you will need depending on their lumen output.
Accounting for loss; lumens lost in the trip between the bulb and your desk, is what differentiates a bright light from a good lighting plan. Not all lumens emitted reaches the work surface. Some are lost to the housing that holds the fixture. Some are lost bouncing back into dark walls and dissapears. Others fade over time as dust collects on lens.
This is a fact of life, and it’s why both use and maintenance factor is inputs (the former for room reflectance and fixture efficiency, the latter for depreciation after a year or two of use). If we ignore them, we’ll underestimate our need, and wind up with too little light. Like if we bought paint from the can rather than calculating how much we need, leaving us with half-finished walls.
There’s also beam angle, which sounds like an abstraction until you witness its effects firsthand: A narrow beam casts a spotlight. It’s excellent if your goal is to showcase something, say, art. But in terms of overall illumination, a narrow spot will leave patches of darkness between light. Wide beams provide even lighting (but weaken at distance).
This is more of an issue in a room with high ceilings. The page has a handy chart that explains it all. Wider beams are good for lower ceilings while narrower beams work better for higher ones or areas where you want some task lighting. This is why you want to use the delivered fixture lumens not the raw rating of the lamps themselves (the bulbs puts out a certain amount, but much of that gets absorbed by the housing).
So if you calculate with the higher number and install it, you’re going to think the room is really dim. To account for this loss, the calculator then rounds up the fixture recommendation so that no matter how much light the fixtures lose, you know that you’ll still make your goal.
In reality, rooms don’t typically have completely uniform lighting; sure, you might want some ambient layer over the whole living room at 200 lux, but that doesn’t mean you have to light every square inch of the room to that level. When you sit in the reading nook, you’ll need a dedicated task lamp to push that localized area up to 500 lux. Lighting an entire room this way is both expensive and. More importantly, glaring.
Layering your lighting lets you maintain a soft background illumination while bumping brightness up only where your eyes are looking. The way light spreads is also affected by ceiling height: the greater the height, the wider the spread of the beam. That results in less dense illuminance on the floor below, requiring you to bump up lumen output, number of fixtures, etc.
The tool will handle that adjustment for you. Your recommendation for a garage ceiling at eight feet tall will differ than one in a warehouse with twenty-foot trusses. This is due to both the distance and the way the light is spread.
The bottom line: Lighting design is a game of give-and-take. You must balance having enough light while also avoiding glaringly bright spots or dark shadows. When you consider real world losses and focus on lux targets, the numbers not only stop the guessing, they explain what your space will feel like without ever purchasing one bulb.
As it happens, power isn’t the only measure of brightness, it’s a matter of precision.