Garage Lighting Lumens Calculator
Estimate garage fixture count from bay size, workbench zone, ceiling height, door shadow loss, target lux, fixture lumens, beam angle, and surface reflectance.
Calculation breakdown
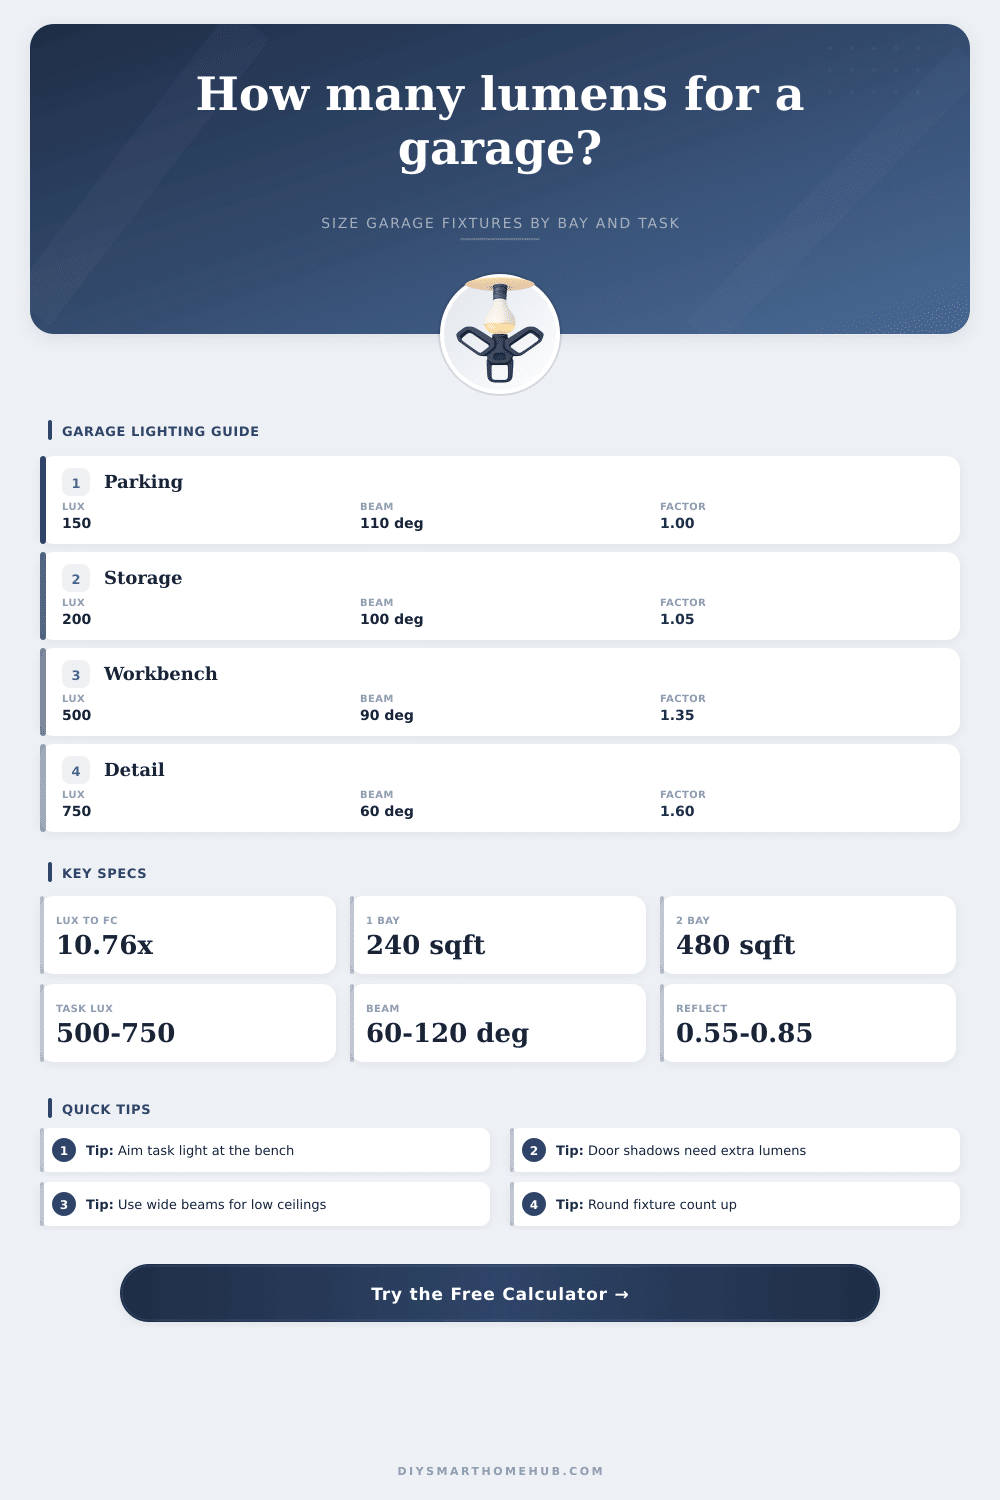
| Garage use | Target lux | Foot-candles | Typical note |
|---|---|---|---|
| Parking and entry | 150 lux | 14 fc | Enough for walking, doors, and basic storage |
| General garage | 200-300 lux | 19-28 fc | Balanced level for daily projects and shelves |
| Workbench | 500 lux | 46 fc | Good for tools, labeling, and small parts |
| Detailing or repairs | 750 lux | 70 fc | Use extra task fixtures near the work area |
| Fixture type | Typical lumens | Beam angle | Best garage fit |
|---|---|---|---|
| LED shop light | 3,000-6,000 lm | 100-120° | Low and standard ceilings |
| Vapor-tight linear | 4,000-8,000 lm | 100-120° | Damp, dusty, or utility garages |
| Wraparound ceiling fixture | 3,500-7,000 lm | 110-120° | Even ambient garage light |
| UFO high bay | 12,000-24,000 lm | 60-110° | High ceiling shops and tall bays |
| Screw-in garage bulb | 2,000-6,000 lm | 120-360° | Simple socket retrofits |
| Garage size | Area | 300 lux lumens | 4,500 lm fixtures |
|---|---|---|---|
| Compact 1 bay | 12 x 20 ft | 8,400-11,000 lm | 2-3 fixtures |
| Standard 2 bay | 22 x 24 ft | 18,400-24,000 lm | 5-6 fixtures |
| Deep 2 bay | 24 x 30 ft | 25,100-32,000 lm | 6-8 fixtures |
| Three bay | 32 x 24 ft | 26,800-35,000 lm | 7-8 fixtures |
| Four bay shop | 44 x 28 ft | 43,000-56,000 lm | 10-13 fixtures |
| Adjustment | Light condition | Multiplier effect | Use in calculator |
|---|---|---|---|
| Door shadow | Tracks, opener, open door | +8% to +30% | Adds fixture lumens before rounding |
| Ceiling height | Above 9 ft / 2.7 m | Gradual increase | Raises required output for throw |
| Reflectance | Dark to white surfaces | 0.55 to 0.86 | Changes utilization efficiency |
| Maintenance | Clean to dusty shop | 0.68 to 0.90 | Allows for dirt and lumen depreciation |
Lux values are maintained light targets. The calculator increases fixture lumens when surfaces are darker, fixtures are higher, beams are narrow, or dust losses are larger.
The biggest reason most garage lighting projects fall flat: Owners go for the glow, not measuring the space. You replace that fixture with something brighter … but now the rest of the room is blinding, so you can’t even locate your keys underneath the workbench. With the lumens calculator, it take away the guessing game.
Before purchasing any fixture, it makes you consider surface reflectance, ceiling height and square footage. What’s all this about? It starts with the space. Most garage are roughly two bays. This means they is over four hundred eighty square feet of space, which is larger then most living rooms!
How to Measure Your Garage for Good Lighting
But how many lux do you need in a garage? It depends on what you put in the garage. If it’s just lawn mowers and vehicles, then you don’t need to read a manual in there. One hundred fifty lux is fine. But if you’ve got a workbench, and you do some cabinet sanding or oil changing, then you’ll want five hundred lux on the bench.
Why? Because the calculator divide the ambient from the task lighting. Your bench is set as a high demand zone. No more annoying shadows behind your tools.
Then there’s the ceiling. A lot of homes are nine-footers, but some older ones are 12 feet or even taller (like converted buildings or shops). When mounting a fixture at that higher level, it will flood the lower ceiling area… but leave the floor in the dark! The tool should of always consider its throw distance.
Also: What about the shadow from your doors? In a garage, the doors go up, and the rails, tracks, and the door itself block light from reaching the center of the bay. Adding a percent to compensate for shadow loss makes sure that mid-bay is not left in darkness.
Surface reflectances also mess with good lighting. A white wall will bounce the light around the room, while dark unpainted wood or dark brick will absorb light. So if you’ve got a cave-like garage, your fixtures has to work twice as hard to get the same light level on the floor. This is why the calculator asks for this information, it lets the calculator know how much of the light you see in your eyes and how much is being absorbed by the walls.
Also consider the beam angle. A beam width of one hundred ten degrees covers an area well and spreads it out thinly while still having even lighting. A narrow beam concentrates the light into a tighter area. In a room with higher ceilings, you may need a narrower beam so it lights the floor adequately. With lower ceilings, wider beams help avoid hotspots that blind you when standing beneath them.
The practical portion that everyone ignores is the maintenance factor. Fixtures get dusty, and grease and sawdust cover the lenses fast in a workshop. That will diminish the output over time. If you have ten to twenty percent headroom built into the lighting, then they’ll continue to be bright after months of use. No more bulb changing, no more wiping off the housing.
If you don’t have exact measurements at hand, there are some benchmark numbers provided on the page in the form of a reference table. This will give you an idea of how many lumens a particular kind of fixture typically produces (for example, UFO high bays or LED shop lights). These can help check what the calculator shows.
For instance, maybe it tells you that you need six fixtures but you’re budgeting only for three. Try increasing the desired lux slightly. Maybe you’re expecting parking lot light levels when workshop levels would work just fine. The point of lighting isn’t just so we can see better, it’s also about feeling comfortabley and safe in the space.
Good light minimizes eye strain on lengthy projects, while bad light hides small parts and potential trip hazards. To make sure you’re getting what you pay for, run the numbers ahead of time instead of purchasing low-quality fixtures. In the end, this means having a balanced fixture layout that covers every nook and cranny of your garage.
So where to begin? The fundamentals. Choose your target based off how you use the space. Measure the bay. Let the tool do the work of converting and calculating the coefficient. Then, mount it confidently knowing that this time next year, when you’re crawling around looking for a wrench under the bench, your eyes will be thanking you.