Flood Light Coverage Calculator
Estimate exterior flood light beam footprint, fixture count, average lux, overlap, and spill cutoff from real mounting and fixture specs.
Height from finished ground to the flood light center.
Full beam spread, such as 40° spot or 100° wide flood.
0° points straight down; larger angles throw farther outward.
Use this for shields, cutoff aiming, walls, or property-line limits.
The calculator uses geometric beam projection and lumen-to-lux estimates. Field readings can vary with surface reflectance, fixture optics, dirt depreciation, and exact aiming.
Coverage Results
25°
Spot beam for long narrow throws
60°
Balanced driveway coverage
90°
Wide patio and yard flood
120°
Short, broad wash coverage
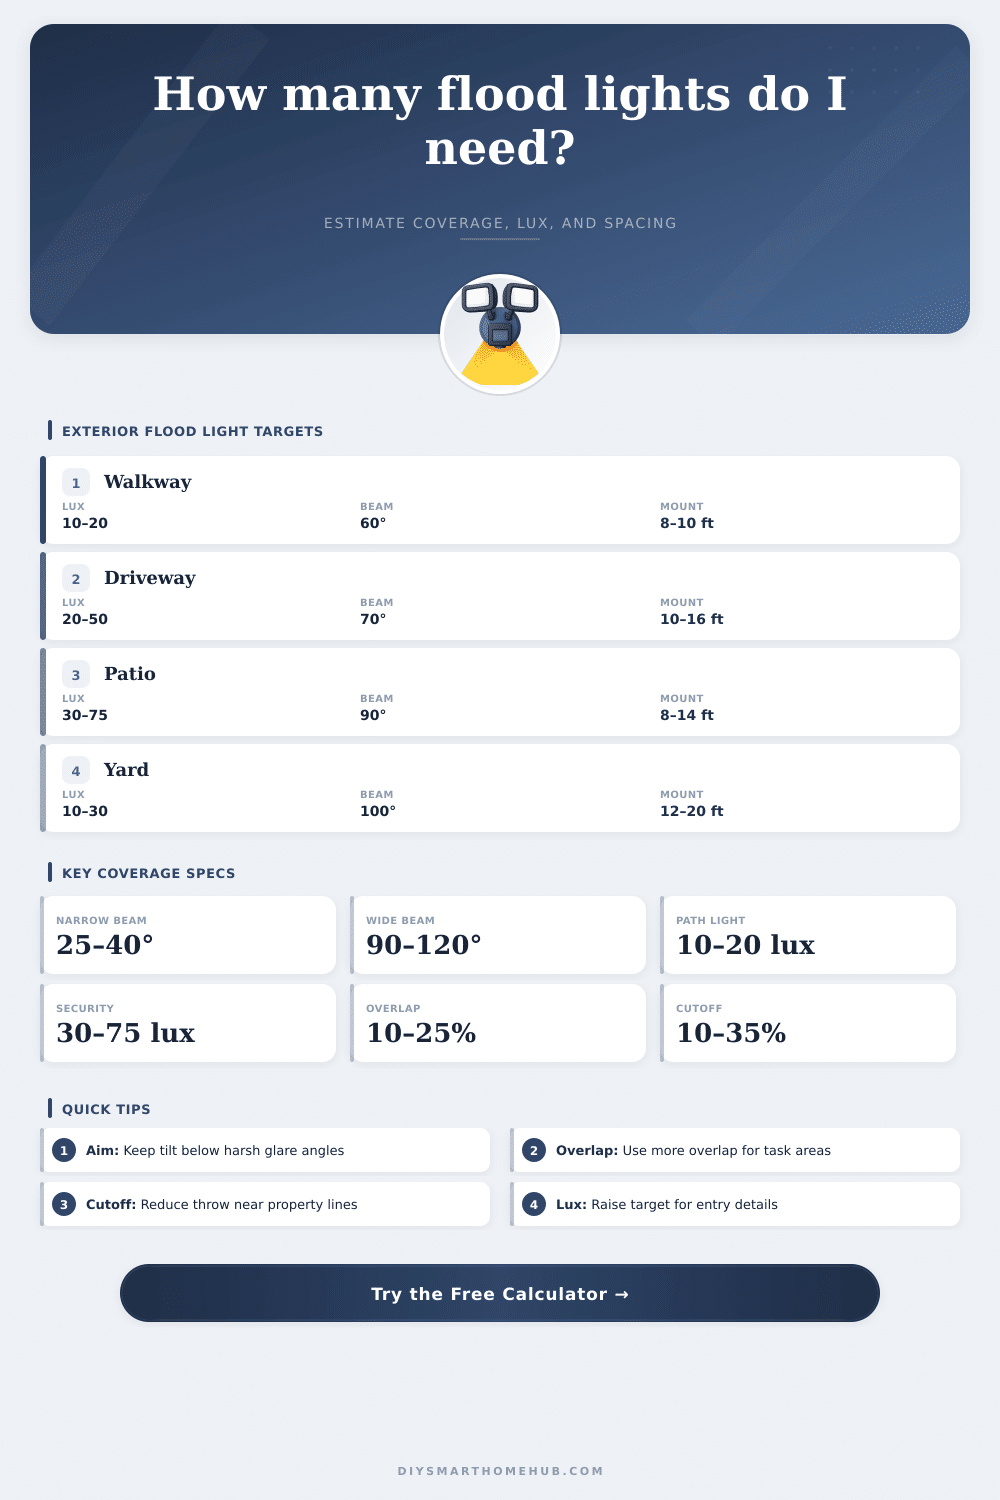
| Exterior area | Typical target | Good beam range | Common mounting height |
|---|---|---|---|
| Front path or steps | 10 to 20 lux | 45° to 70° | 8 to 10 ft / 2.4 to 3.0 m |
| Single driveway | 20 to 50 lux | 60° to 90° | 10 to 16 ft / 3.0 to 4.9 m |
| Patio or deck activity zone | 30 to 75 lux | 80° to 110° | 8 to 14 ft / 2.4 to 4.3 m |
| General backyard security | 10 to 30 lux | 90° to 120° | 12 to 20 ft / 3.7 to 6.1 m |
| Gate, loading, or work approach | 50 to 100 lux | 40° to 80° | 12 to 24 ft / 3.7 to 7.3 m |
| Beam type | Full angle | Best exterior use | Coverage behavior |
|---|---|---|---|
| Narrow spot flood | 25° to 40° | Gate, long driveway strip, sign face | Longer throw, less side coverage, higher center brightness |
| Medium flood | 50° to 70° | Garage apron, entry drive, side yard | Strong balance of throw and width for wall mounts |
| Wide flood | 80° to 100° | Patio, deck, short driveway, small yard | Broad footprint with moderate throw and smoother overlap |
| Very wide wash | 110° to 120° | Short setback wall, courtyard, broad facade | Large near-field spread; use cutoff to limit glare and spill |
| Project | Typical area | Starting lumens | Fixture count cue |
|---|---|---|---|
| Front walkway and landing | 250 to 450 sq ft / 23 to 42 m² | 800 to 1,600 lm | 1 to 2 fixtures with controlled beam spread |
| Two-car driveway apron | 500 to 900 sq ft / 46 to 84 m² | 2,000 to 5,000 lm | 2 fixtures with 10% to 20% overlap |
| Patio or deck zone | 300 to 700 sq ft / 28 to 65 m² | 1,500 to 4,000 lm | 2 to 4 lower-glare fixtures work well |
| Backyard security zone | 900 to 2,000 sq ft / 84 to 186 m² | 4,000 to 10,000 lm | Use wide beams and verify property-line cutoff |
| Workshop or outbuilding yard | 1,200 to 3,000 sq ft / 111 to 279 m² | 6,000 to 18,000 lm | Higher mounting improves uniformity and reduces hotspots |
| Setting | Use when | Calculator effect | Practical cue |
|---|---|---|---|
| 0% cutoff | Open rural yard with no boundary concern | Full projected beam footprint is counted | Watch for glare at high tilt angles |
| 10% to 20% cutoff | Typical driveway, patio, or side yard | Reduces useful throw and area modestly | Good starting point for shielded fixtures |
| 25% to 40% cutoff | Near neighboring windows or property lines | Counts a tighter usable footprint | May need more fixtures at lower output |
| 10% to 25% overlap | Most exterior coverage layouts | Reduces unique area per fixture | Improves uniformity between beams |
Ever been there? You installed a new outdoor light and plugged in the switch, but the light are hitting all the wrong spots. The spot closest to the house could be a bit bright; other areas is still dim. Maybe your neighbor’s window is glowing a little too much. Because the beam hasn’t been tamed.
Outdoor lights aren’t about lumen count alone; they’re a matter of geometry, something most people approach like decoration rather then like science. When you enter in your mounting heights and distances in the calculator (above), the calculator do the work for you. You won’t have to guess whether the beam can reaches the intended coverage area or not.
Why Outdoor Lighting Is Like Science
The first variable that causes folks trouble is the mounting height. Most of us naturaly believe higher is better when trying to cover an area. However, the mounting height determine how far the light project onto the ground before hitting the pavement. Mount a fixture too low and the beam strike the pavement right outside house. The result: A very large hotspot with no security benefit beyond that spot. By raising the fixture, you stretch its footprint. It’s a subtle change but it makes a difference.
The stretch of that footprint depend on the beam angle. With a narrow spot beam, you’ll get all the way to the other end of the driveway but sides will be dark. With a wide flood, you’ll cover more around the wall, but the farther out you go, the weaker the light are. Match the shape of the area to the spread of the beam. For a long and narrow space, you want some focus; for a wide but shallow one, you want some spread. Toggle back and forth to see the geometry at different angles.
The other place people get tripped up is in lumens. Sounds like more lumens means more light. And sure enough, it works if you can concentrate that light where you want it. Spreading 3000 lumens across a hundred square feet give you less usable brightness then concentrating 1500 lumens over ten square feet. The calculator assume you’ll project onto some area, and divides your total lumens by that area to calculate an average lux. It factors in cutoff and overlap.
Lux is not how many lumens come off the bulb, but how many hit the surface. Is overlap optional? Nope. If your beams don’t cross over slightly, where one meets another there will be a line of darkness (visible) between them. Overlap makes this smoother by hitting each and every square foot with some portion of two beams’ worth of light. You lose a bit of efficiency as far as spread goes, but the uniformity visualy makes it worthwhile.
Cutoff works by blocking light that would of spilled onto neighboring properties or create glare. On the page there’s a reference table that breaks it down with typical lux targets for various zones. For example, very little light is needed in walkways as long as they’re safe. In work areas such as a driveway apron, much more are required so you can see license plates, tools, and any possible hazards.
So if your calculated result comes up short of your desired lux, it doesn’t necessarily mean you need to make the lights brighter. It may simply mean that a different beam angle or better placement will keep the light concentrated where it counts. The biggest reason DIY light projects go wrong? People guess the number of fixtures needed based off budget instead of geometry.
Begin with the shape of the space, then figure out the height constraints. Then let the math do the talking, how many fixtures do I really need to hit my illuminance goal? That way you don’t end up buying too much and having glare issues or buying too little and having gaps in your coverage. Light isn’t simply atmosphere, it’s also a tool, use it as such. Knowing where the beam cuts off before drilling that first hole is often the difference between a glaring mess and a well-lit yard.