Drip Line Length Per Bed Calculator
Plan raised-bed and in-ground drip rows from bed dimensions, row spacing, edge setbacks, emitter spacing, tubing flow, available valve flow, and practical pressure-zone limits.
Detailed dripline sizing breakdown
| Emitter spacing | Best bed use | Emitters per 100 ft | Flow at 0.5 GPH |
|---|---|---|---|
| 6 inches | Dense greens, shallow roots, sandy beds | About 200 emitters | About 100 GPH |
| 9 inches | Vegetables with tighter plant spacing | About 134 emitters | About 67 GPH |
| 12 inches | Most raised vegetable beds | About 100 emitters | About 50 GPH |
| 18 inches | Flowers, shrubs, deeper rooted crops | About 67 emitters | About 34 GPH |
| 24 inches | Low-water ornamentals and wide rows | About 50 emitters | About 25 GPH |
| Tubing type | Planning pressure | Conservative single run | Zone planning use |
|---|---|---|---|
| 1/4 inch micro dripline | 10 to 25 PSI | Up to 30 ft per run | Small planters and short benches |
| 1/2 inch pressure-compensating dripline | 15 to 45 PSI | Up to 200 ft per run | Most smart raised-bed zones |
| 1/2 inch standard inline dripline | 15 to 30 PSI | Up to 150 ft per run | Short to medium garden laterals |
| 5/8 inch thin-wall drip tape | 8 to 15 PSI | Up to 300 ft per run | Long straight seasonal crop beds |
| Blank poly with button emitters | 15 to 30 PSI | Up to 250 ft per run | Custom spacing around mixed beds |
| Bed layout | Typical drip runs | Active tubing per bed | Flow at 12 in / 0.5 GPH |
|---|---|---|---|
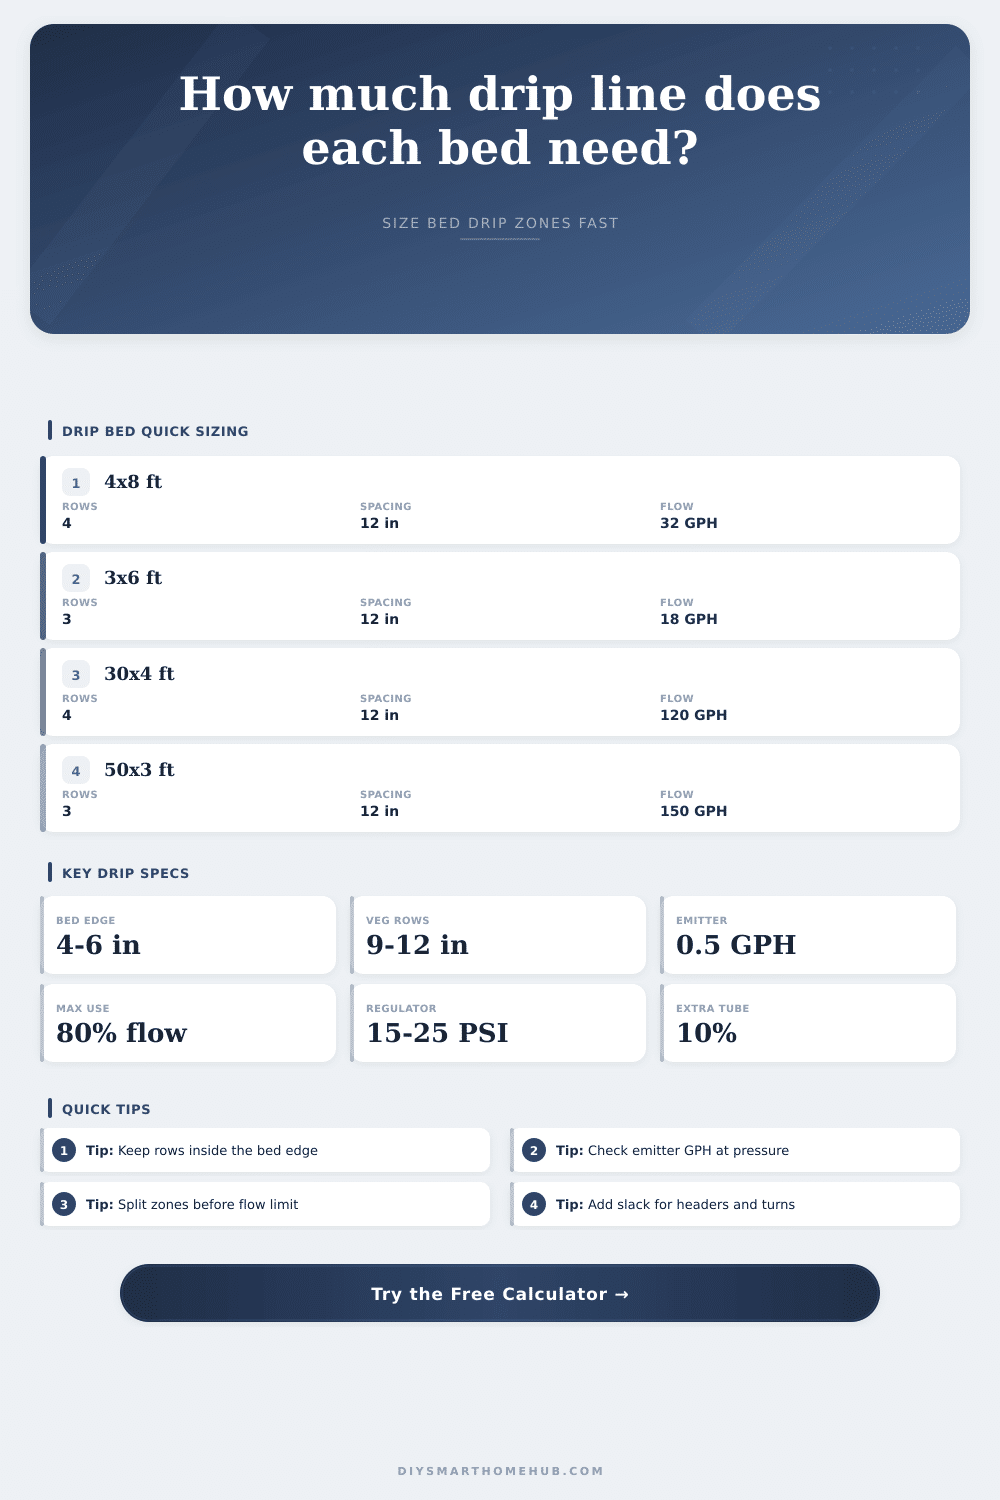
| 3 ft x 6 ft herb bed | 3 lengthwise runs | 18 ft active dripline | About 9 GPH |
| 4 ft x 8 ft vegetable bed | 4 lengthwise runs | 32 ft active dripline | About 16 GPH |
| 4 ft x 12 ft raised bed | 4 lengthwise runs | 48 ft active dripline | About 24 GPH |
| 30 ft x 4 ft market bed | 4 lengthwise runs | 120 ft active dripline | About 60 GPH |
| 50 ft x 3 ft crop row | 3 lengthwise runs | 150 ft active dripline | About 75 GPH |
Bed geometry
Run length follows the selected travel direction, while spacing is measured across the opposite bed dimension.
Emitter count
Total emitters are estimated from active dripline length and emitter spacing along each run.
Zone flow
Emitter GPH is converted to GPM so the valve can be checked against a practical flow limit.
Pressure limits
Long runs and excess total tubing can require separate pressure zones even when GPM looks acceptable.
Cut allowance
Headers, feed turns, flush tails, and trimming allowance are included after active row tubing is calculated.
By the end of the weekend, you have hauled in the soil and framed up a raised bed. You planted what you want and added new mulch, and now you’re set for automatic watering. Except that when you eye the drip tubing lying on the patio waiting to be put out, you don’t quite know where to go with it or how much to order.
The Tubing Lengths Calculator lets you work out the length of tubing for each bed. It eliminates any guesswork and makes the planning phase a lot easier too. From there, everything follow the geometry of the bed. Row spacing is not just an aesthetic preference (as many gardeners imagine), but a hydraulic one. Too few rows mean too many emitters for one valve to handle without splitting area into several separate zones.
How to Plan Your Drip Irrigation
Enter your dimensions, and the tool do the math for you. Tell it the length and width, specify how much setback you want between the emitter lines and the wooden frame, and let it figure out number of runs. It rounds down the numbers so each drip line fit within the planted area. People often overlook this detail. Why bother with spacing things in a straight line if you don’t need to account for empty space on either end for structural purposes?
Many irrigation systems fails due to inadequate pressure. You might be able to purchase every foot of tubing in stock, but if your water pressure isn’t high enough to push through all those emitters, half the bed is sopping wet and other half bone-dry. By default, the calculator add a safety margin, typically aiming for eighty percent of your existing flow. That gives you some leeway for small leaks or clogged filters which won’t cause the whole system to fail. Think of that figure as a ceiling you don’t ever wish to reach.
Once the zone count come back, remember that this is how many distinct valves you’ll have to program into your timer or smart controller. You can’t attempt to run one instead than two (or more). Friction loss is a fact of physics, and there’s no negotiating with it.
There’s a range of flow rates for emitters. This will determine what else you need to buy. For example, if you’re doing something like shallow-rooted greens or thirsty things like tomatoes, you may prefer a denser layout. But typically half gallon per hour emitters does it for most veggies. How many? That’s where the spacing comes into play.
There’s a chart on that page under ‘Reference Table’. As expected, fewer feet between emitters means more. The difference between twelve inch spacing and six is realy dramatic. On one hand, the closer-spaced version has more emitters for more precise wetting. On the other: it require more flow. This is why there is a tradeoff between more precision and greater plumbing challenge.
Don’t neglect the slack: Real gardens don’t lie flat on the ground with neat rectangle corners, so the calculator include additional tubing allowance for looping around stubborn root balls, joining to a header line, or simply making mistakes when cutting. For typical trimming requirements, I add 10 percent. That seems wasteful, until you’re halfway down a row and suddenly find yourself without more tubing, and must splice it after all. Better to err a little bit on the side of too much than to end up with splices. And splices is trouble spots.
It’s a divide-and-conquer tactic, separating the thinking from the doing. First there’s the planning. You determine the total demand for the entire zone and the length of active dripline required. Then there’s the shopping. Armed with these figures, you shop confidently. There is no need to stand in the hardware aisle stumped about whether forty feet is too little or too much. The answers are in the numbers; they tell you when to stop buying and what to buy.
You will spend less time at the hardware store and more time feeding the roots that count, specifically those in ground. When sized correctly, drip irrigation is a quiet workhorse, the kind you hardly notice. It sends just enough water into the soil right where it counts, nothing down the driveway or onto the patio. It creates order out of garden logistics, every plant gets its due starting day one.
You should of checked the measurements twice.