Crown Molding Length Calculator
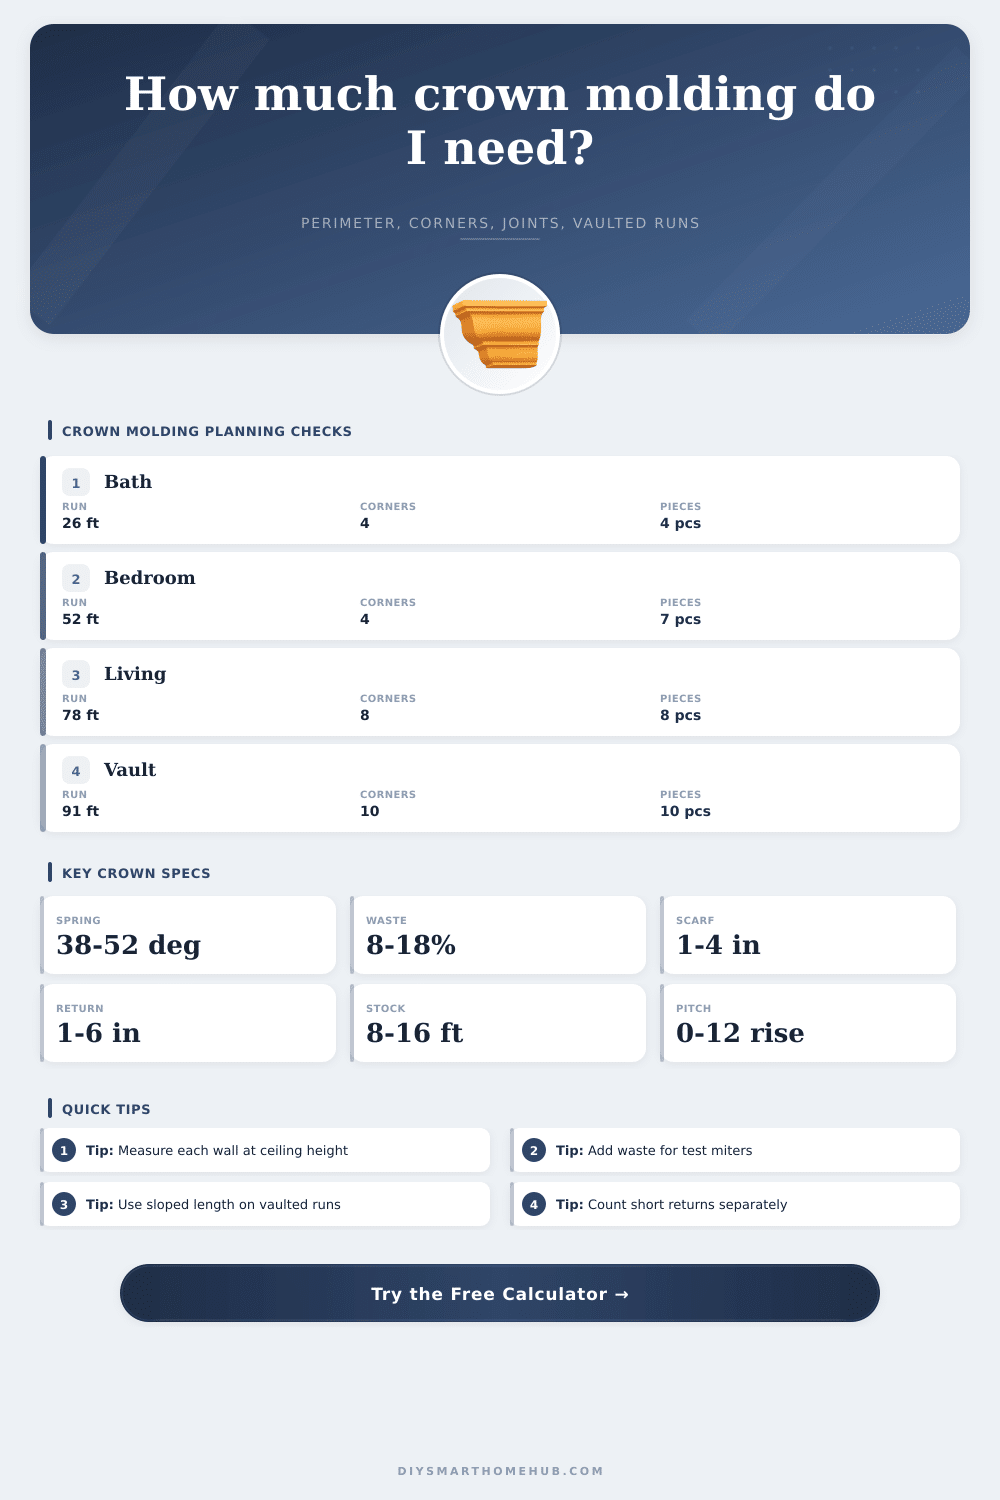
Estimate crown molding length from room perimeter, corners, spring angle, stock piece length, scarf joints, waste allowance, vaulted ceiling adjustment, and return ends.
📌Project Presets
📏Room, Molding, And Cut Inputs
Crown molding estimate
Calculated from perimeter, vaulted adjustment, returns, corners, scarf joints, and waste.
📊Molding Spec Grid
📘Crown Molding Reference Tables
| Spring angle | Typical face width | Wall projection guide | Planning note |
|---|---|---|---|
| 38 degree common crown | 3 to 5.25 in | Shallower wall drop | Verify saw settings before cutting inside corners. |
| 45 degree equal crown | 2.25 to 4.625 in | Balanced wall and ceiling projection | Easier to visualize, common for simple rooms. |
| 52 degree common crown | 3.625 to 6.5 in | Deeper wall drop | Often needs more care at outside corners. |
| Flexible crown | 3 to 5 in | Varies by profile | Useful on curved walls; keep scarf waste higher. |
| Room or zone | Typical perimeter | Waste range | Piece planning note |
|---|---|---|---|
| Small bathroom | 22 to 34 ft | 10 to 15% | Short walls create more offcut than the perimeter suggests. |
| Bedroom | 44 to 60 ft | 8 to 12% | Often fits well with 10 or 12 ft stock. |
| Open living area | 70 to 110 ft | 10 to 15% | Long walls may need scarf joints in visible locations. |
| Vaulted great room | 80 to 140 ft | 15 to 20% | Measure the actual sloped ceiling line. |
| Cut feature | Count as | Allowance guide | Why it matters |
|---|---|---|---|
| Inside corner | Corner allowance | 1 to 2 in | Allows test fits, coping, and minor wall variation. |
| Outside corner | Higher corner allowance | 1.5 to 3 in | Outside miters are more visible and less forgiving. |
| Scarf joint | Joint waste | 2 to 4 in | Creates overlap for angled seams between pieces. |
| Return end | Return length | 1 to 6 in | Finishes an exposed crown end cleanly. |
| Vault pitch | Slope factor | 10 ft plan run becomes | Planning note |
|---|---|---|---|
| 0:12 flat | 1.000 | 10.00 ft | No vaulted length adjustment. |
| 4:12 slope | 1.054 | 10.54 ft | Modest added length on sloped runs. |
| 6:12 slope | 1.118 | 11.18 ft | Common vaulted ceiling adjustment. |
| 12:12 slope | 1.414 | 14.14 ft | Steep slopes quickly increase stock length. |
💡Planning Tips
But here’s something you might know: Typical trim sizes aren’t going to perfectly align with your room dimensions. A 12-foot board will not wrap a 40-foot living room without seams and every seam requires planning. And each joint is a variable that needs thought. Enter: The calculator. After entering your own dimension, it do the number-crunching for you. It eliminates the need to guess at joint allowances and waste factors. It takes an insane heap of variables and transform them into easy number of pieces.
The floor doesn’t follow the ceiling; the crown molding does Because crown molding follows the ceiling and not the floor, measuring at baseboard height will give you false data. Walls is almost never plumb. The molding will sit on top of your walls at some point and you want to know where. Even an eighth of an inch off can add up. Since you have 4 corner to contend with, that tiny little bit can be a pretty big chunk out of your overall length.
Why You Need a Crown Molding Calculator
Did your walls bow outward? Inward? An extra inch here, a couple there will add up and become decent percentage of your total run. Most homeowners go by their measurements and think, “close enough”. That’s where people start making mistakes.
Once the perimeter’s in place, that’s where the real work begins: making the cuts. If you cope your inside corners correctly, they’re forgiving; outside corner need to be precise. To allow for this, you can set a certain amount of waste allowance per corner using the tool. Losing an inch at each cut doesn’t seem like much, but over a dozen or two joints, it means wasting whole board’s worth of material.
That’s particularly relevant when you use steeper spring angles (like 52 degrees). These project farther out into the room and is less forgiving of imperfect walls. They need more care during test fitting than during final install. If your wall exceeds length of your stock pieces, then you’re going to need some scarf joints to bridge the gap. When done right, these angled connections look seamless, but make sure to use extra material for the overlap. There’s a field on the calculator for this type of joint waste to ensure you don’t find yourself two inches shy of finishing a long run of wall. This little thing trips up newbies who simply divide perimeter by the board length and forget they have to account for joining as well.
The other complicating factor are vaulted walls where the ceiling is not flat. Because of the sloping wall, the hypotenuse (the sloped side) are longer than the horizontal run. For example, a 6:12 pitch adds about eleven percent more length to your actual trim run. That means if you use the floor measurement to order and cut, you will be short. The tool applies a slope factor to these pieces to account for added vertical rise. It’s not a buffer, it has to do with geometry.
Remember the returns. You know those small bits that tuck around the end of each molding run where it meets an opening or a door. Until you stand there looking at that wall and can’t find anywhere to stash them, those thing get forgotten. Though seemingly small, they take up material from your stock pile. Plan for them individually in the planning phase so that you wouldn’t of come up short late in the game. And lastly, account for an overall waste factor for those little things that happen, learning curve, mistakes and imperfections. For straight forward rectangle rooms, 10% is generally sufficient, but when thing get complicated (i.e. Multiple soffits, bay windows etc.) you’ll need more then this. Nothing sucks worse than having to go out in the middle of the night on a Sunday night because you ran out of trim.
The point isn’t simply to enclose everything with trim, it’s to do it cleanly and efficiently. Once you know how many pieces per corner, angle, or joint you use, you can stop guessing at the number of remaining piece. Start making sure you have enough, the exact amount you will need, nothing more, nothing less.