COB LED Driver Calculator
Size a constant-current driver for chip-on-board LED arrays, including series voltage, parallel current, driver power derating, voltage headroom, and heatsink thermal margin.
Detailed Calculation Breakdown
| Spec | Required By Array | Driver Entered | Calculated Margin | Status |
|---|---|---|---|---|
| Output current | 1.40 A | 1.40 A | 0% | Calculate to update |
| Voltage window | 31.7-40.3 V | 30-42 V | 1.7 V low, 1.7 V high | Calculate to update |
| Output power | 50.4 W | 60 W | 16% | Calculate to update |
| Thermal path | Target junction below limit | Entered heatsink C/W | Pending | Calculate to update |
| COB Class | Typical Vf | Typical Current | Electrical Power | Thermal Note |
|---|---|---|---|---|
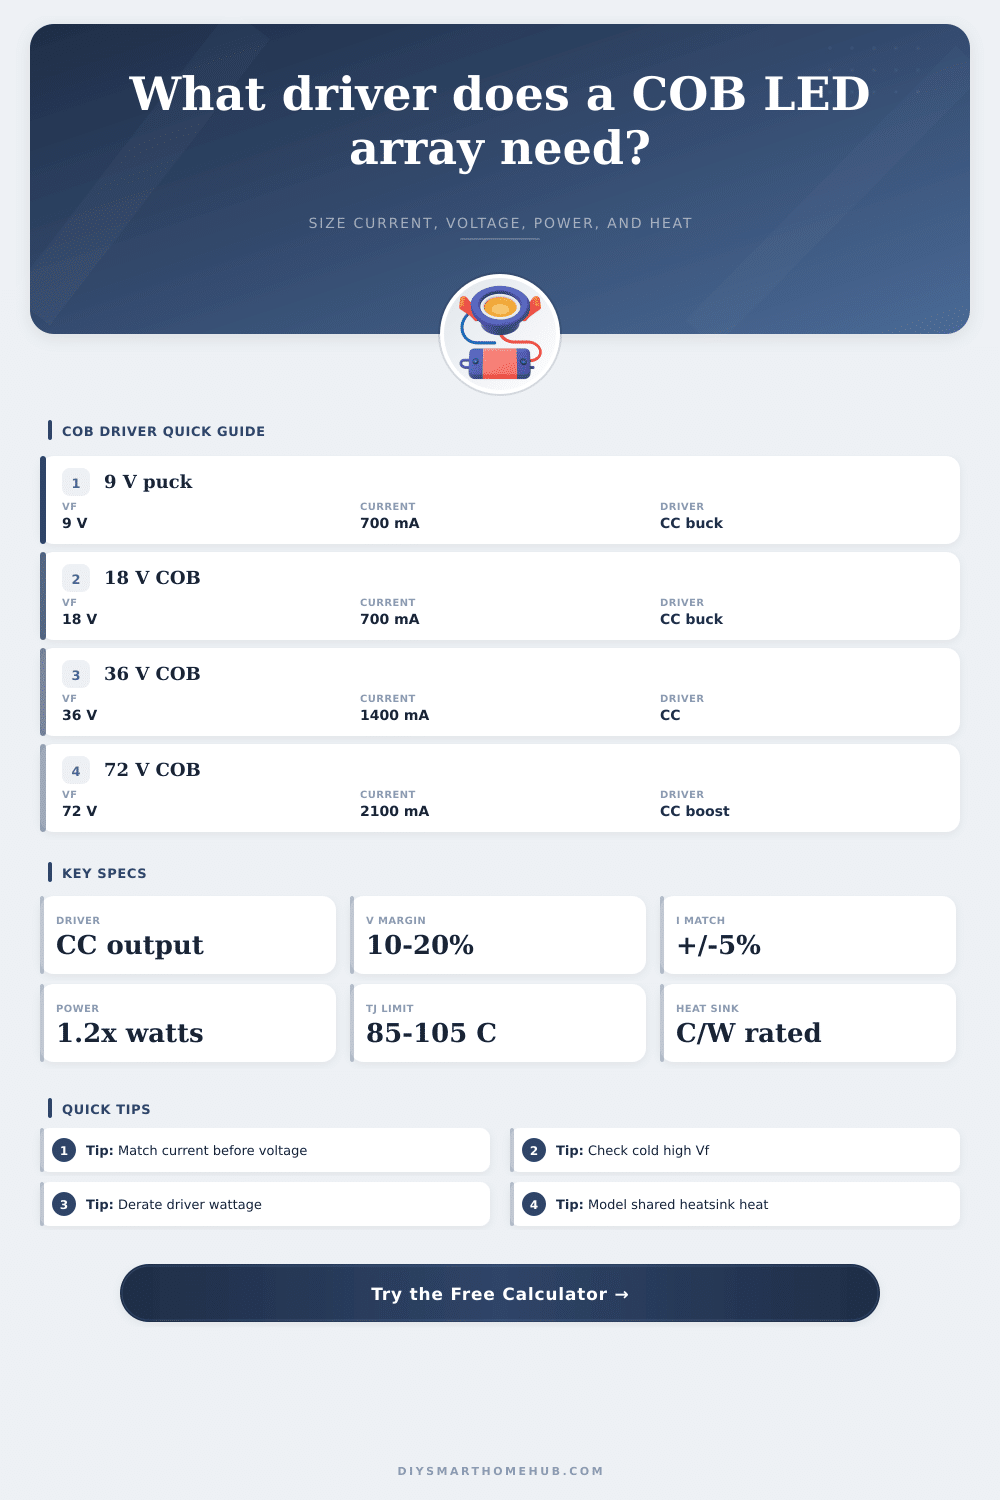
| Small 9 V puck | 8.5-10 V | 350-700 mA | 3-7 W | Often needs a small aluminum plate. |
| 18 V mid COB | 16-20 V | 500-900 mA | 8-18 W | Use active airflow for compact housings. |
| 36 V high density | 32-40 V | 700-1800 mA | 25-70 W | Heatsink resistance dominates junction rise. |
| 54 V studio COB | 48-60 V | 1000-2000 mA | 50-120 W | Check driver isolation and dimmer range. |
| 72 V large COB | 64-82 V | 1400-3000 mA | 90-240 W | Needs high voltage driver and serious cooling. |
| Driver Type | Best Use | Voltage Rule | Current Rule | Headroom Watchpoint |
|---|---|---|---|---|
| Buck constant-current | Supply above LED string voltage | Driver max must exceed cold Vf | Rated current equals string current | Needs dropout margin above array voltage. |
| Boost constant-current | Battery or low DC supply | Driver min can be below array Vf | Input current rises as battery drops | Check input current and output voltage cap. |
| Buck-boost constant-current | Battery voltage crossing LED voltage | Wide output window is preferred | Current limit still sets LED current | Often derate more for heat inside enclosures. |
| AC input CC driver | Mains-powered fixtures | LED string must sit inside output range | Choose fixed current or programmable current | Watch minimum load at dimmed operation. |
| COB Heat On Sink | Natural Convection Sink | Fan Assisted Sink | Typical Use | Thermal Margin Goal |
|---|---|---|---|---|
| 5-10 W | 4-8 C/W | 2-4 C/W | Accent or task COB | 15 C or more below junction target. |
| 15-30 W | 1.5-3 C/W | 0.8-1.8 C/W | Downlight or small panel | Keep case temperature stable after warm-up. |
| 40-80 W | 0.7-1.5 C/W | 0.35-0.9 C/W | Studio or grow module | Use measured case temperature to confirm. |
| 100-200 W | Usually impractical | 0.15-0.5 C/W | High bay or flood build | Design for airflow failure margin. |
| Preset | Array Layout | Target Driver | Approx LED Watts | Cooling Focus |
|---|---|---|---|---|
| Single Task COB | 1S1P, 18 V | 700 mA, 15-24 V | 13 W | Small finned sink or metal housing. |
| Compact Grow Panel | 2S1P, 36 V | 1400 mA, 60-90 V | 101 W | Large sink with steady airflow. |
| Studio Key Light | 1S1P, 54 V | 1500 mA, 45-65 V | 81 W | Low-noise fan and low interface resistance. |
| DIY High Bay | 2S1P, 72 V | 2100 mA, 130-170 V | 302 W | Heavy sink, forced air, conservative Tj. |
LED lights are a thing you should get right the first time. Ask my friend who dropped 300 bucks on a set of high-density COB LEDs for his shop light that burned out in less than two months. He wired them up proper. He built nice fixture. The drivers appeared good on paper… So what went wrong? No one checked the voltage on the driver. Thermal runaway occured because the voltage wasn’t matched on the driver. That lesson taught me that sizing LEDs are not just about how many lumens you get. It is about how much energy can be controlled across physical and electrical limits at once.
But what does all this mean? What’s the math? We have a calculator above that will do it for you, but here is how to understand it so you don’t make an expensive mistake later. First, understand that COB modules are a constant current load that require a variable amount of voltage. That means you can’t just go by wattage in choosing a driver. You choose based off current draw (the number of milliamps the LEDs require). Then, check if the driver is capable of maintaining that current over the whole voltage range of your array. If the LEDs requires twelve hundred milliamps, get a twelve hundred milliamp driver.
How to Choose the Right LED Driver
Then the wattage rating doesn’t matter because it only tells you if the driver has sufficient power “headroom” to deal with voltage fluctuations without overheating the driver. Most DIY fails on voltage fit. Forward voltage of an LED changes based off manufacturing tolerance and temperature. What looks like a nominal thirty-six-volt COB may take thirty-two volts when cold. It may jump to forty volts when hot and running. Your driver shuts off at thirty-eight volts. As it warms, the light will flicker or dim.
By considering temperature swing and voltage tolerance, the tool visualizes that window for you. It makes sure that the driver’s minimum voltage is less than the lowest expected load and its maximum voltage are more than the highest possible demand. This provides a safety margin so the light doesn’t change.
The other side of that same coin is thermal management, and that’s equally important. Because LEDs are relatively inefficient in converting electricity to light, that means a significant portion of what you feed them turn into heat. If that heat cannot move from the chip through the junction case and into the heatsink, the chip’s temperature will rise. That reduces efficiency, which creates more heat. You get a vicious cycle called thermal runaway.
To account for this, the calculator considers the thermal resistance between the junction and case. It also includes the thermal resistance of the interface material connecting those two components and the thermal resistance of the heatsink itself. Based on safety margins and your ambient environment, it calculates the estimated junction temperature.
The tool also includes some handy reference tables that breakdown common driver topologies and corresponding COB classes. It’s a shortcut, but sometimes those can be helpful if you need to make quick decisions. If your LEDs run on lower voltage than your input voltage (as most AC powered fixtures do), then you’re looking at a buck driver. If you’re running from low voltage batteries, then you’ll need a boost driver. If you pick the wrong topology, no matter how powerful the driver says it is, it just won’t work because it doesn’t know how to regulate current. Thankfully, the tables lay it all out so you don’t have to guess.
This is where the concept of derating comes into play, something you won’t hear about much but it’s what keeps people alive with their electronics. If you run a driver at 100% of its rating, that puts stress on all the components inside that are running hot and doing more than they should of. A good designer will design for an 80% load factor (20% derate), which allows for efficiency loss and long-term life. This calculator automatically accounts for the derate target so you know whether or not you’re pushing the driver too hard or making it too large.
And when you do look at the results, take note of the thermal headroom indicator. Because if it tells you that you’re dangerously near your junction limit, not even electrical tweaking is going to help you there. You need more airflow or a bigger heatsink. The watts you use equals the heat you have to dissipate; the math connects those dots in real terms. It makes abstract datasheet numbers into concrete design decisions.
LED light manufacturing is a balancing act. Efficient yet stable. They are bright without burning out parts. The math gets complicated. Luckily, these tools does it for you while you get to focus on the larger aspects of building something. You might be wiring a complex grow panel. No problem. Do you want to know how to wire a simple pendant? These help you understand why every connection is important, so you can trust the results. Monitor that voltage window and thermal path and chances are you’ll have lights running for much longer than expected.
Waiting for the system to cool down meant that friend failed prematurely. This is a lesson to learn.