Camera Field of View Overlap Calculator
Estimate camera coverage width, two-camera overlap, maximum spacing, target-zone coverage, pixel density, and blind-spot gaps from horizontal field of view and distance.
Formula breakdown
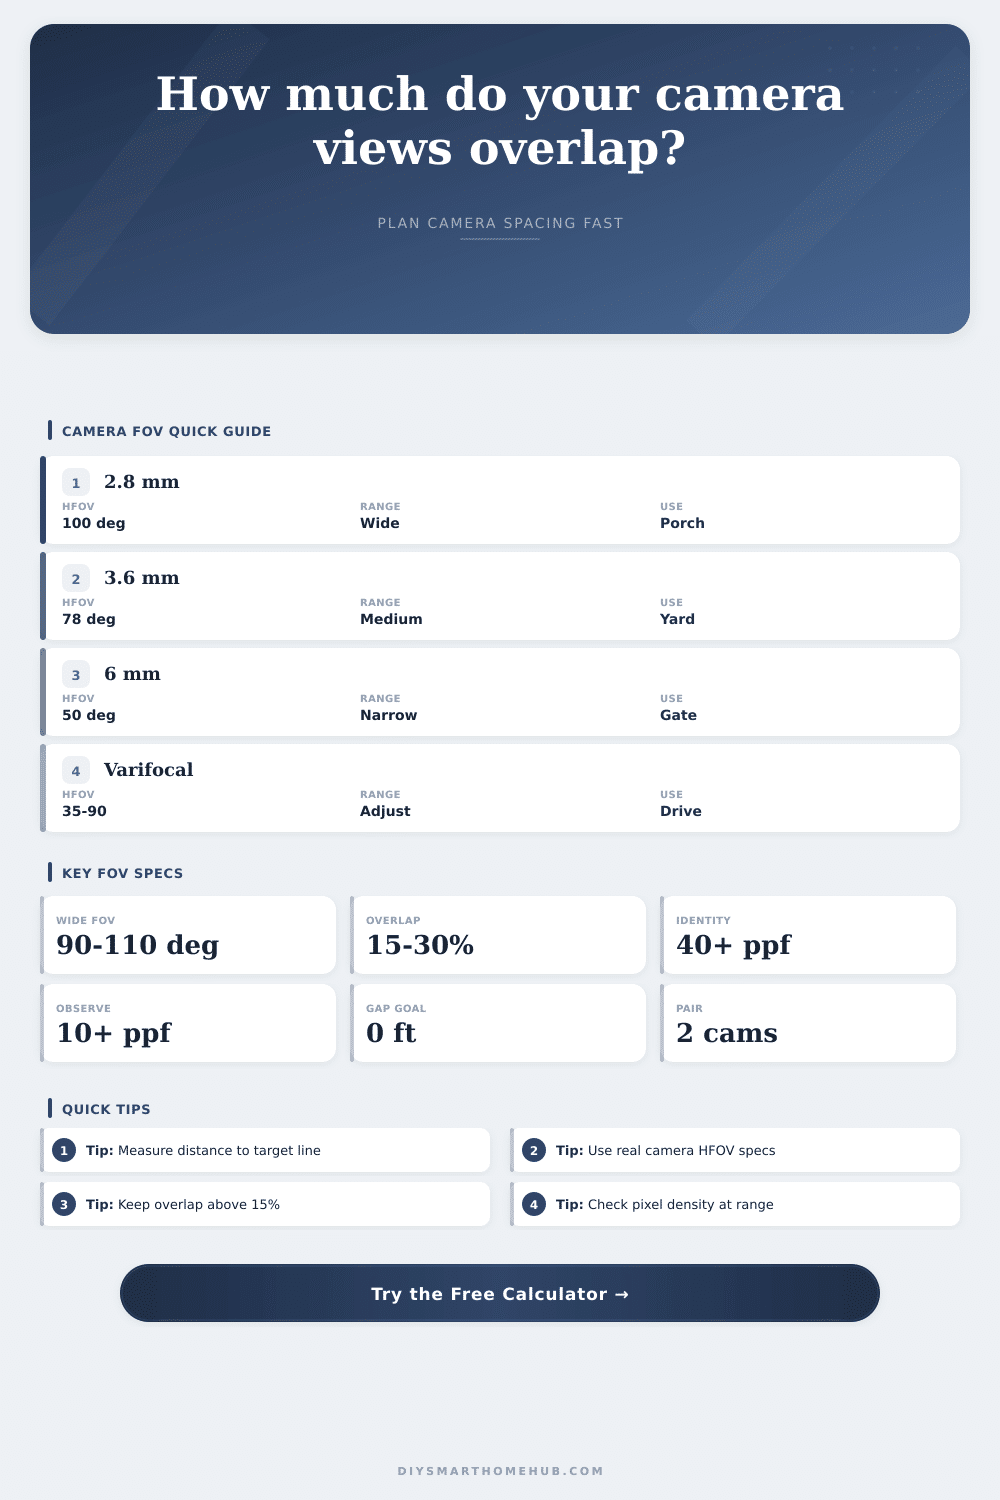
| Common lens | Typical HFOV | Coverage at 20 ft | Coverage at 40 ft | Best fit |
|---|---|---|---|---|
| 2.1 mm ultra-wide | 110° to 125° | 57 to 77 ft | 114 to 154 ft | Small room, porch, broad awareness |
| 2.8 mm wide | 90° to 110° | 40 to 57 ft | 80 to 114 ft | Driveway, front yard, patio |
| 3.6 mm medium | 70° to 85° | 28 to 37 ft | 56 to 73 ft | Side yard, garage, entry lane |
| 6 mm narrow | 45° to 55° | 17 to 21 ft | 33 to 42 ft | Gate, walkway, longer target distance |
| Varifocal zoom | 30° to 100° | 11 to 48 ft | 21 to 95 ft | Tunable overlap and pixel density |
| Resolution class | Horizontal pixels | 30 ft view width | 60 ft view width | Planning meaning |
|---|---|---|---|---|
| 720p / 1MP | 1280 px | 43 ppf | 21 ppf | General monitoring across moderate widths |
| 1080p / 2MP | 1920 px | 64 ppf | 32 ppf | Better detail if the target line is not too wide |
| 1440p / 4MP | 2560 px | 85 ppf | 43 ppf | Good balance for entry and driveway views |
| 4K / 8MP | 3840 px | 128 ppf | 64 ppf | Higher detail for wider zones or longer distance |
| 12MP | 4512 px | 150 ppf | 75 ppf | Strong detail when lens quality and light support it |
| Scenario | HFOV | Distance | Single width | Spacing for 20% overlap | Notes |
|---|---|---|---|---|---|
| Porch pair | 100° | 12 ft | 28.6 ft | 22.9 ft | Wide view, easy overlap |
| Driveway pair | 87° | 25 ft | 47.4 ft | 37.9 ft | Balanced detail and width |
| Side yard | 78° | 18 ft | 29.2 ft | 23.4 ft | Good for narrow runs |
| Gate view | 50° | 45 ft | 42.0 ft | 33.6 ft | Higher pixel density, less width |
| Backyard wide | 104° | 35 ft | 89.6 ft | 71.7 ft | Broad coverage needs pixels |
Are you mounting a security camera by the closest outlet? Figure it’ll capture all the action on its best face? Nope. Chances are good you get a wide shot of yard (not very detailed) or maybe a few blurry gaps where someone could stroll out of frame.
Camera placement isn’t about aiming a lens outward to see what’s on your property. It’s about controlling line of sight to make neighboring views join together into one continuous picture without any gaps.
How to Place Your Security Cameras Correctly
Enter this simple calculator: plug in your targets and lens specs and it does the math for you, so you don’t have to guess if your spacing created a blind spot.
Horizontal field of view is first input that trips folks up. Typically camera boxes list their diagonals, which look larger. You are only interested in width when planning your overlap. This is why the calculator asks for that exact number.
You space your cameras out along the line you want to cover (e.g., a porch, a driveway), and spacing is always left-to-right. Use the wrong angle, the diagonal instead of the width, and you’ll space your cameras further apart and have gaps in-between where nothing are covered. That’s what most folks miss. Even if they have the same size lens, a 90-degree horizontal view covers a different area then a 90-degree diagonal view.
First, adjust for the right width for one camera at your desired distance. Then, use the tool to adjust how far apart you want them. It will tell you what percent each camera’s field-of-view overlaps the other.
Cameras cast a cone of vision that narrows as it reaches end. There must be some overlap so the last third or more of each picture isn’t stretched out and lacking resolution. This ensures people can still read a number plate or identify a face. You should of try to make your spacing such that you have at least 15-30% overlap between pictures. That way, whatever moves through the transition area has been well-captured by at least one camera while entering the next picture frame.
A key variable for all camera plans is pixel density. Perfect geometric coverage with no gaps is meaningless unless each pixel is dense enough to show something useful instead of just a blob of light and shadow. The table at the bottom of page shows which class of resolution is necessary to see something within a certain width. For instance, a 4 megapixel sensor may appear to be overkill, UNTIL you discover that it’s dividing its pixels along a far greater width of target line compared to a 2 megapixel sensor.
And a wide angle lens will spread those pixels out, rendering them useless if your camera is positioned twenty feet from the front door! Focus the lens down, bring the subject closer, concentrate the detail. But shrink the width of coverage. Now you need multiple cameras to cover what one covered before. How far back can I sit my camera(s) vs how many cameras do I need? It’s a question of tradeoffs.
You can mount the cameras farther apart or closer, and the calculator adjust their max spacing to match as the overlap percentage changes. If you want higher overlap (less gap), then you’ll need to move your cameras closer together, which increases cost and mounting complexity. Less overlap mean greater risk of missed events in the seams. For most homes 4 megapixels at about 20 percent overlap strikes a good balance; close enough for recognition but wide enough to include some context.
The whole approach depends on what lens you select. For example, a two-point-eight millimeter lens provides a broad field of view. Ideal for open areas like garage doors and big patios that need motion detection but not detailed facial recognition. At the other extreme, a six millimeter lens closes things down considerably so you can set up cameras farther back, while still reading detail at an end of a walkway or driveway gate. Varifocal lenses provides post-installation flexibility for tuning the mix: Zooming in tightens it when the field proves overly wide; zooming out widens it if you find some gap.
The other factor is mounting height. Because you’re going to have to tilt your camera downward, that means its horizontal spread doesn’t map exactly onto the ground anymore. For simplicity’s sake, the calculator treats it as if it’s mounted at a 90 degree angle to the target line. That’s a decent place to start. But you’ll probably find yourself angling down a bit. And every degree of angle means less image depth from side-to-side at the end of your range. Factor that margin into your final placement.
It’s not all about chasing resolutions. It’s more about being able to understand what the lens actualy sees. The first step is to know the target line of the activity. How far away is that line? Choose a lens that keeps enough pixels to capture what you need.
Next, place the cameras in such a way that their field of view overlaps enough until they separate. If it stitches together seamlessly, then the system becomes one coherent whole monitoring the property. That’s what good coverage are.