Atmos Height Speaker Angle Calculator
Calculate Dolby Atmos ceiling height geometry from listener ear height, ceiling height, room depth, and the target elevation angle for top front, top middle, or top rear speaker rows.
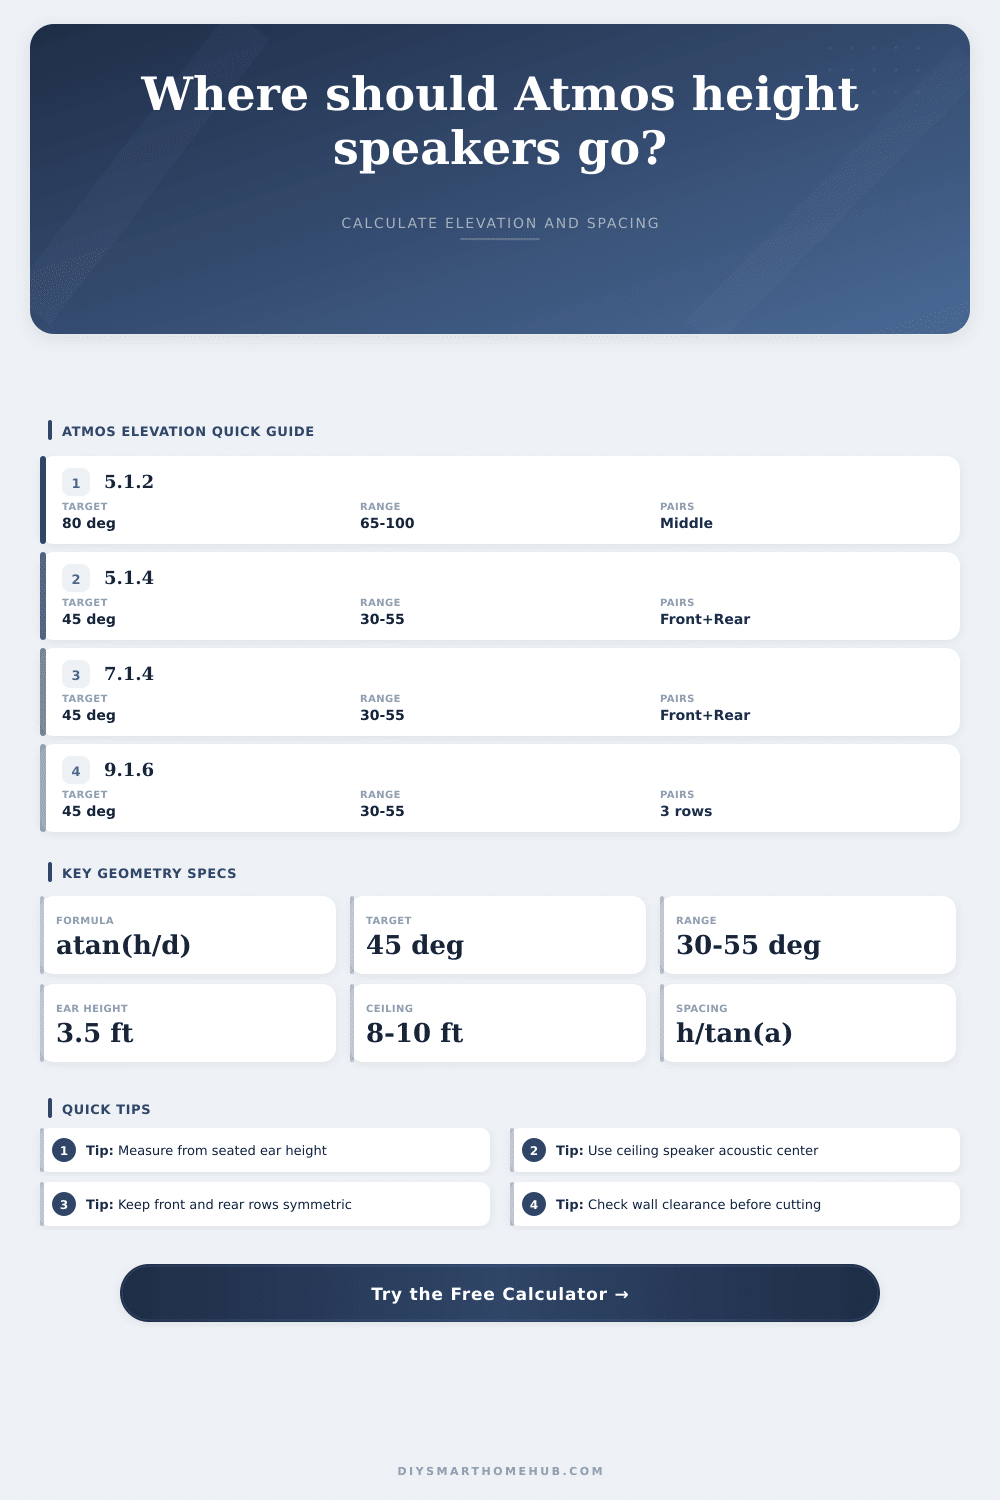
| Height row | Typical elevation window | Calculator target | Best use |
|---|---|---|---|
| Top front | 30° to 55° above ear plane | 45° default | Front half of 5.1.4 or 7.1.4 layouts |
| Top middle | 65° to 100° above ear plane | 80° for 5.1.2 | Single overhead row near the listening position |
| Top rear | 30° to 55° behind listener | 45° default | Rear half of four-height layouts |
| Front height | Usually shallower than top front | Entered target | Wall-mounted height modules or compromised rooms |
| Layout | Rows calculated | Default target | Placement note |
|---|---|---|---|
| 5.1.2 / 7.1.2 | Top middle | 80° | One row just ahead of or above the main seat |
| 5.1.4 / 7.1.4 | Top front and top rear | 45° | Equal offsets in front of and behind the listener |
| 9.1.6 | Top front, middle, rear | 45° and 90° | Adds a middle row above the listener |
| Front height pair | Front height only | Entered target | Useful when rear ceiling placement is blocked |
| Ceiling height | Ear height | Height difference | 45° offset each way |
|---|---|---|---|
| 7.5 ft | 42 in | 4.0 ft | 4.0 ft front and rear |
| 8.0 ft | 42 in | 4.5 ft | 4.5 ft front and rear |
| 9.0 ft | 42 in | 5.5 ft | 5.5 ft front and rear |
| 10.0 ft | 42 in | 6.5 ft | 6.5 ft front and rear |
| Step | Formula | Inputs used | Result |
|---|---|---|---|
| Height difference | speaker height - ear height | Ceiling height, listener ear height | Vertical leg of the triangle |
| Elevation angle | atan(height difference / distance) | Height difference, horizontal distance | Angle above ear plane |
| Target offset | height difference / tan(target angle) | Height difference, desired angle | Front or rear speaker offset |
| Top spacing | front offset + rear offset | Symmetric offsets around listener | Top front to top rear distance |
Dolby Atmos install is almost always treated as a check list not a geometry problem by most folks. Find some studs in the ceiling and buy speakers, cross fingers hoping for the best. Usually, what happens? The sound sounds flat and disconnected from screen.
What you’re attempting to create is a sphere of audio surrounding your head that’s invisible. When you don’t get the angles right, that sphere become a messy line stretched across front wall. Where you put those height channel in relation to where you are sitting can be the difference between a convincing overhead effect and a vague buzz.
How to Place Your Speakers Correctly
You don’t have to wonder if the numbers is just made up, and you won’t have to guess how to convert angles manualy or account for the elevation coefficient. Simply enter your room’s physical dimensions and the calculator does the trig for you (above).
According to Dolby, their guidelines aren’t random rules, they’re acoustic targets meant to fool your brain into thinking it’s higher. How? The system use specific angle ranges based off which row of speakers they are in. Generally, front and back top speakers aims for a forty-five degree elevation. Top middle rows use much steeper angles that gets closer to vertical, reaching eighty degrees or more.
Achieving the correct blend means understanding that distance is realy the variable you have some ability to control in most completed rooms. First and foremost, your seated ear height establish the zero point for all your angle calculations. Many folks take their ceiling height estimate from the floor upward and forget about their actual sitting position. Do you watch movies from a deep sectional? Maybe your ears are at thirty-eight inches above the ground? Are you standing up when setting things in place? Or are you using a recliner? All that shifts your reference plane significantly.
This, in turn, affects the vertical side of the triangle you use to calculate your placement. From your seated ear height, the calculator compares it to where the speakers will be positioned on the ceiling. Then it tells you how much those speakers needs to be moved forward or back from your listening spot so that the speakers aim at that target angle.
Another limitation is the depth of the room. Many living rooms is a standard 20 feet long. That doesn’t leave much room for rear overhead speaker without placing them directly on the back wall. Hanging one at ear level isn’t going to work, you’re defeating the whole idea of the overhead channel. The tool measures whether the desired layout will fit within the physical limits of the room. If it can’t place the necessary offset because it would put a speaker out beyond the end of the room or inside a closet, it’ll flag it. That way you won’t make common error of putting speakers somewhere you can’t reach simply to get the right theoretical angle.
Mounting speakers up high becomes a lot more complicated, and it’s all about ceiling height. If your ceiling is higher, you get a larger triangle; which means much greater side-to-side distances at any given angle. For example, in a room with 10-foot ceilings, a top front speaker could sit as far as six feet from your seating location. In a basement with seven-foot ceilings, that speaker may require just two feet of offset. That’s very different installation work but the math changes to match.
To give an idea of how strictly or loosely each format fits into those rules, the page features a reference table to outline the standards. While a 9.1.6 configuration offers plenty of wiggle room, there are more moving parts to consider than in a 5.1.2 setup. The more speakers you add, the more it’s like putting together a puzzle; each speaker needs to find its place while not overwhelming other pieces.
Perfection isn’t as important than symmetry. If you have matched pairs in both the front and back, the center image will stay stable regardless of whether any effect is panning left and right across soundstage.
Before any holes are cut in the drywall, take some time to make some measurements. Measure from the floor to where your head would sit on couch; then measure to each wall. Put those numbers into the tool, and see what the offsets are. Are they suggesting putting it right next to a duct? Or maybe it’s right above a light fixture? Don’t try to force-fit the speaker into a bad location; instead, just move around and listen until you find a new seat that works better for the angle.
You should of checked this before. You’ll be surprised how much moving a little bit of where you sit helps avoid an awkward installation. Remember, it’s about immersive sound, not mathematical purity at the cost of practicality. Once you nail down the angles, that invisible audio area finally locks into place.