Camera Coverage Blind Spot Calculator
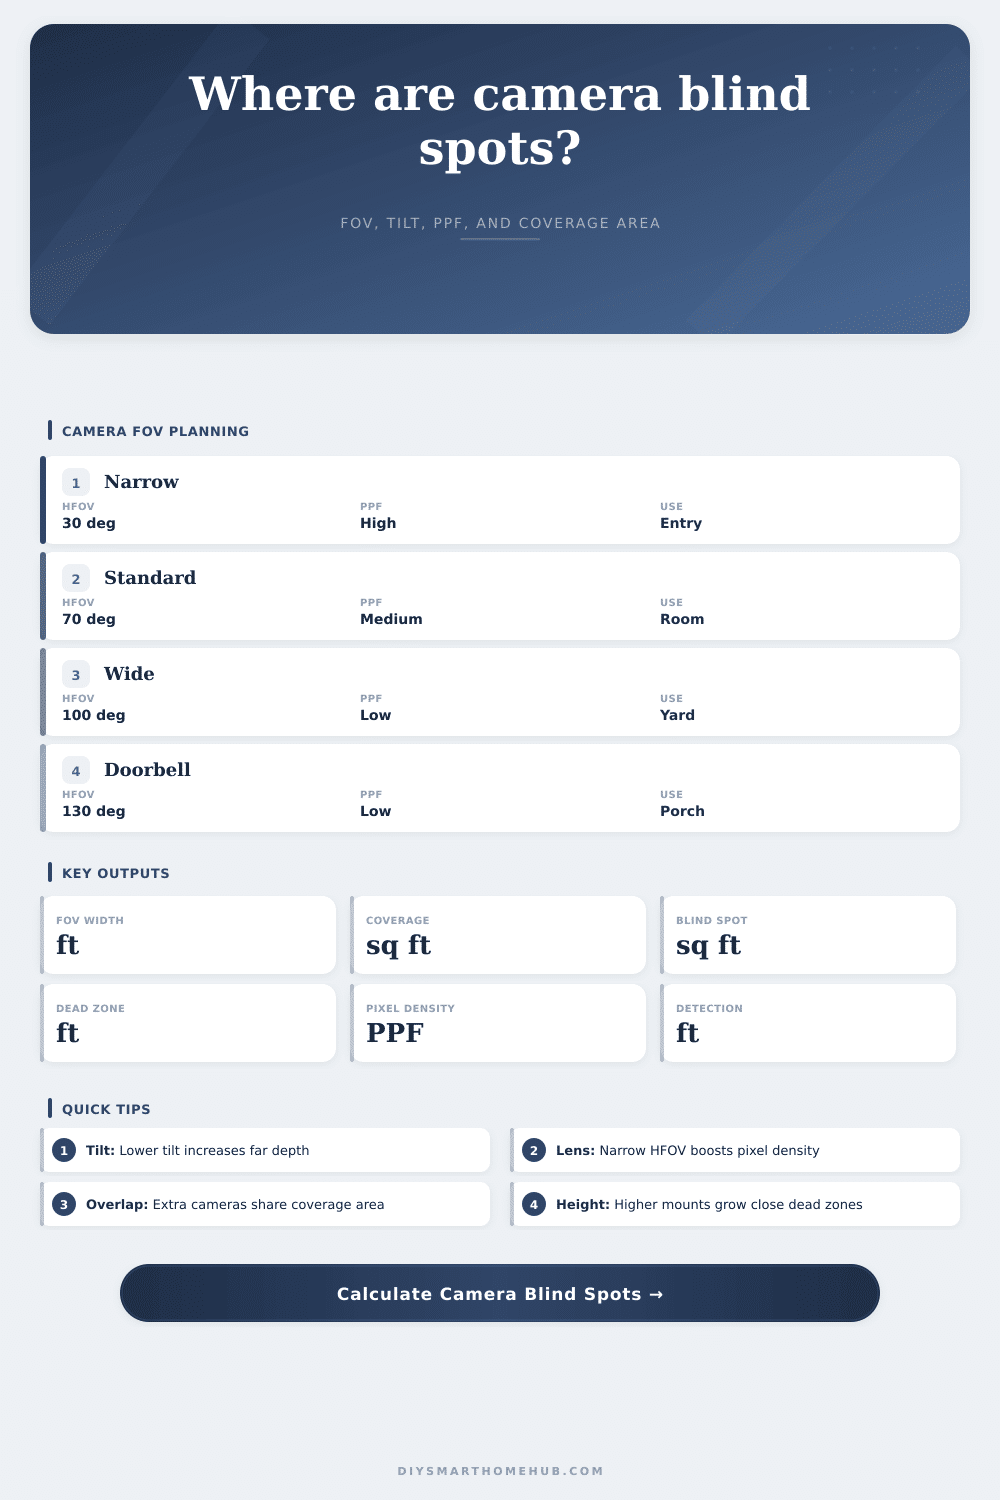
Estimate camera field-of-view width, tilted coverage depth, blind spot area, dead zone under the camera, pixels per foot, and detection distance for rooms, porches, driveways, garages, and yards.
▣ Coverage Presets
▱ Inputs
◉ Results
▦ Scenario Comparison Grid
▧ Camera Planning Spec Grid
▨ Resolution, PPF, and Detection Table
| Resolution class | Horizontal pixels | Scene width at 20 PPF | Use in this calculator |
|---|---|---|---|
| 1080p / 2MP | 1920 px | 96 ft / 29.3 m | Broad motion detection or short-range recognition. |
| 1440p / 4MP | 2560 px | 128 ft / 39.0 m | Balanced indoor and driveway coverage. |
| 4K / 8MP | 3840 px | 192 ft / 58.5 m | More crop room when the lens is not too wide. |
| 12MP | 4000 px | 200 ft / 61.0 m | Wide-area coverage with stronger detail retention. |
▩ Horizontal FOV Width Table
| HFOV | Width at 15 ft | Width at 30 ft | Coverage character |
|---|---|---|---|
| 30 degrees | 8.0 ft / 2.5 m | 16.1 ft / 4.9 m | Narrow lane, entry, or detail capture. |
| 60 degrees | 17.3 ft / 5.3 m | 34.6 ft / 10.6 m | Balanced room or garage coverage. |
| 90 degrees | 30.0 ft / 9.1 m | 60.0 ft / 18.3 m | Wide overview with lower pixel density. |
| 120 degrees | 52.0 ft / 15.8 m | 103.9 ft / 31.7 m | Doorbell-style panorama; detail drops fast. |
▪ Mount Height and Tilt Geometry Table
| Mount setup | Center dead zone | Near visible edge | Typical planning note |
|---|---|---|---|
| 8 ft high, 45 degrees | 8.0 ft / 2.4 m | 4.0 ft / 1.2 m | Good close coverage for porches and small rooms. |
| 9 ft high, 35 degrees | 12.9 ft / 3.9 m | 5.8 ft / 1.8 m | Balanced room corner or driveway edge. |
| 12 ft high, 30 degrees | 20.8 ft / 6.3 m | 8.0 ft / 2.4 m | Useful for garage or shop overview cameras. |
| 16 ft high, 25 degrees | 34.3 ft / 10.4 m | 11.6 ft / 3.5 m | High mounts need added close-range cameras. |
▫ Camera/FOV Planning Table
| Camera view type | Typical HFOV | Best coverage task | Blind-spot watch item |
|---|---|---|---|
| Doorbell panorama | 110-140 degrees | Close porch awareness and package zones. | Pixel density falls quickly across wide scenes. |
| Indoor corner camera | 80-110 degrees | Room occupancy and doorway coverage. | Furniture and tall shelving can block the polygon. |
| Driveway bullet | 35-75 degrees | Approach path with moderate detail. | Too much tilt can shorten far-depth coverage. |
| Telephoto entry camera | 12-35 degrees | Gate, lane, or chokepoint detail. | Side areas become intentional blind zones. |
◈ Practical Tips
The problem isn’t that most home surveillance systems don’t work. It’s that they’re set up wrong. You install some expensive camera, hang it from wall and expect it to see anything the human eye might miss. The thing is; physics doesn’t give two shits about your warranty. It doesn’t care if your lens has a million pixels or if your monitor display a 4K image.
A lens has a field of vision. Light travels in straight lines. If you don’t know where those lines connect inside your living room (or driveway), you aren’t getting security. You’re just spending money on blind spots.
Why Your Security Camera Might Not Be Working
So what does this look like? Plug in your camera’s specifications and room dimensions into the calculator above. It’ll do the math for you, no more guesswork about pixel density or angles.
You begin with the fundamentals: height, width and length. These measurements does more than just define size; they set the stage for how the camera will work. An eight-foot ceiling versus a ten-foot ceiling can change everything, primarily because the former require a different angle of tilt to view the same amount of ground.
The angle of that tilt is the silent killer of coverage. Aim the camera down too sharply, and you get near-field clarity at the cost of depth. Aim it too flat, and you create a dead zone directly under the mount where somebody could be hiding in plain sight.
And finally there’s resolution. There’s this training that we’ve had, the more megapixels the better the security. Well no, not unless those pixels is actualy looking at the thing you’re trying to see. A wide angle lens on a 4K camera throws it all over a huge area. You can have millions of dots, and yet because it covers such a big area, each dot are covering a large piece of space. So when you blow up on something, it’s going to be kind of smooth and just a blur.
What the calculator shows you is this trade off: Pixels per foot. And that will tell you if something is a blob or if it’s a face. In other words if you want to read somebody’s license plate or figure out who your visitor is, then you want lots of pixels per foot. But if you just want to see if something moved somewhere, well wide coverage beats high density.
The average consumer puts up one camera and crosses their fingers, and that’s almost never sufficient. If it’s a wide-angle lens they’ll get the entire room, but no details. If it’s a narrow lens they’ll get perfect detail on the door, but no clue what’s going on out back at all.
Layering is the clever solution. Put in a wider lens to provide context; then add another narrower one to show proof. With this app you can tune how many cameras are active so you could of kind-of pretend they overlap.
But adding a second camera hardly ever multiplies the amount of useful coverage you’re getting: since their views of the space will inevitablly overlap, there’s just a lot of redundancy. This is a good thing. Redundancy protects you from objects like parked cars and trees blocking one angle while the other still has a line of sight.
You’ll be surprised by the importance of mount height. While a higher mount makes it tougher for someone to mess with your camera, it is also subject to more perspective distortion. It also creates larger dead areas closer to its base. Something mounted at eye level sees the world different than something stashed inside a soffit. As the charts in the tool indicate, extreme tilting at great elevation results in much of the ground directly beneath the camera being totally blacked out.
People misunderstands that. They focus on range of sight rather than what’s staring them in the face. It is less about purchasing an expensive lens and more about planning to understand the geometry in your space. You must realize that each camera has its limits and embrace them instead of struggling against physics.
Don’t try for perfection, but aim for knowing. And after mapping out your blind spots; you don’t worry anymore about what you cannot see because now you focus on what really matters. A well-thought-out system will make the possible vulnerabilities become visible areas that get monitored. This is how you make a box on the wall a real security asset.