Surround Speaker Angle Calculator
Estimate side and rear surround positions from the main listener, then compare measured speaker angle, distance, and delay against ITU and Dolby-style placement ranges.
Geometry breakdown
| Profile | Angle range | Best target | Use case |
|---|---|---|---|
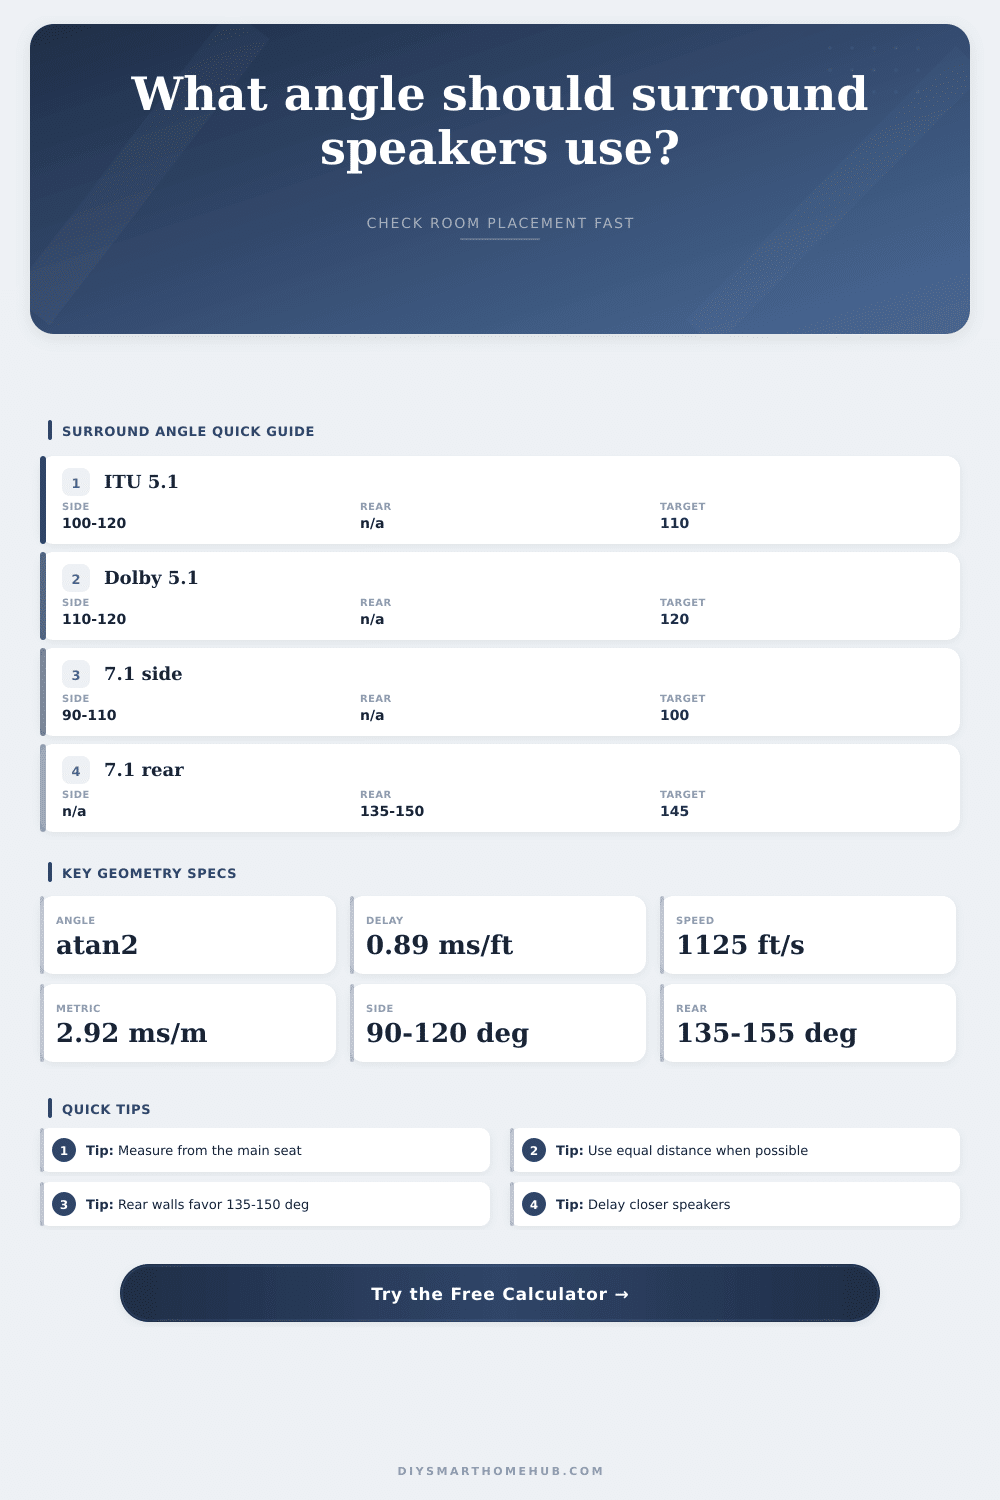
| ITU-R BS.775 style 5.1 LS/RS | 100° to 120° | 110° | Reference five-speaker surround arc with listener-centered geometry. |
| Dolby 5.1 or 5.1.2 surrounds | 110° to 120° | 120° | Home theater bed surrounds, typically slightly behind the main seat. |
| 7.1 side surround pair | 90° to 110° | 100° | Side pair when rear surrounds are also present. |
| 7.1 rear surround pair | 135° to 150° | 145° | Back pair separated behind the listener instead of directly at 180°. |
| Atmos expanded surround 2 | 90° to 120° | 105° | Additional listener-level pair between side surround and rear surround. |
| Atmos rear surround 1 | 105° to 135° | 120° | Intermediate rear-side pair in larger listener-level layouts. |
| Atmos rear surround 2 | 130° to 155° | 145° | Rearward listener-level pair before center-surround positions. |
| Distance difference | Delay offset | Metric equivalent | Interpretation |
|---|---|---|---|
| 1 ft closer | 0.89 ms | 0.30 m closer | Add about 0.9 ms to the closer channel if entering manual delay. |
| 3 ft closer | 2.67 ms | 0.91 m closer | Audible enough to correct through receiver distance or delay settings. |
| 6 ft closer | 5.33 ms | 1.83 m closer | Large offset; expect localization pull toward the closer speaker. |
| Equal radius | 0.00 ms | 0.00 m | Best match for ITU-style geometry when walls allow it. |
| Room condition | Likely surface | Angle behavior | Planning signal |
|---|---|---|---|
| Narrow room, centered seat | Side wall | Target shifts only a small distance behind listener. | Side surrounds are usually reachable from 95° to 115°. |
| Wide room, short depth | Side or stand | 120° may land beyond the rear wall. | Use auto mode to detect rear-wall or free-standing placement. |
| Sofa near rear wall | Side wall | 110° can collide with the back corner. | Try 95° to 105° or use receiver delay to compensate. |
| Rear-wall-only speakers | Rear wall | 135° to 150° works better than side-surround angles. | Use the rear-surround profile, not the 5.1 side profile. |
Home theater owners will spend big bucks on speakers but throw positioning in as an after-thought. People say, “I’ll put the surrounds wherever there’s room on the wall,” and then they hope that the receiver’s auto-calibration sets things right. It doesn’t do that very much, at least not most of the time.
Often it’s more about geometry than hardware. Sound travels in a straight line. And our ears is highly sensitive to the direction sound enters them. If your side surrounds arent exactly to the side, but more like dead ahead or behind you, you don’t get a sense of being surrounded. Instead, you just get a clear directional cue, it is an immediate immersion breaker.
How to Place Your Surround Sound Speakers
If you’re willing to plug in your listener’s location and width of your listening room, that calculator up top will do the math for you, and save you from guessing at the sweet spot’s exact location. But first you have to trust that its numbers mean anything, which means knowing what they translate into physical space.
The room width input refer to how far laterally the speakers can be placed without becoming weirdly suspended in midair (that is: without reaching out toward either wall). The listener offset variable refers to the fact that most people don’t sit on their sofa dead center. Moving a few feet to the side has a huge impact on the necessary speaker angle for each channel (left/right).
The tool takes that imbalance into consideration so you don’t have to twist yourself around like a contortionist while wielding a stud finder. So what about speaker positioning? This is the heart of the surround speaker debate: Do I put my speakers behind me, or to either side of me? For years, the ITU has recommended that speakers be aimed just slightly behind the ear (around 110 degrees). Dolby guidelines typically suggest aiming straight back at the listener, around 120 degrees.
And there’s really no one right answer. The answer depends on your room layout and where you can actualy fit the speakers without hitting light switches or blocking foot traffic. In a narrow living room, for instance, you may have to point at 120 degrees which may shove you off to one corner where bass builds up and muddies the clarity of dialogue. Pointing speakers toward the ITU target will put them in a more steady acoustic area.
The secret variable nobody talks about is delay compensation. Yes, timing matter even with picture-perfect angles. Because sound waves travel approximately 1,125 feet per second, each foot of separation causes a noticeable delay offset. To gauge whether to digitally adjust the delay for a given channel, the calculator use this figure as its reference point.
With an off-center couch, perhaps your left surround sits two feet closer than your right. In this case, sound reaches your ear milliseconds sooner on that same side. Your brain perceives it as originating directly ahead, and thus pulls phantom images away from center screen. Adjusting the delay of the nearer speaker returns the desired spatial balance.
The problem gets more complicated in the rear surrounds. When dealing with 7.1 layouts or rear-specific pairs, targets jumps to 135 or 145 degrees. That means the drivers are squarely positioned behind the listener, frequently on the back wall. Ceiling and floor reflections can add their own muddied directional information before reaching your ears. Mounting height becomes increasingly critical as do ear level.
Use the following table as a guide (note: the reference table on the page explains this graphically), noting that all these numbers indicate ranges, not absolutes. If you can keep the speaker off a structural obstruction, at ear level and within about 10-15 degrees of ideal, it’s fine even if it sits at 150 degrees.
Geometry alone won’t solve it either. Acoustics in the room are also part of the equation. Sound bounces off hard surfaces and creates echoes that blur the exact location you computed. High frequency sounds is absorbed by soft surfaces like heavy rugs or curtains. This makes those seemingly-close behind speakers seem far away. It’s possible that you’ve nailed the angle only to discover the room is working against you as well.
Apply the geometry, take careful measurements from the primary listening position and then tweak based on what you hear. Geometry gives you the starting line; your ears will have to cross the finish line.
It’s more important that you’re consistent than precise. Establishing a solid imaging platform is about having equal angles from the center channel. Even if your surround speakers aren’t exactly on “standard” angles, as long as they’re roughly symmetric around center channel, that’ll yield a good stereo image. The goal here is balance, followed by tweaking exact degree targets.
You might have a left surround at 100 degrees and a right surround at 130 degrees. That asymmetry will be immediately obvious even if each angle is dead-on accurate. Measure well before poking holes in the drywall. After the drywall goes, relocating a speaker is a far greater pain. Go slow, get it correct first time, and you should of saved yourself some work while keeping the immersive bubble intact.